All Projects


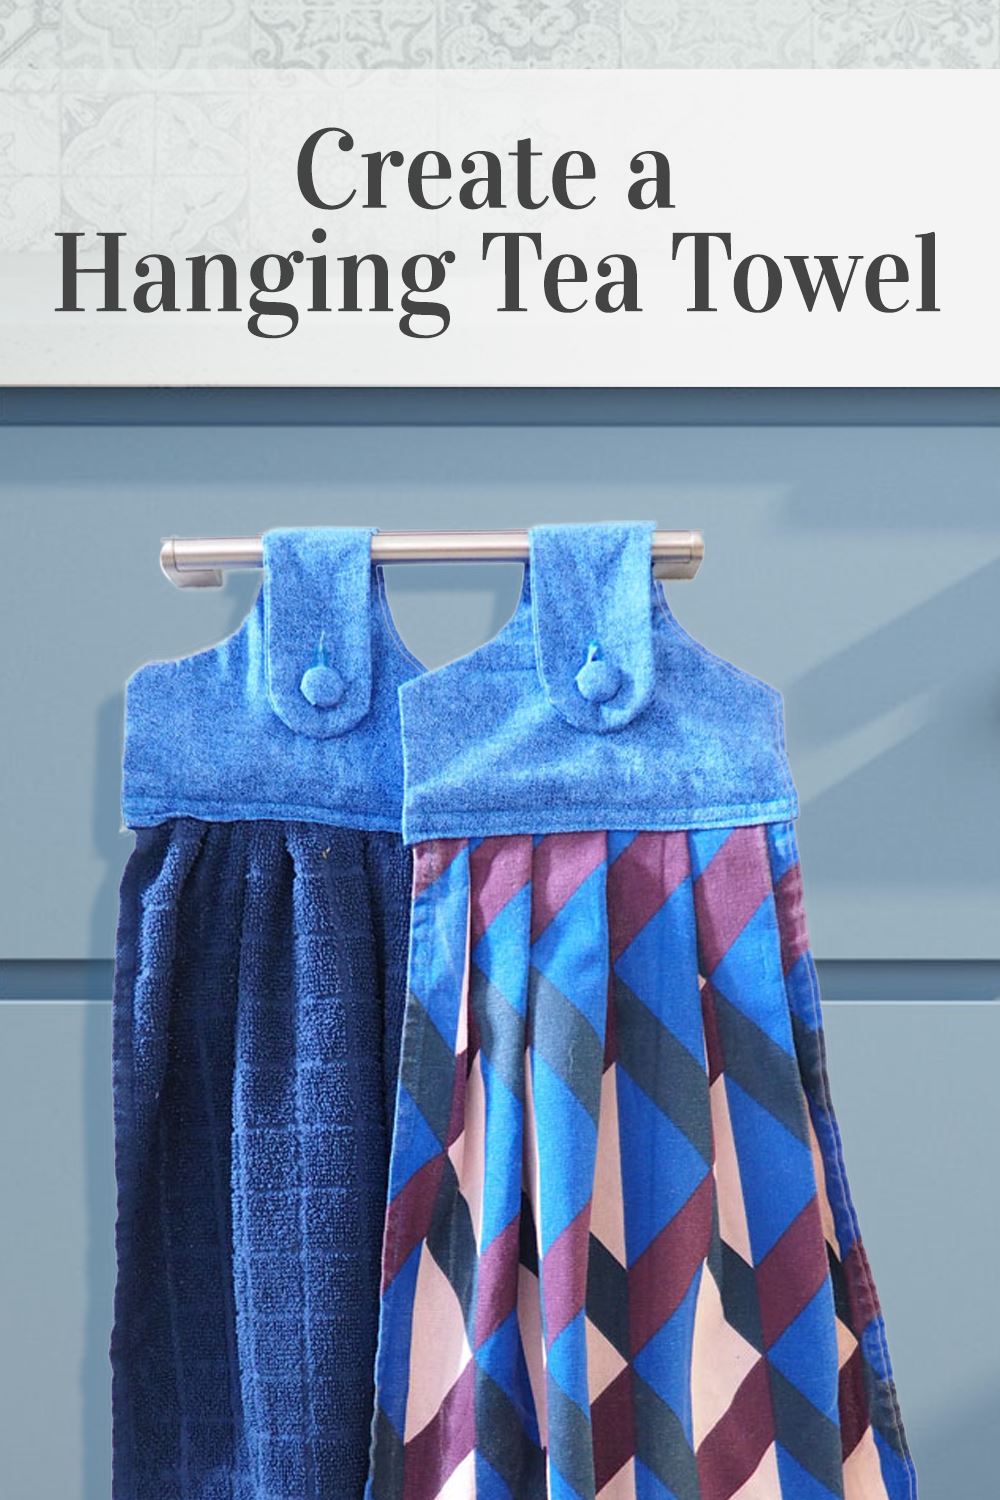
Free hanging tea towel sewing tutorial
Date Posted:6 May 2020
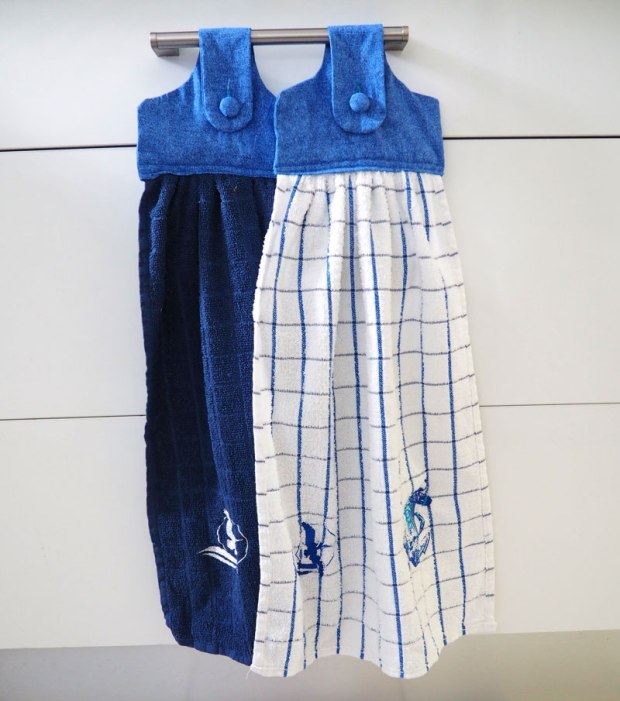
In this project, you will learn how to convert a plain tea towel into a hanging tea towel. These are perfect to attach to an oven or drawer handle for easy access and to ensure they don't fall on the floor. Hanging tea towels are very easy to create and make great gifts! Plus, you can add a little personalisation with some embroidery.
WHAT YOU WILL NEED
- Sewing machine
- 1 x Tea towel
- 2 x Matching fat quarter fabric
- Iron on interfacing
- Scissors
- Matching thread
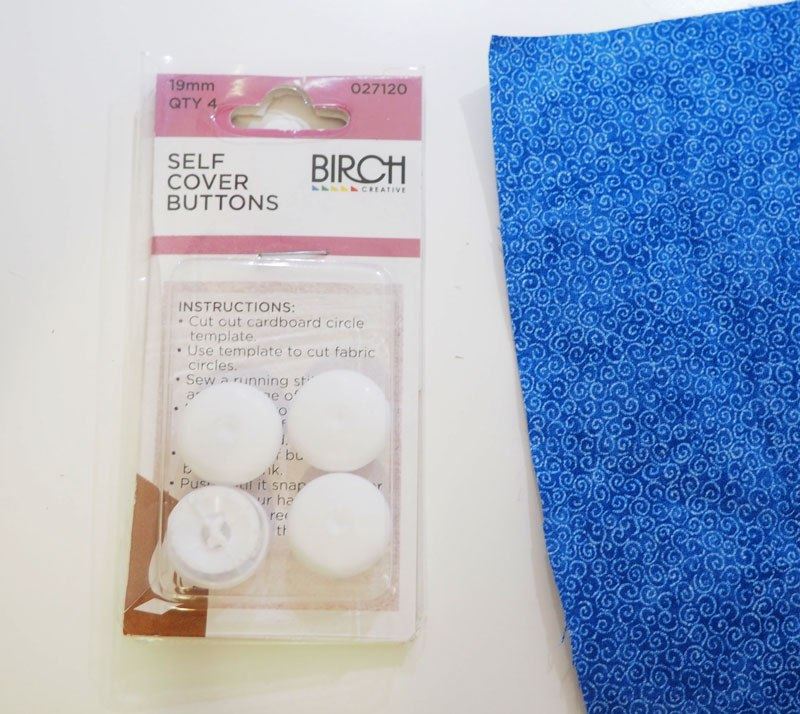
- 1 x fabric cover button
OPTIONAL TO DECORATE
PATTERN
- Download the sewing pattern (PDF, 395kb)
HOW TO MAKE A HANGING TEA TOWEL
Print out and cut the paper pattern.
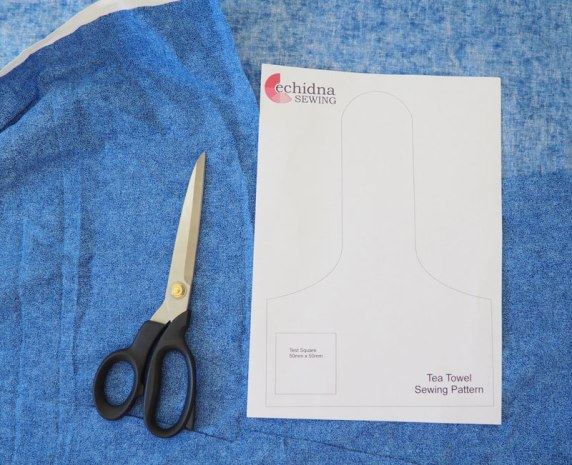
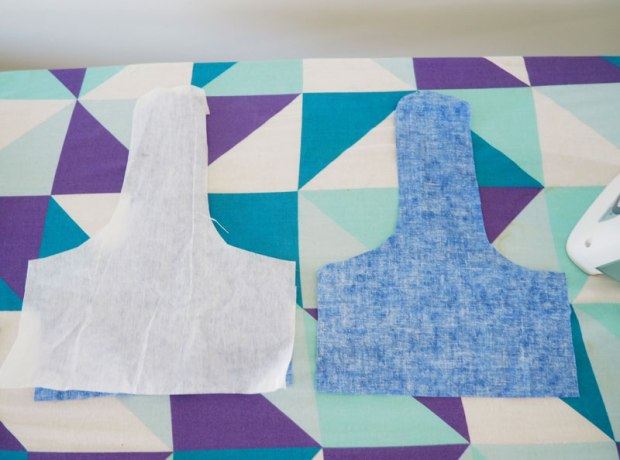
Cut out the material and the iron-on interfacing.
Iron on the iron-on interfacing onto to wrong side of one of the pieces of material.
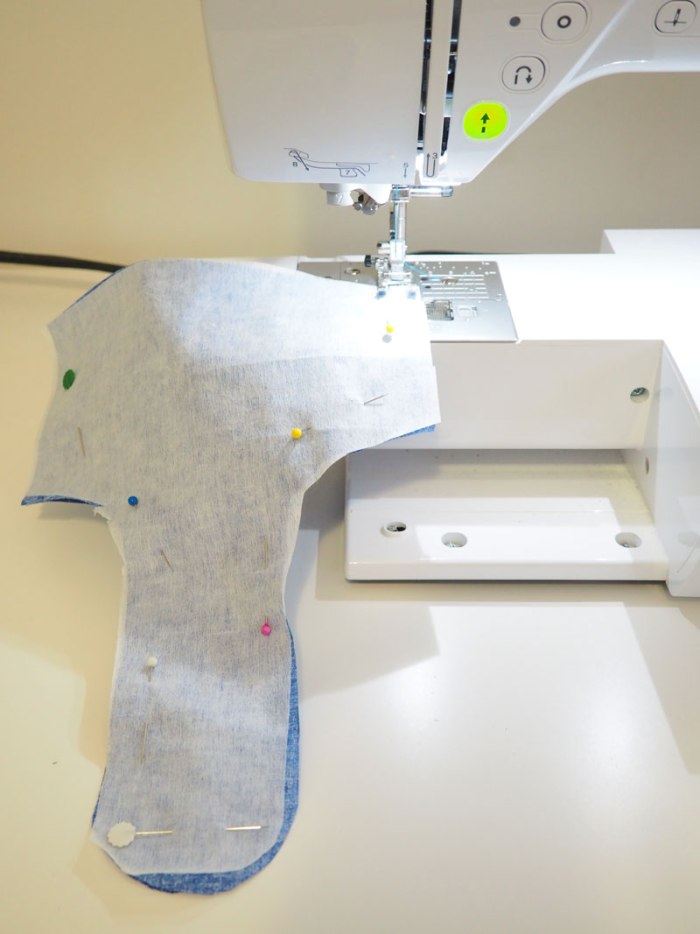
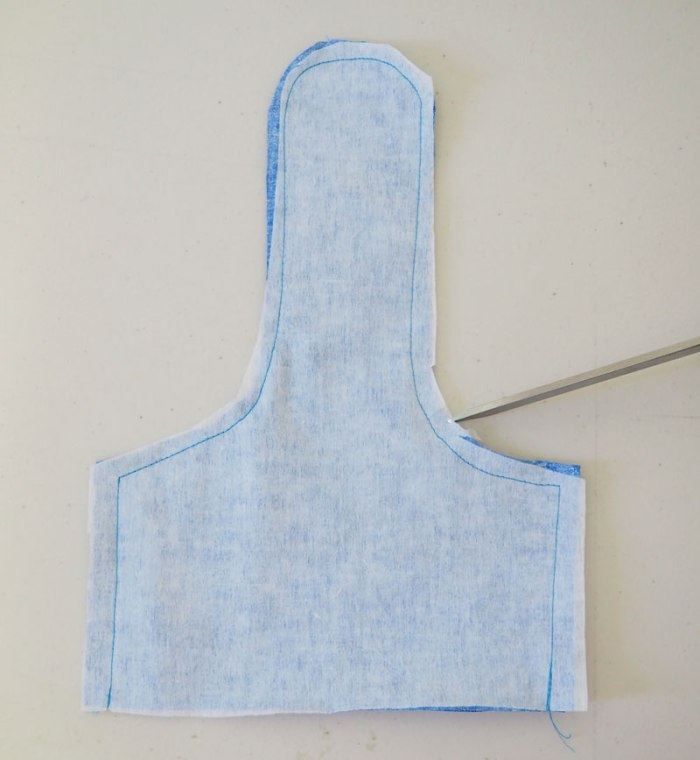
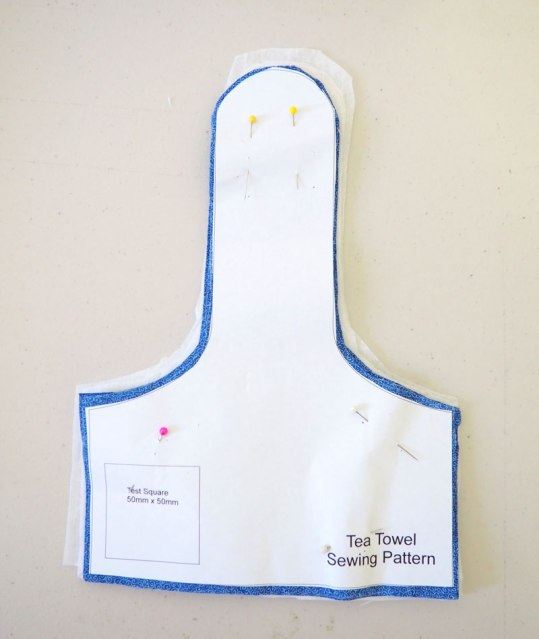
Place the right sides of the material together and then pin around the outside of the material.
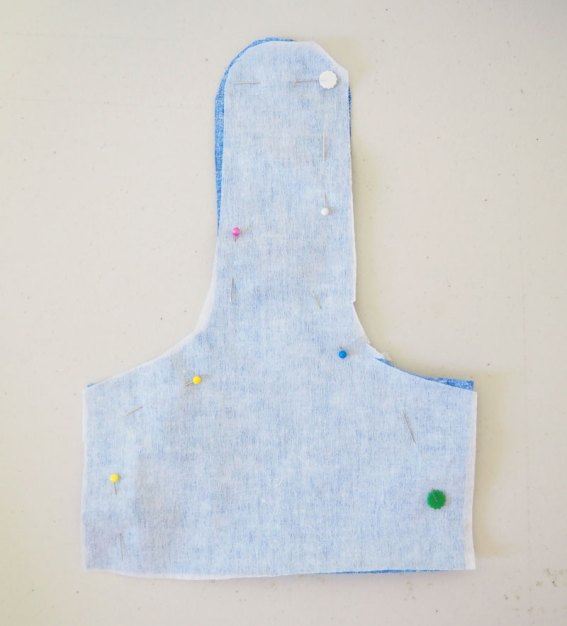
Sew 1/4" around the outside, making sure to use the back stitch button at the start and the end.
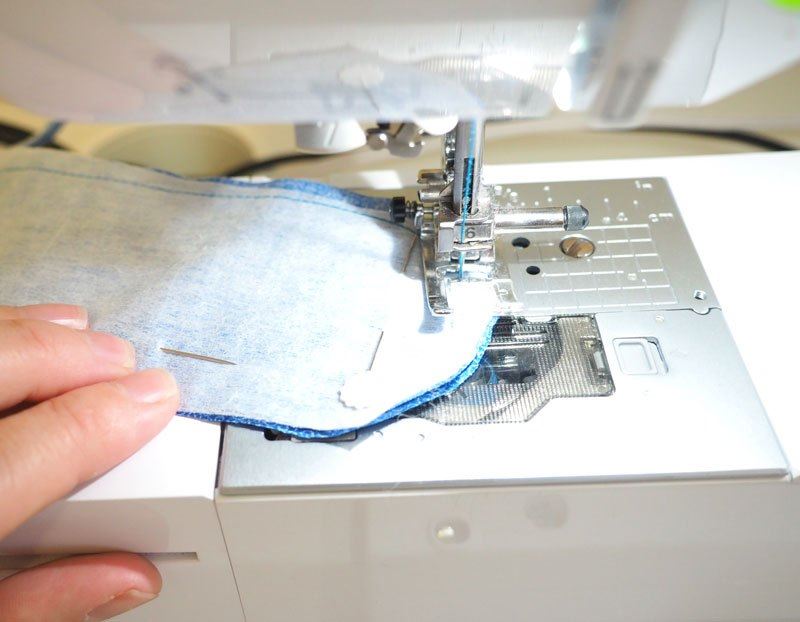
Cut into the corners making sure not to cut into the stitch line.
Turn inside out, pushing out the corners and iron down flat.
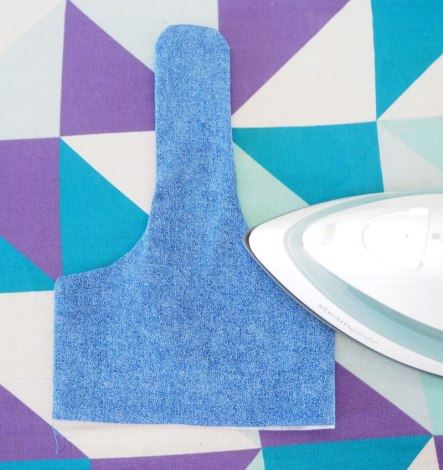
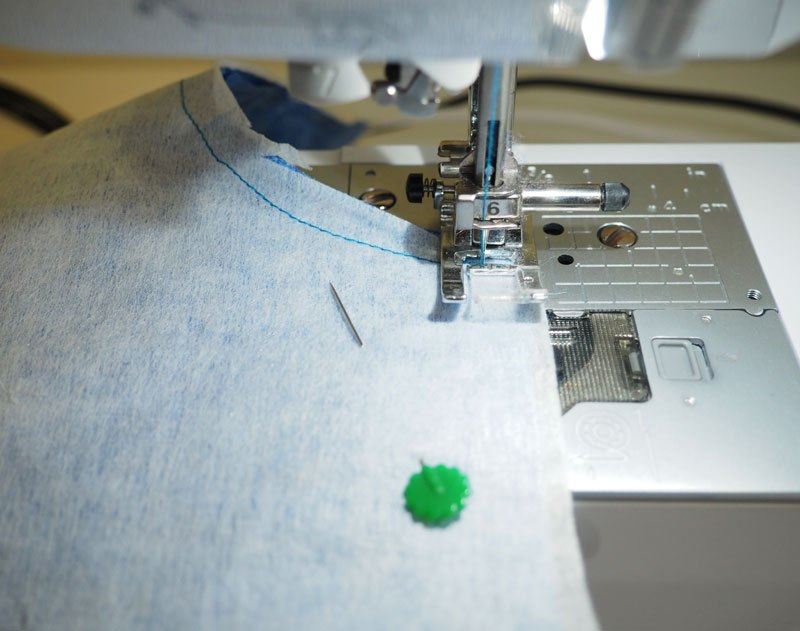
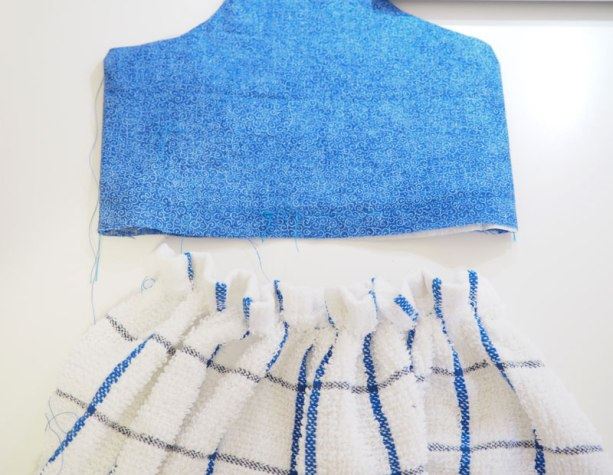
Sew a straight line 1/2" around the bottom opening. This will be your guide to fold under when you place the tea towel inside.
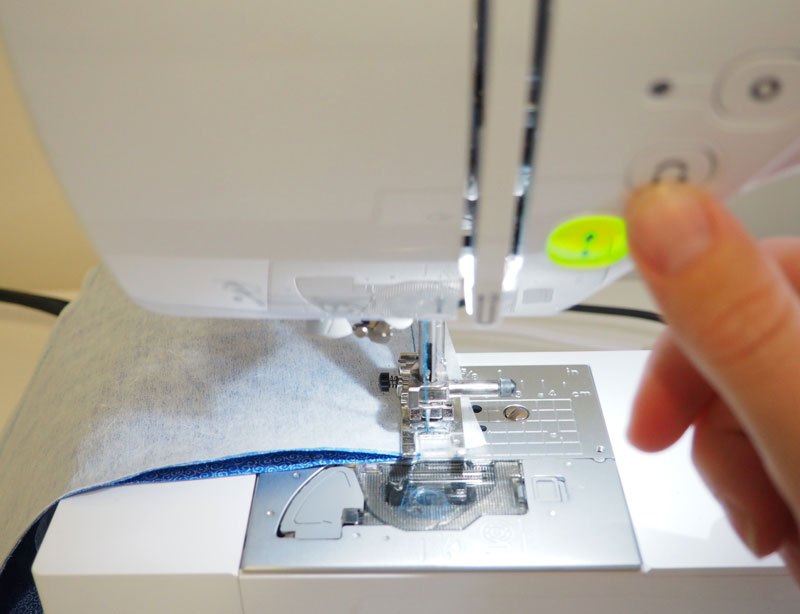
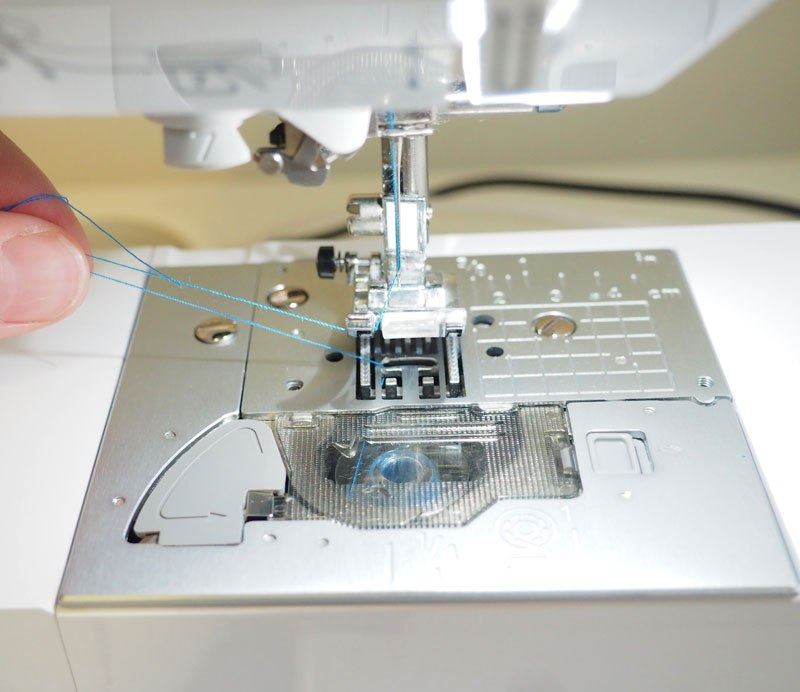
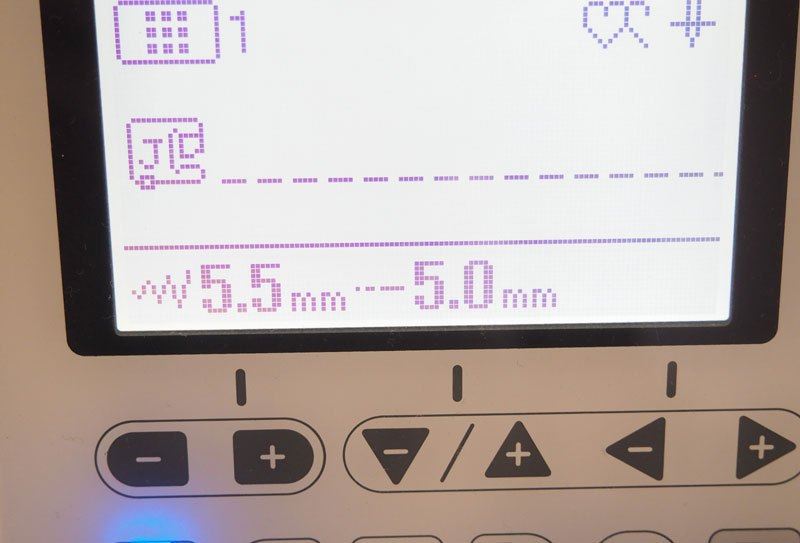
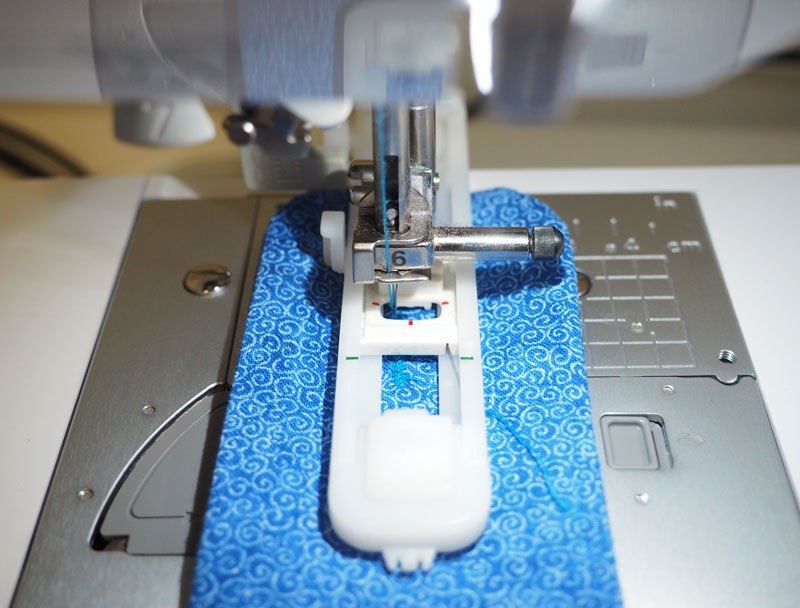
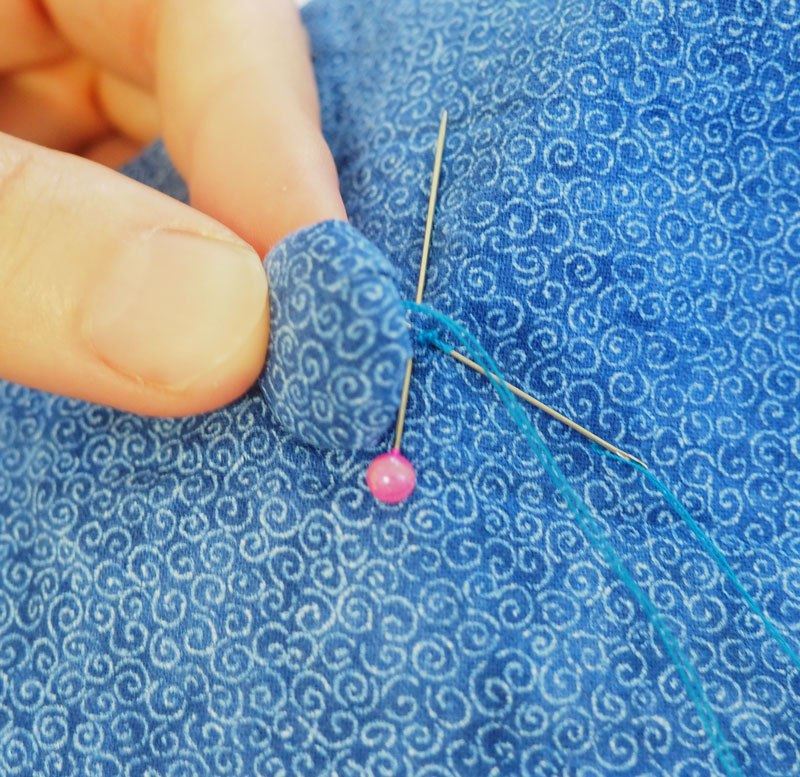
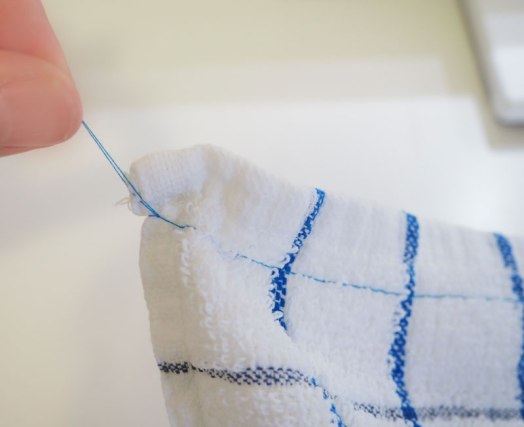
Change your machine settings to your gather stitch (5mm width), shown below. Make sure to pull the thread out to leave a long end prior to stitching.
Now stitch a line along the top edge of your tea towel. Tie one end of the thread together to ensure its knotted and tight.
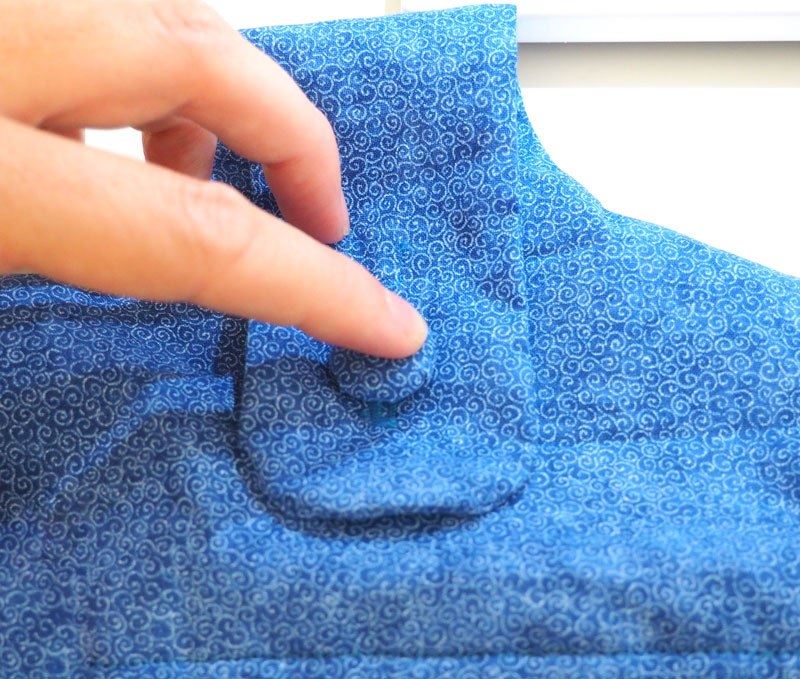
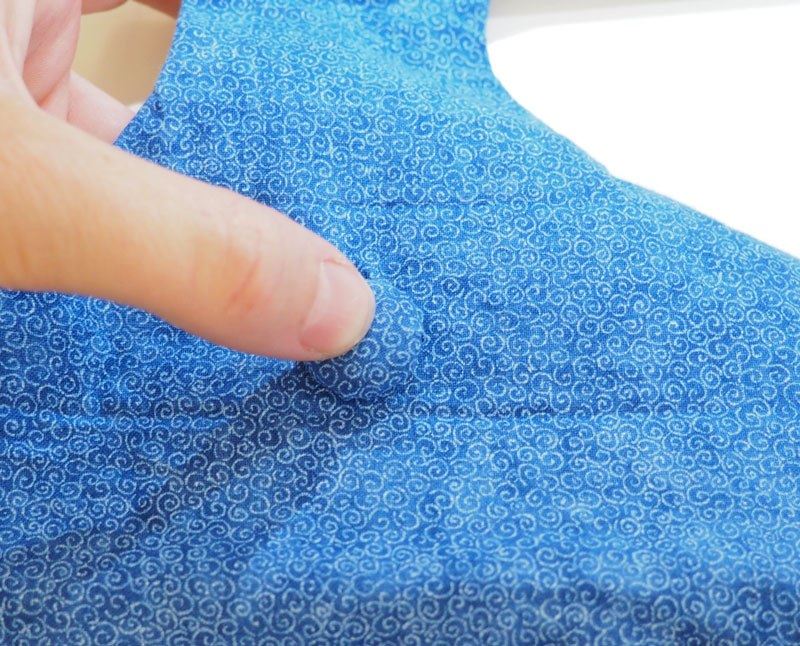
On the opposite end now pull the bottom piece of thread to gather up your tea towel.
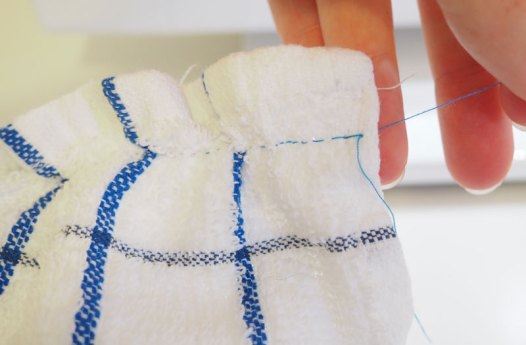
Gather your tea towel enough so that it will fit inside your tea towel holder.
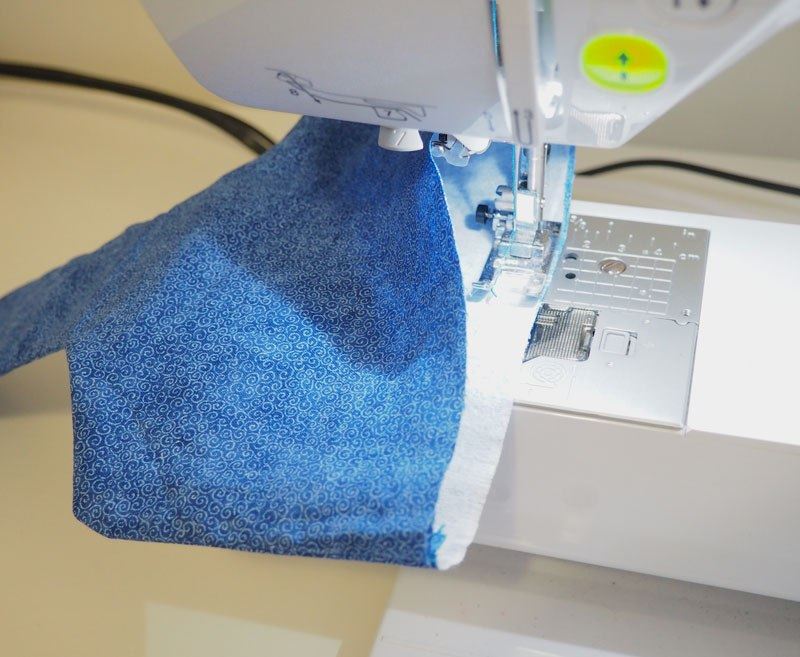
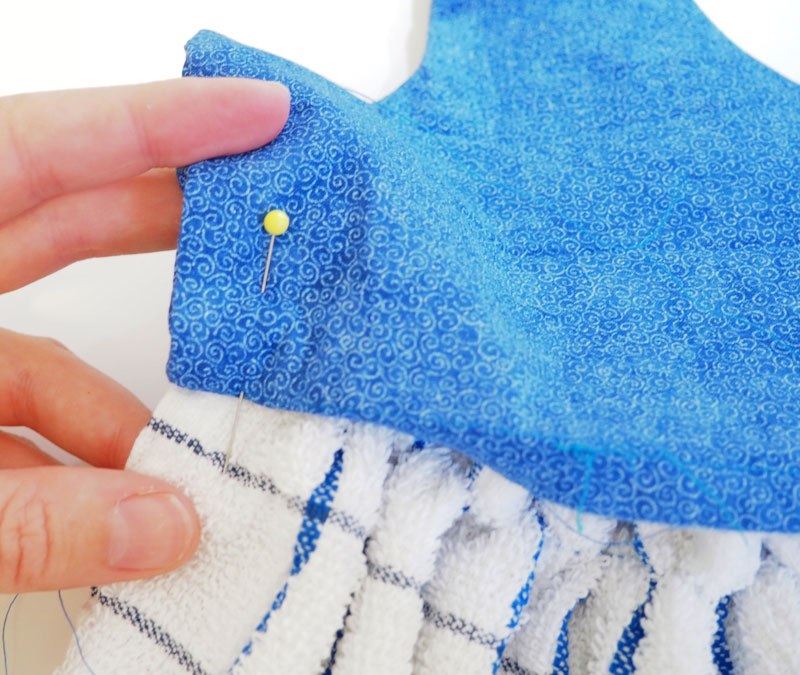
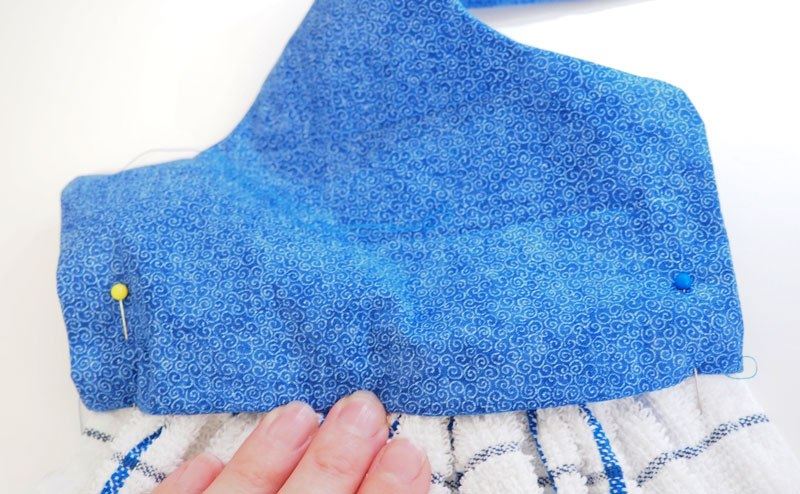
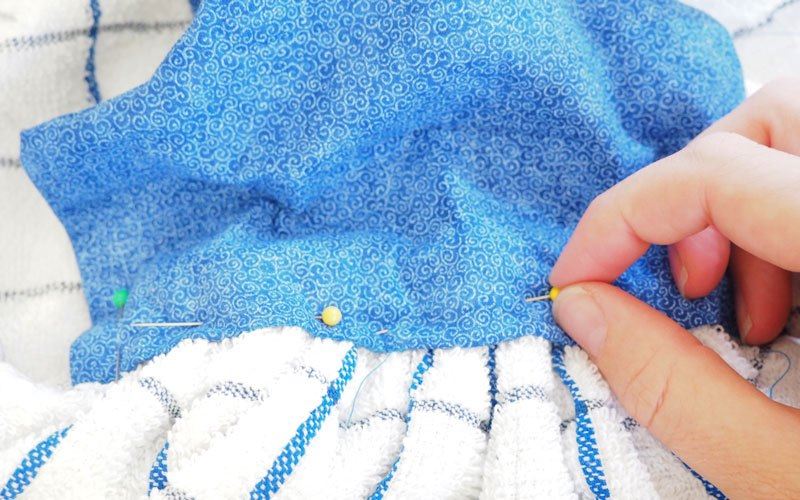
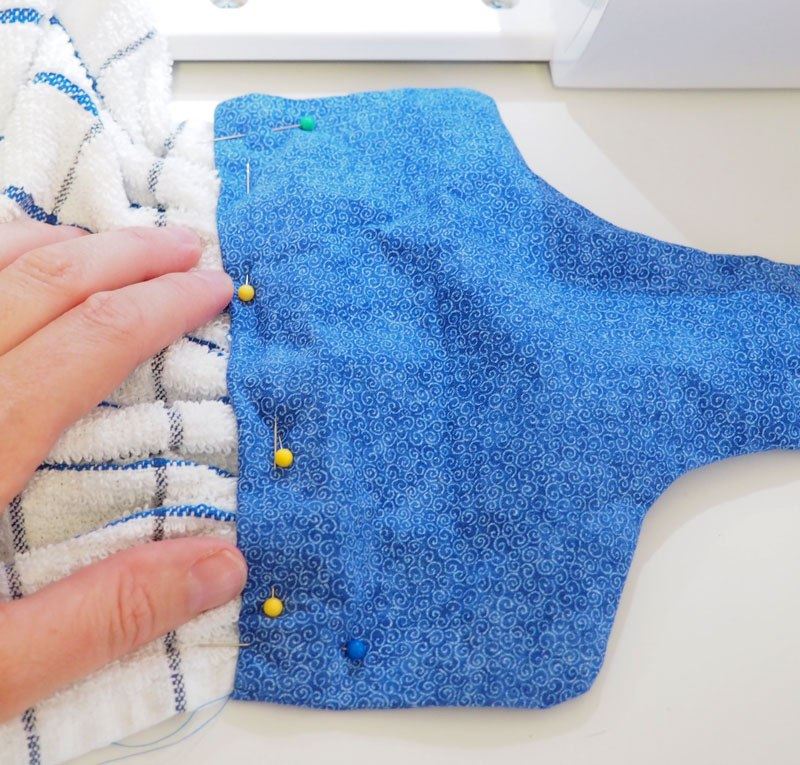
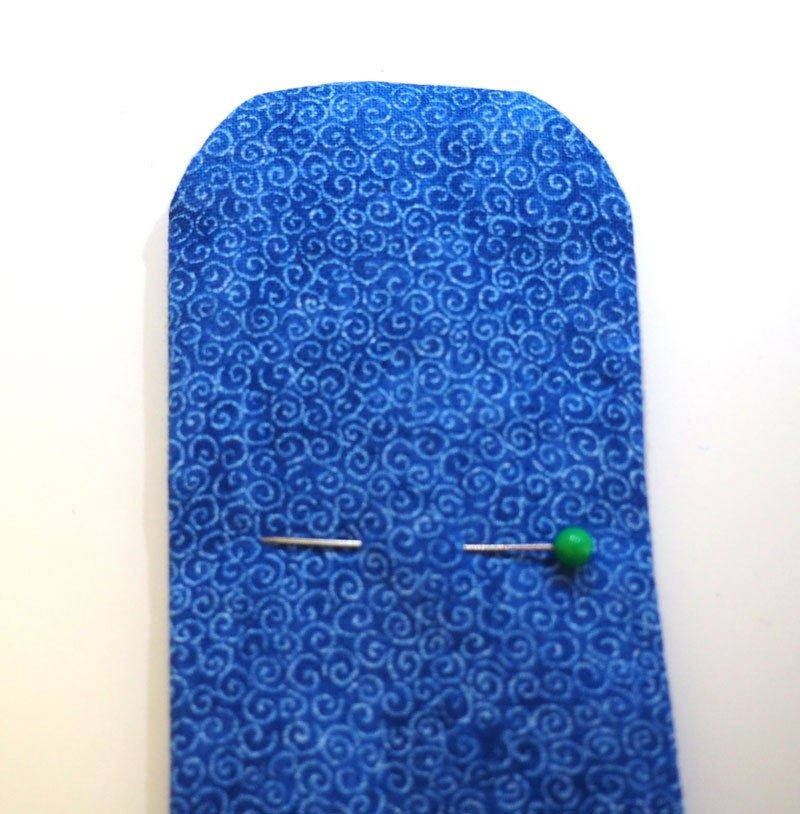
Place the gathered tea towel inside the tea towel holder. You can secure both ends with a pin and then evenly spread the tea towel inside your holder. Now turn up the bottom edges of the towel holder, where it's marked with the stitch line. Pin this down, making sure to check underneath is even while you are going.
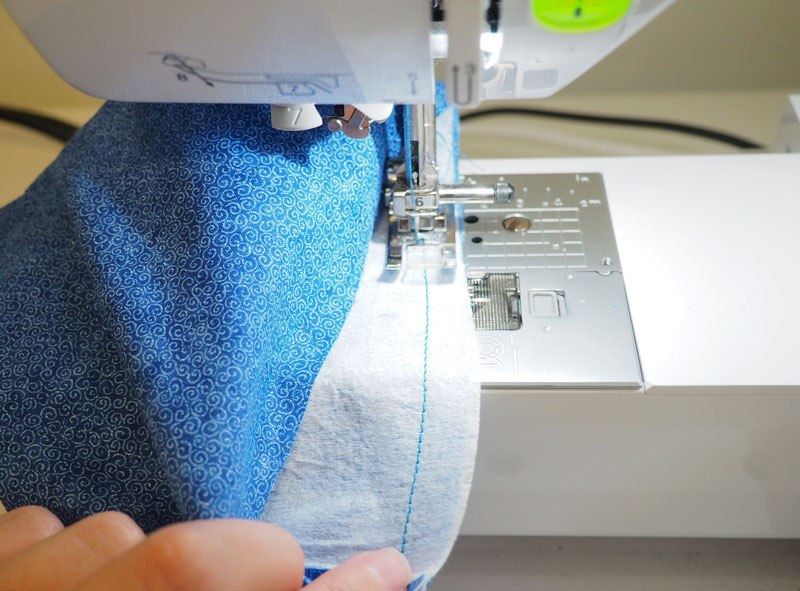
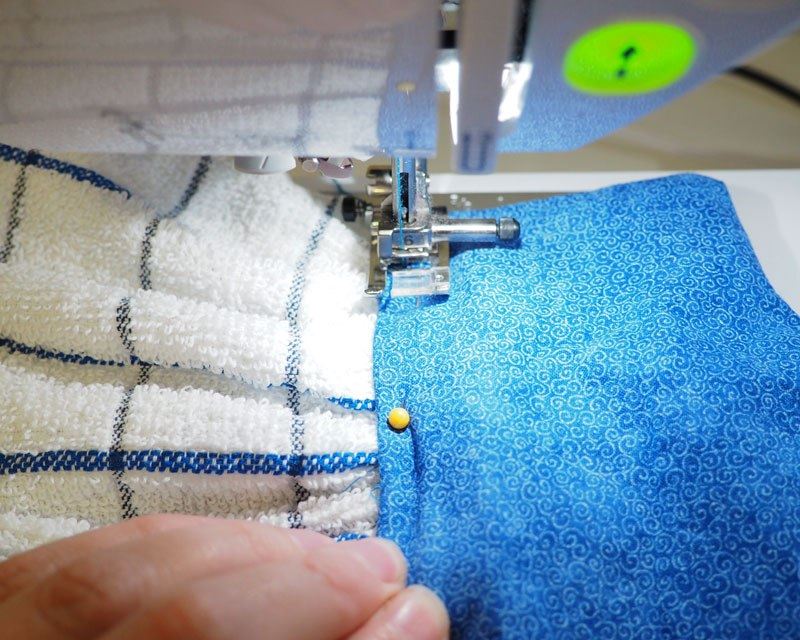
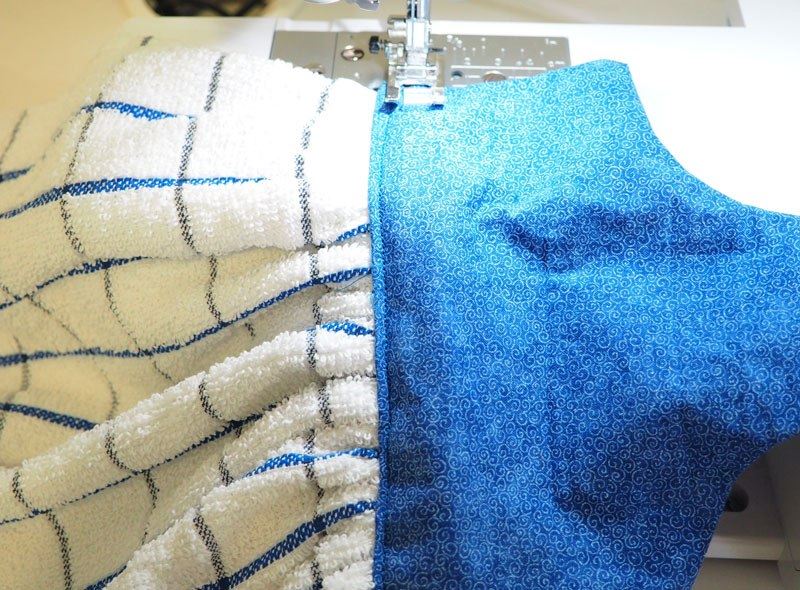
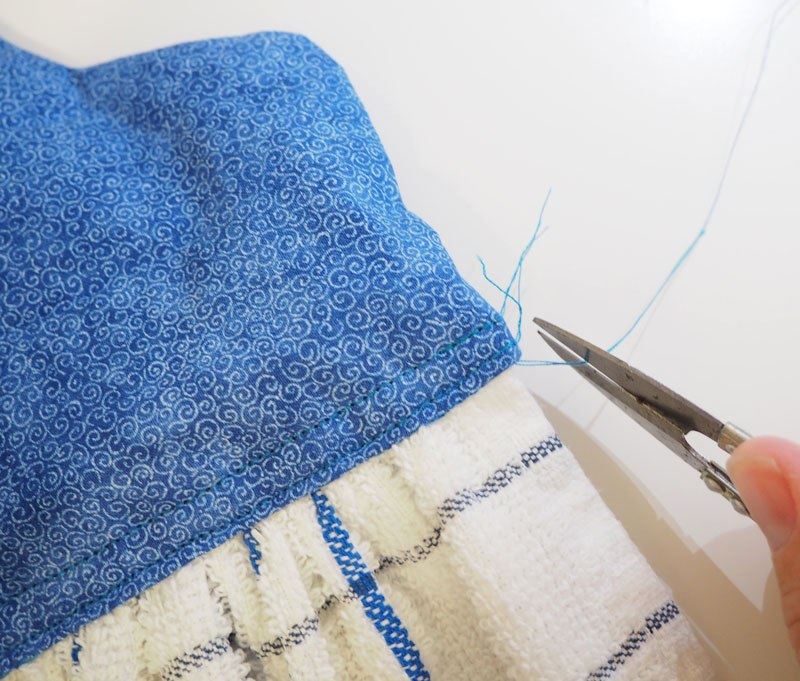
Now run a straight stitch along the edge of your tea towel holder. Since we want it nice and secure, I ran a second stitch line above the first one. This will ensure it won't come apart in the wash and is nice and secure. Trim off any excess thread.
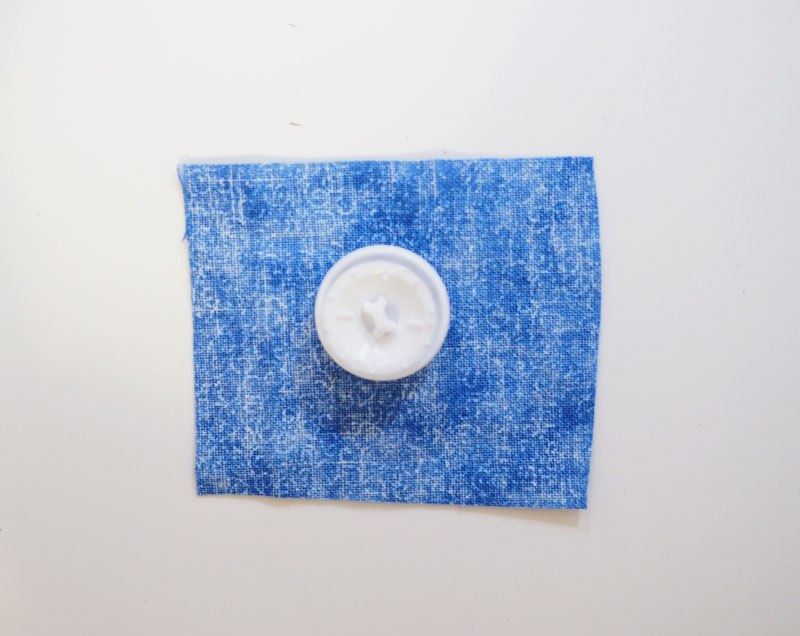
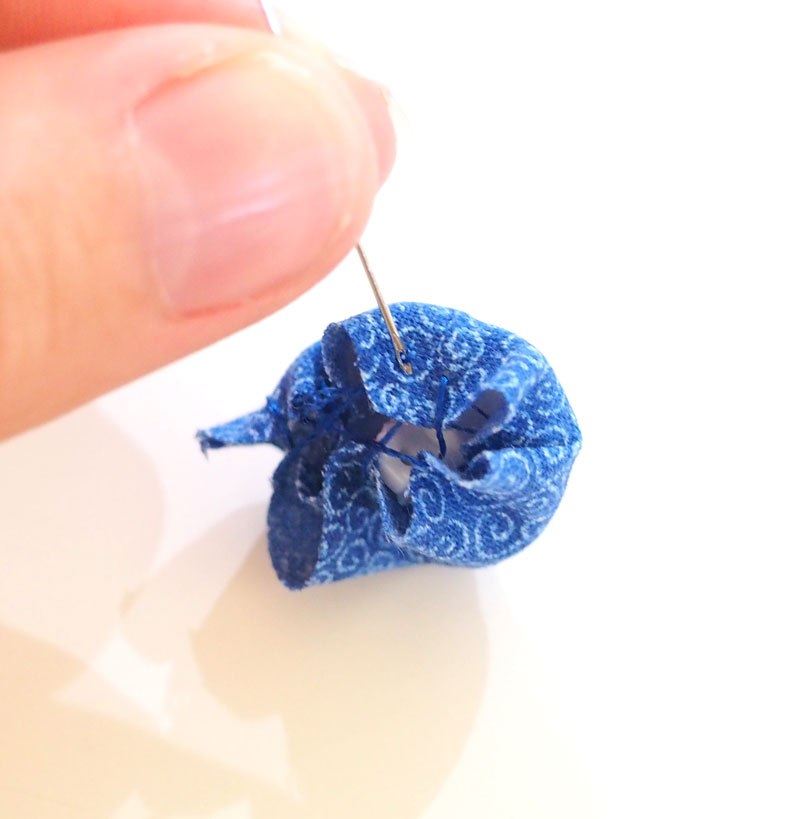
I am using some self covered buttons to make the button in the same coloured fabric. To do this, cut out a square of your fabric. Place the button on top and now round the edges of your square fabric so it's about 2cm wider than the edge of the button, shown below.
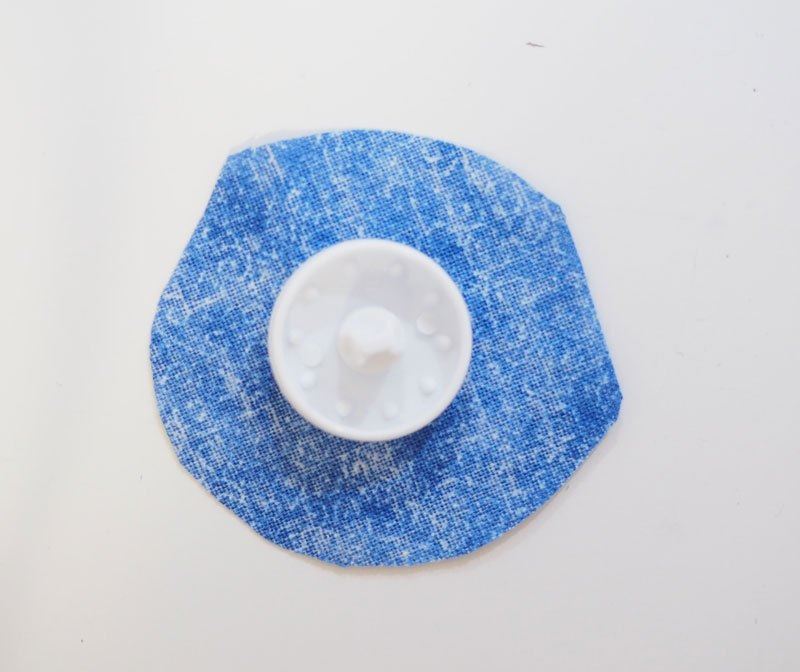
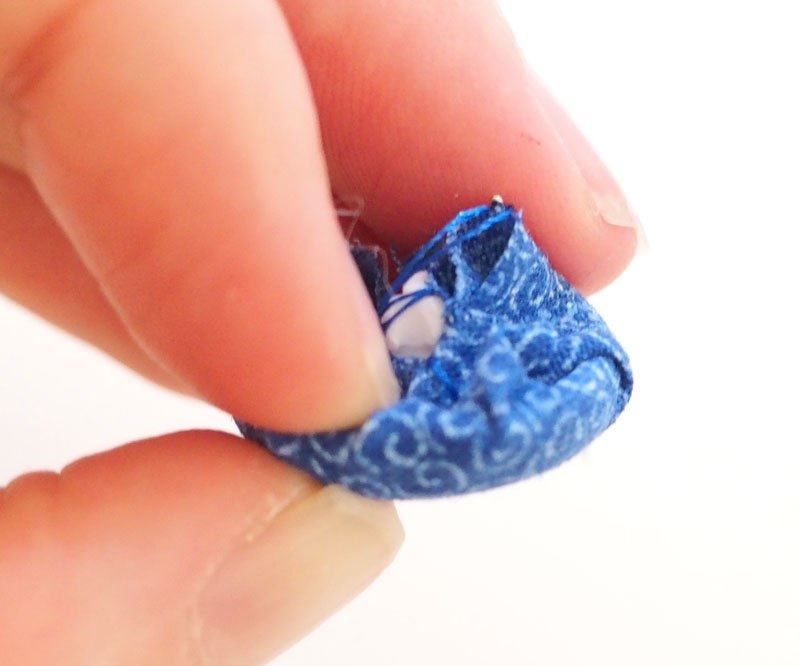
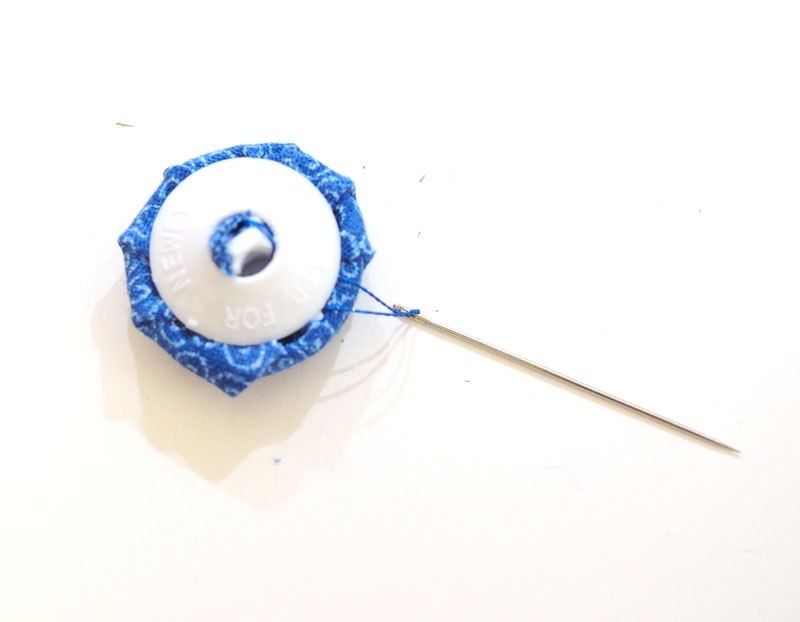
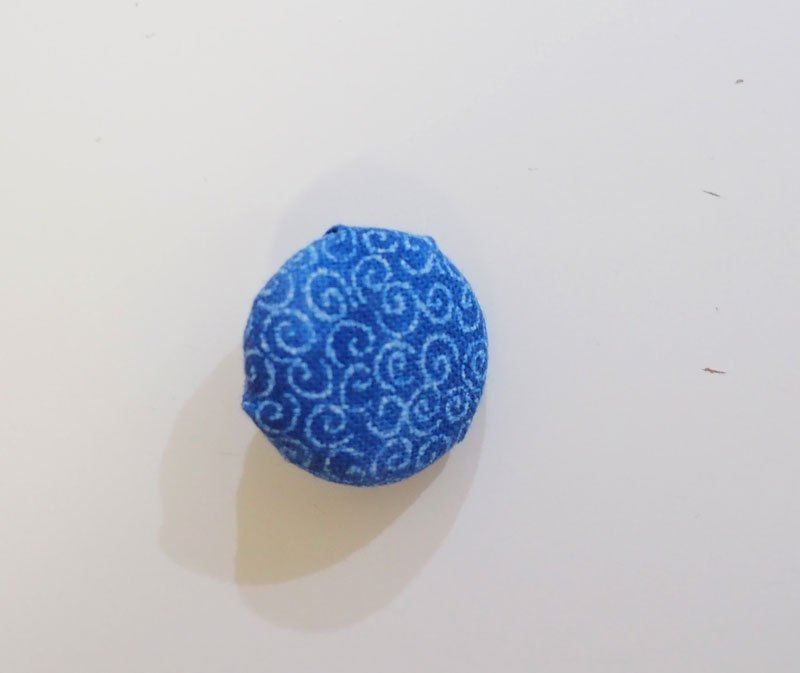
One trick to get this perfect is to get a needle and thread and stitch the edges back and forth so that it tucks up over the top of the button. Now you can easily press the edges of the fabric inside the button. Once the fabric is tucked in nice and tight you can place the bottom of the button over it. Press down to secure it in place.
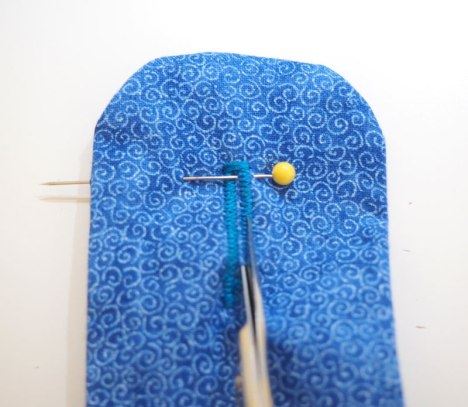
Mark with a pin where you need your button hole to start on your tea towel holder flap.
Now using your Brother Button Foot, place the fabric covered button inside. Attach this to the machine and line up the flap underneath, making sure to take the pin out once you have it in the correct position. Stitch your button hole.
If you are using a seam ripper or scissors, a good trick is to place a pin inside the button hole before it finishes to ensure that you don't accidentally rip straight through the stitching.
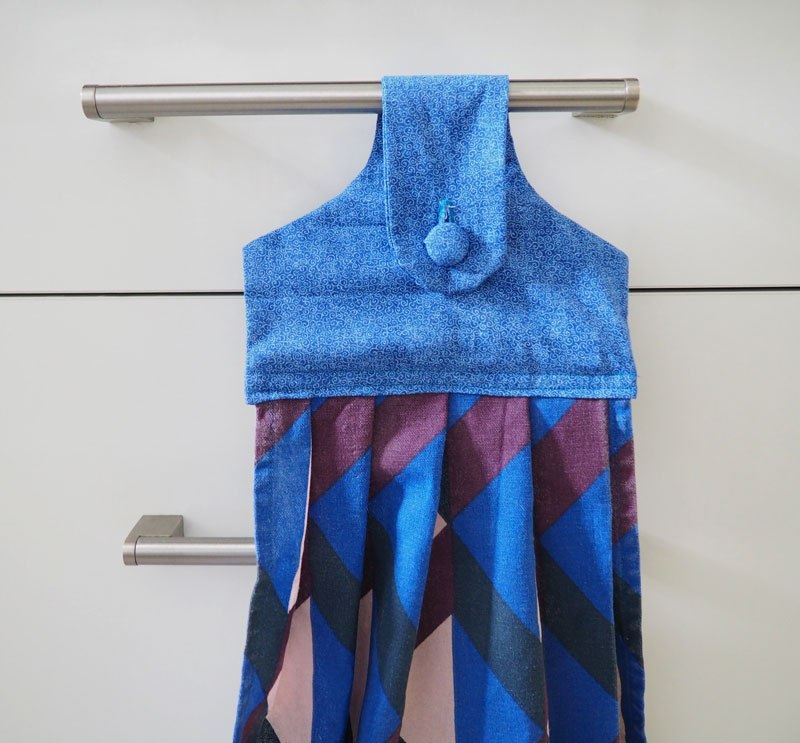
Place your button hole in position where it needs to go. Mark with a pin and then hand stitch your fabric covered button in place.
You have now finished your tea towel holders for your kitchen.
Free Embroidery Designs
We're excited to offer our free Echidna designs available for download. These free designs are perfect for those at a beginner or an advanced level. Add these designs to your stash and create incredible embroidery!
View all free designs >
Sewing, Quilting and Embroidery Machines
Interested in learning how to sew, quilt or embroider? Take a look at the innovative Brother machines available for purchase at Echidna Sewing. Wherever possible we will beat any deal and you will always receive ongoing service and support!
Find out more >
Learn to Sew or Embroider with Echidna Sewing
Come along to our fun-filled classes to learn more about sewing, embroidery and crafting. Classes cater for all skill levels, whether you're just starting out or already have advanced knowledge.
Find out more >
Echidna project material/ fabric requirements are an indication only and can seem to be generous. This has been intentional. Should you make a cutting or embroidery mistake you will have sufficient fabric to rectify your error.
Comments (3)
Prints wrong
By: Ann Chappuis on 21 May 2026I have printed off the template and the test square measures slightly under 50 mm. Will it make a difference? Ann
Echidna Sewing Response
Hi Ann, It sounds like your printer may have adjusted the paper. Try checking your printer is set to Actual Size not Scaled To Fit. If you are still having issues, give us a call and we can help you step by step.
Thanks for this tutorial: lots of good ideas and
7 May 2020I have been making these as gifts recently so it's uncanny that this popped up. I have a die that cuts out the towel topper part from Blue Wren Notions that I use with my Accuquilt. Pleating the handtowel/tea towel was a bit annoying as you know people won't want to iron them out once they come out the wash. Gathering them like you did in this tutorial is a much better idea.
Beautiful result.
By: JESS PEAK on 6 May 2020Thanks for a great tutorial. Your gathering the towel with the machine is a little different to my method, I pleat mine to fit the topper. Getting the most use of the machine, button holder and making the buttonhole also great advice. Many thanks, Jess


