All Projects


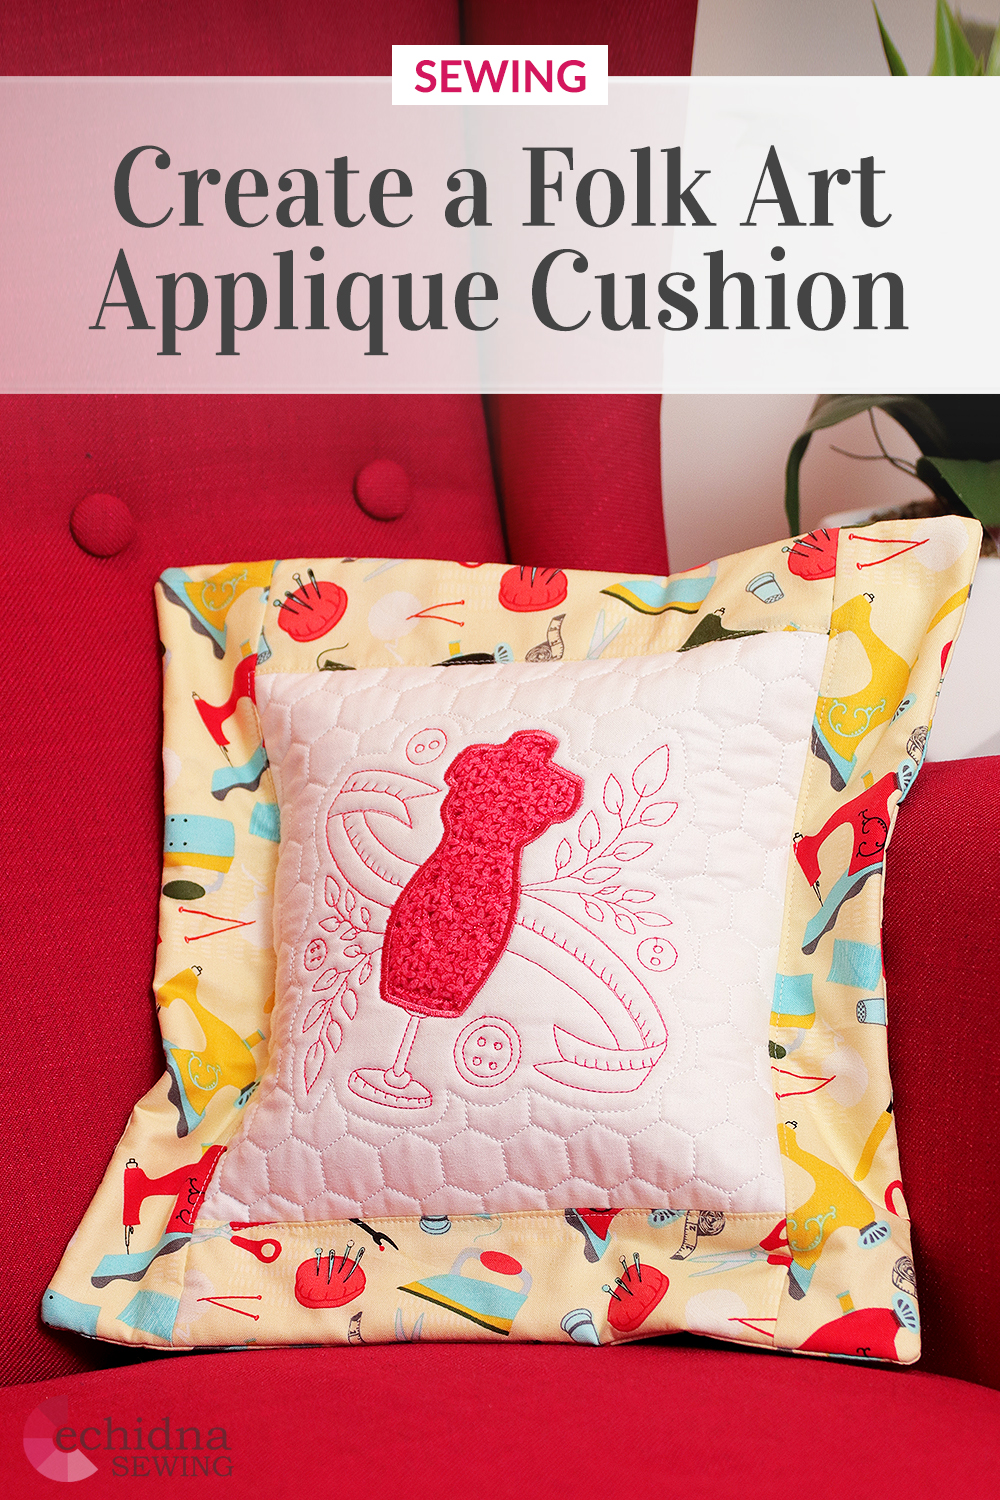
Folk Art Applique Pillow
Date Posted:19 January 2025
Materials required
- 1 x Folk art embroidery design or design of choice (we used Sewing Notions by Echidna)
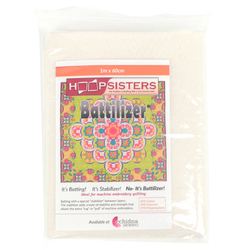
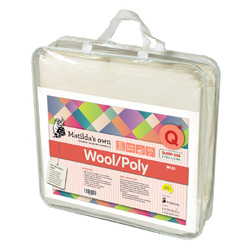
- Quilt Batting, Battilizer or Pellon
- White See-Through Cutaway
- 2 x Hemingworth thread – white & contrasting colour to match your contrasting fabric
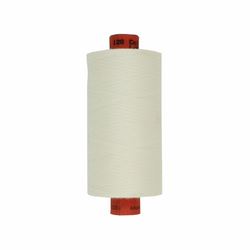
- 1 x Rasant thread (3000)
- Bobbin Thread
- 16” x 20” white fabric (1 x fat quarter)
- Shape to Create fusible woven interfacing
- Contrasting fabric for applique 3” x 5”
- ½ metre of contrasting fabric for cushion outer and back
- 30cm homespun fabric (create cushion)
- Cushion stuffing
- Echidna paper tape
The featured designs that we used in this project were created on a Brother Luminaire machine using My Design Center and only a .jpg file of the artwork.
Equipment required
- Sewing & embroidery machine
- Hoop used 270mm x 270mm (10⅝” x 10⅝”)
- Rotary cutter
- Self-healing cutting mat
- 6.5” x 24” Patchwork ruler
- 12.5” x 12.5” Patchwork ruler
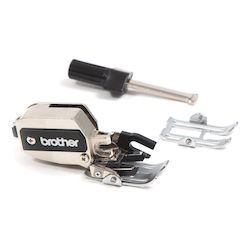
- Dynamic walking foot
- Mini iron
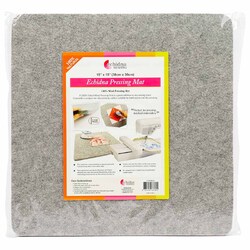
- Wool pressing mat
- Purple thang
Method
- Cut a 15” x 18” piece of the white fabric, Shape to Create, See-Through Cutaway & batting.
- Iron Shape to Create onto the back of the white fabric.
- Hoop altogether in the embroidery hoop, so that the fabric is first followed by the batting and then the See-Through Cutaway.
- Thread your machine with the contrasting thread colour.
- Select applique embroidery design and stitch the applique placement line.
- Place the applique fabric so it covers the applique placement line, tape in place.
- Stitch the applique shape, and trim ⅛” from the edge of the stitching line.
- Continue to stitch the rest of the Folk Art embroidery design.
- Change thread to white and complete the quilting design.
- Unhoop and set aside.
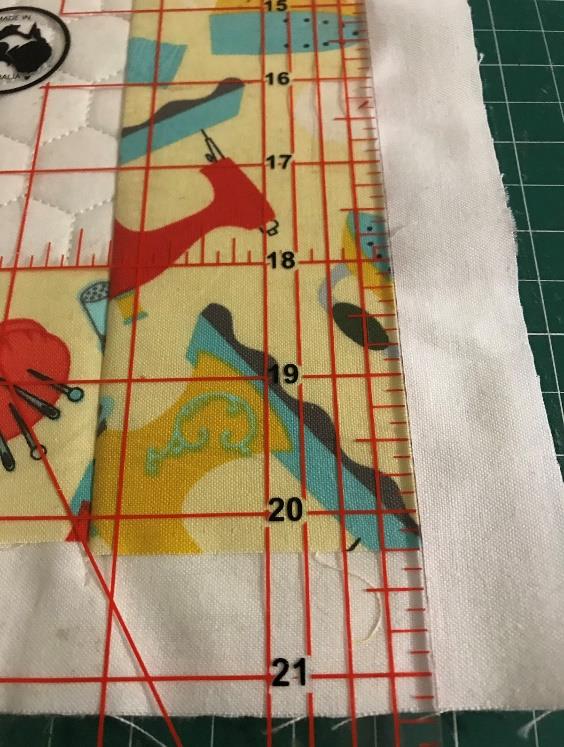
- Cut 2 x 2.5” strips of the contrasting fabric.
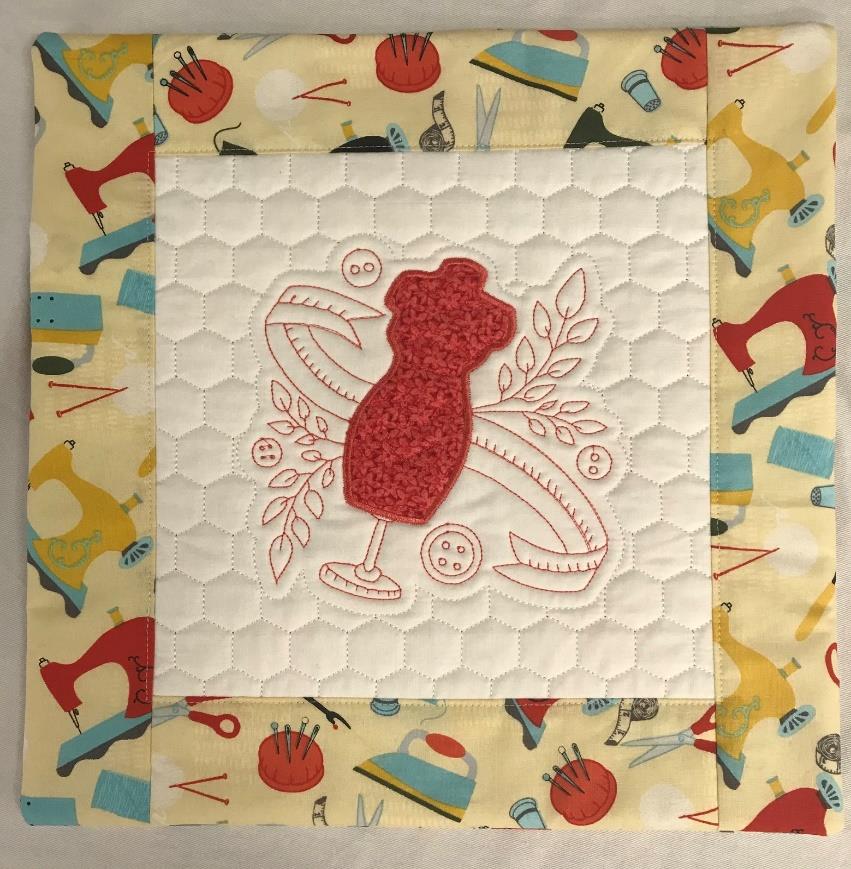
- Measure the top and bottom along the embroidery design, subcut two strips of the contrasting fabric to this size.
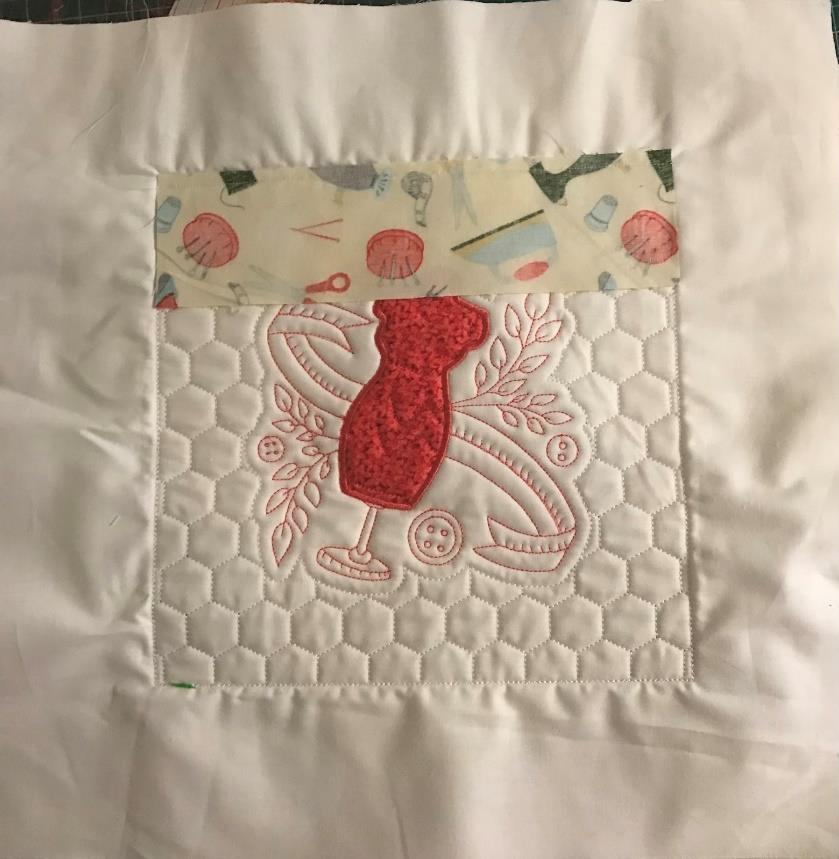
- Keep the layers together, and using a ¼” seam attach the top and bottom onto the embroidery.
- Measure from the top to the bottom along the side of the embroidery, including the just added contrast strips. Subcut two strips of the contrasting fabric and attach to the sides using a ¼” seam.
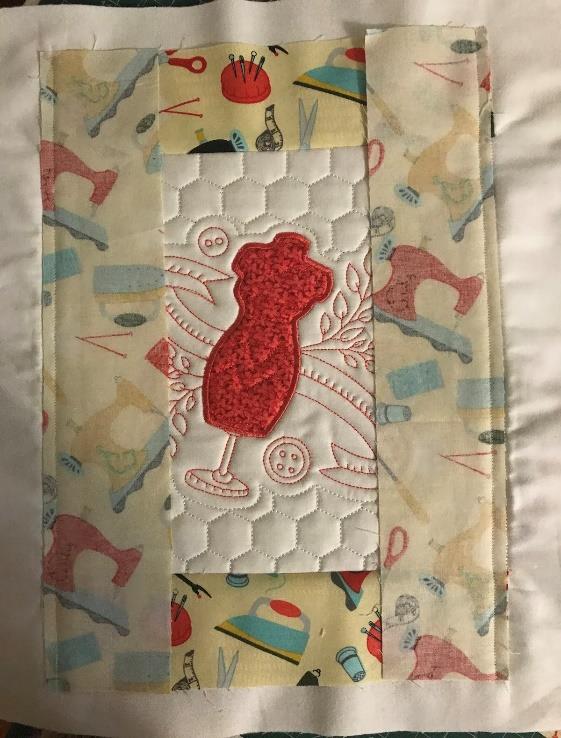
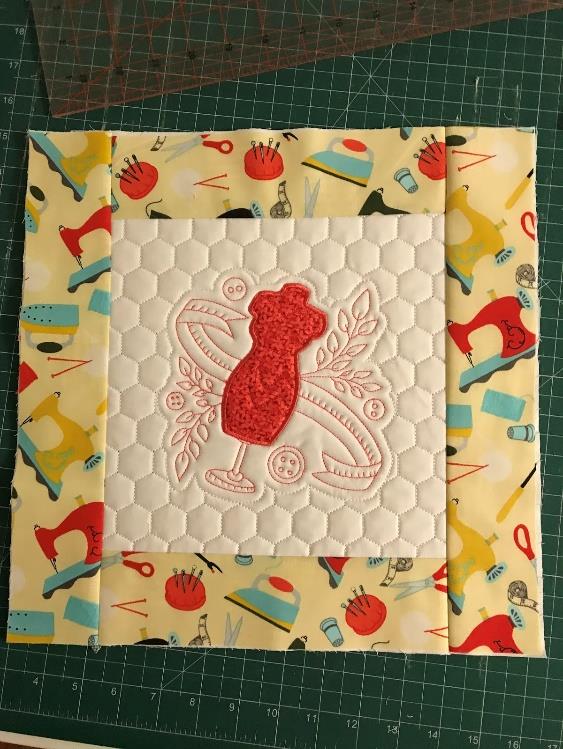
- Press the extra sashing pieces open revealing the embroidery.
- Trim the block back to the sashing, press.
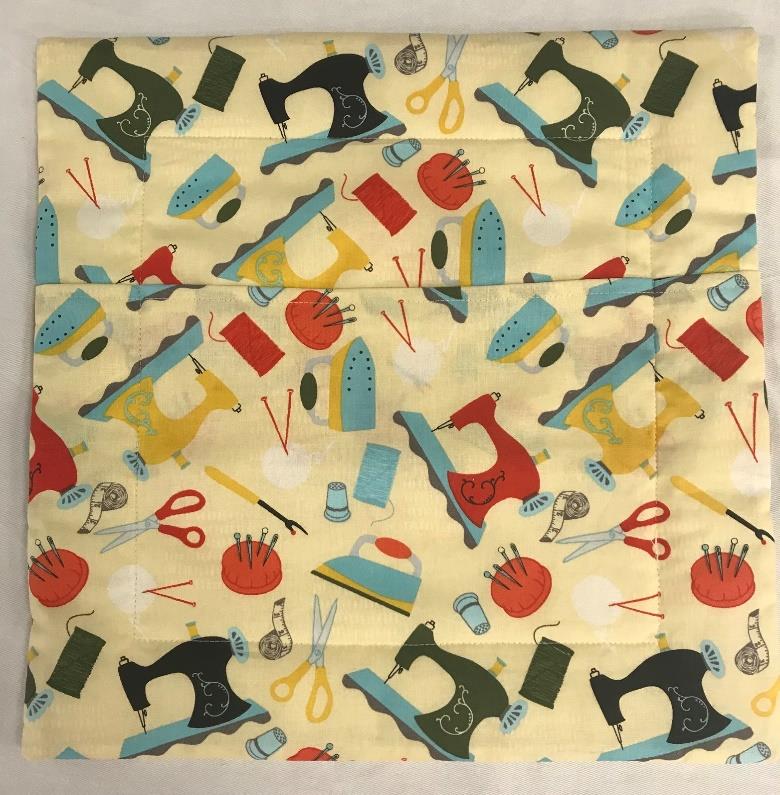
- Measure the size of the square and cut two 8” x 13” rectangles to create the back of the cushion.
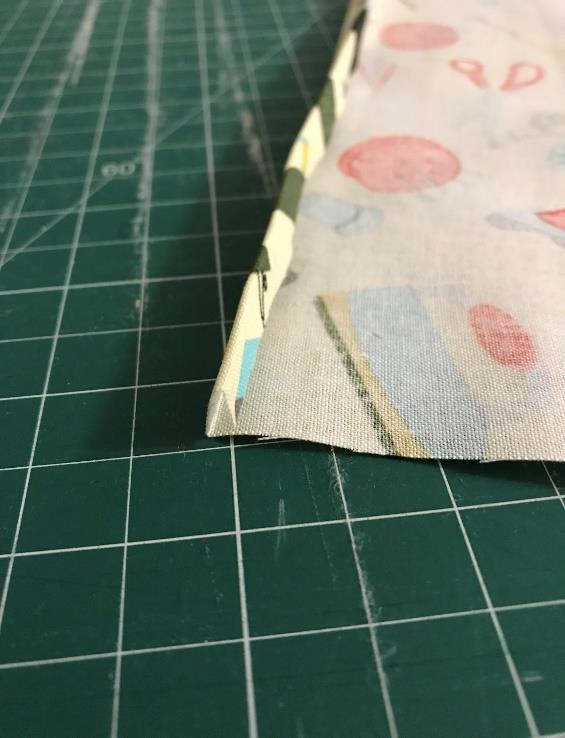
- Fold over the top edge on each rectangle ¼”. Press. Fold ¼” again, press and sew.
- Place one rectangle on the back of the cushion right sides together, pin in place.
- Place the second rectangle on the cushion overlapping the other, right sides down, covering the entire cushion. Pin in place. This creates an envelope closure to slip a cushion into.
- Using a ¼” foot stitch around the outside of the cushion sewing the rectangles in place.
- Trim across each corner and flip the cushion in the right way. Using a purple thang, poke the corners out. Press.
- Flip the cushion over, increase the stitch length to 3 and top stitch around the embroidery design on the border fabric. Ensure the envelope closure at the back of the cushion is lying flat.
- Finally cut 2 x squares 10 ½” x 10 ½” from the homespun fabric. Sew around the outside leaving a 2” gap for stuffing. Stuff with cushion stuffing and slip stitch close. Insert into the cushion.
Products we recommend for this project


Free Embroidery Designs
We're excited to offer our free Echidna designs available for download. These free designs are perfect for those at a beginner or an advanced level. Add these designs to your stash and create incredible embroidery!
View all free designs >
Sewing, Quilting and Embroidery Machines
Interested in learning how to sew, quilt or embroider? Take a look at the innovative Brother machines available for purchase at Echidna Sewing. Wherever possible we will beat any deal and you will always receive ongoing service and support!
Find out more >
Learn to Sew or Embroider with Echidna Sewing
Come along to our fun-filled classes to learn more about sewing, embroidery and crafting. Classes cater for all skill levels, whether you're just starting out or already have advanced knowledge.
Find out more >
Echidna project material/ fabric requirements are an indication only and can seem to be generous. This has been intentional. Should you make a cutting or embroidery mistake you will have sufficient fabric to rectify your error.


