All Projects
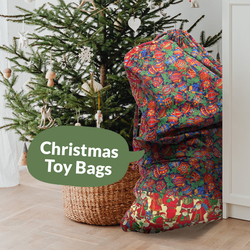
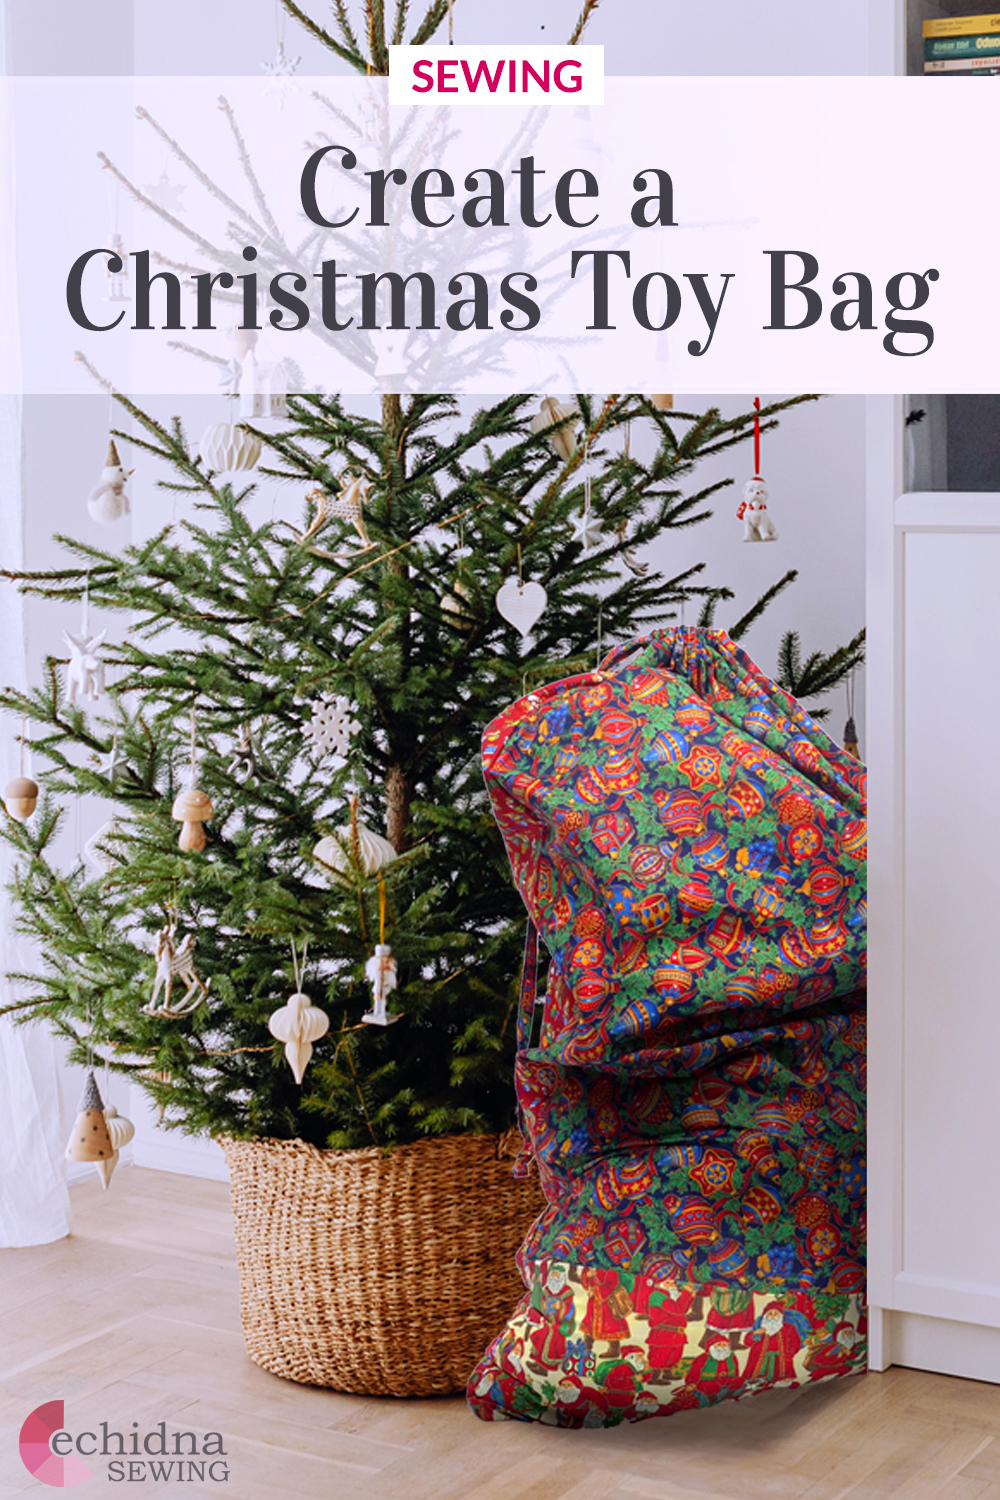


Christmas Toy Bag
Date Posted:6 December 2024
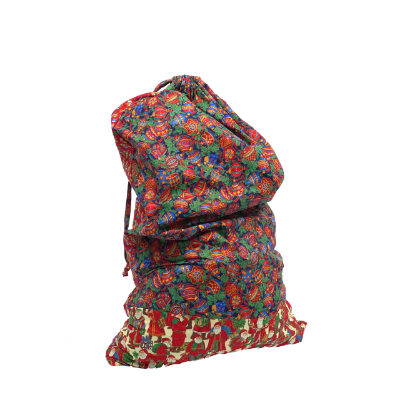
Creating this Christmas Toy Bag project will give you all the festive holiday feels! They are the perfect creation for you to hide gifts for Christmas, or for kids to store their toys.
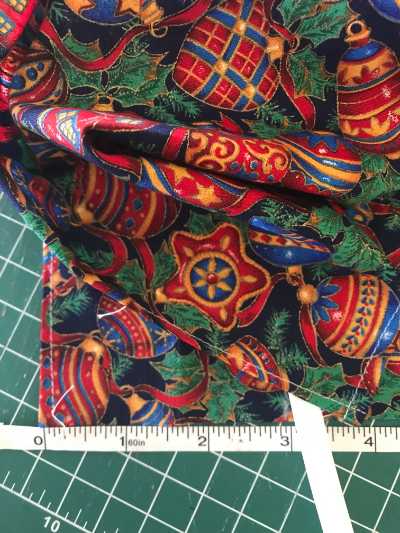
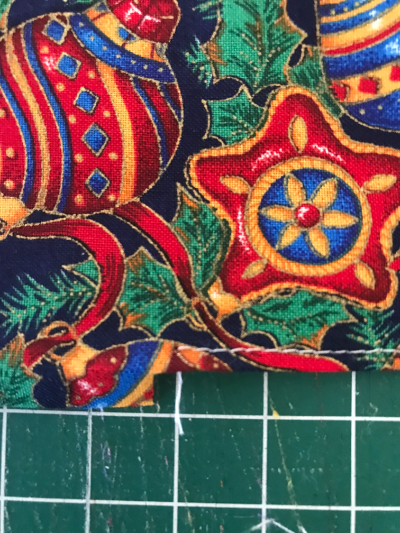
Use a funky Christmas fabric to make it extra merry or choose any fabric and create a toy bag of your own theme.
Requirements:
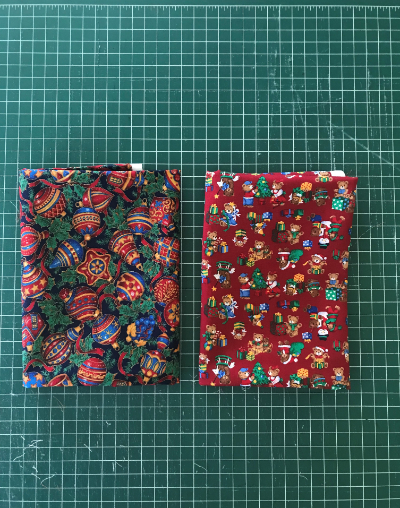
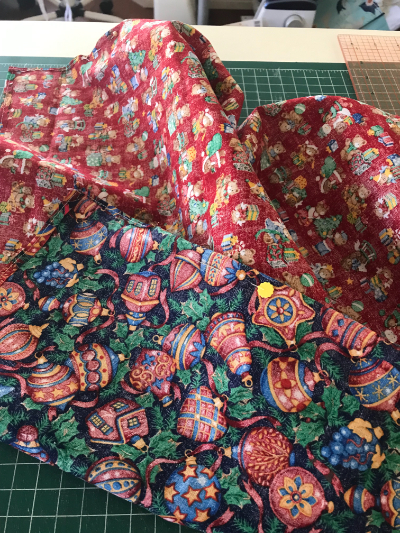
- 1.5 metres of 2 x different fabrics
- Rasant thread (closest match to your fabric)
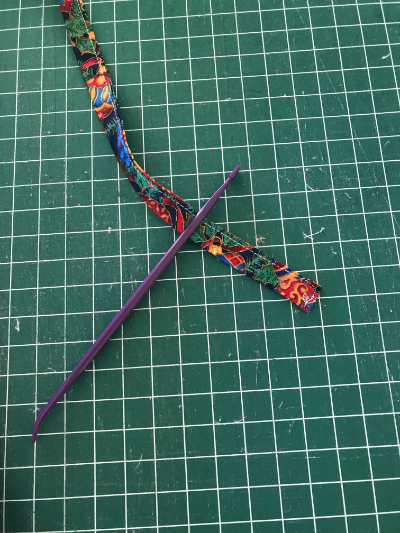
- Purple thang or safety pin
- Sewing machine
- Scissors
- Rotary cutter and mat
- Iron
Method:
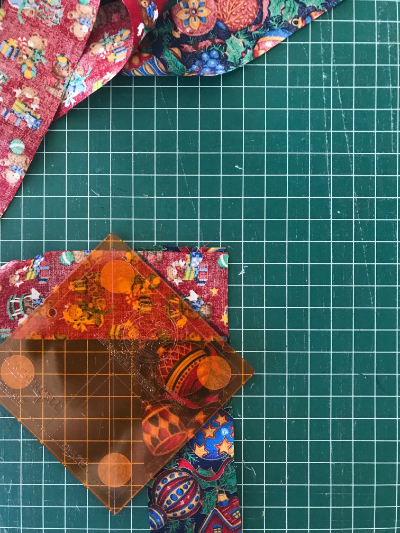
1. Cut a rectangle measuring 32” wide x 39.5” long from each fabric.
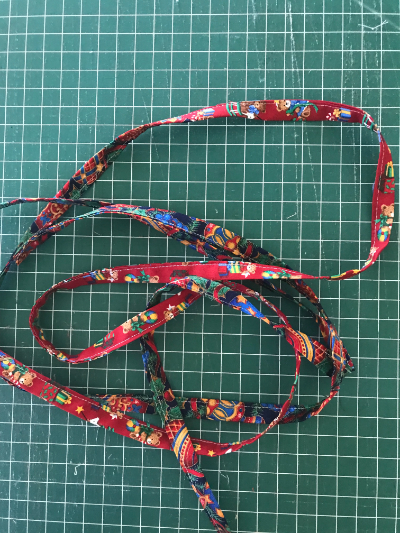
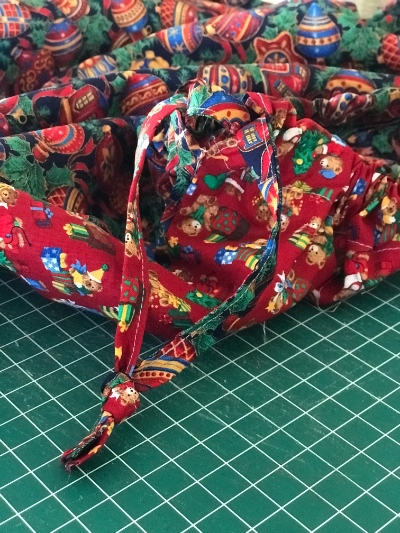
2. From the remaining fabric cut 4 x 2” strips. Join together on the cross to create one long strip.
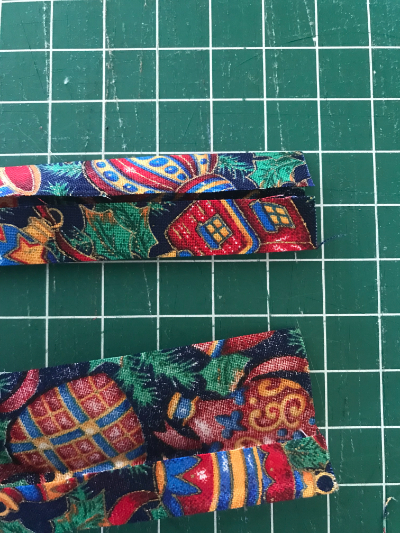
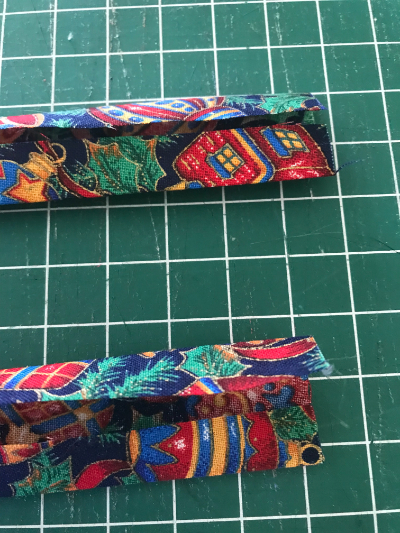
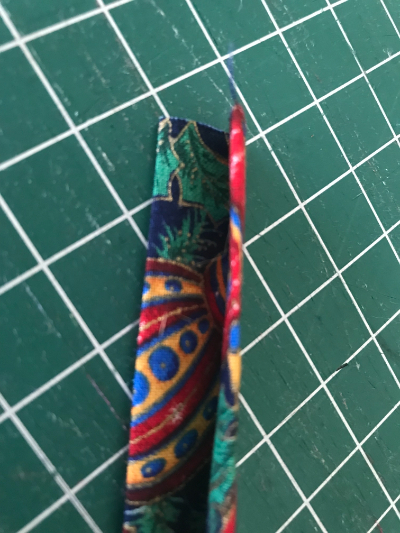
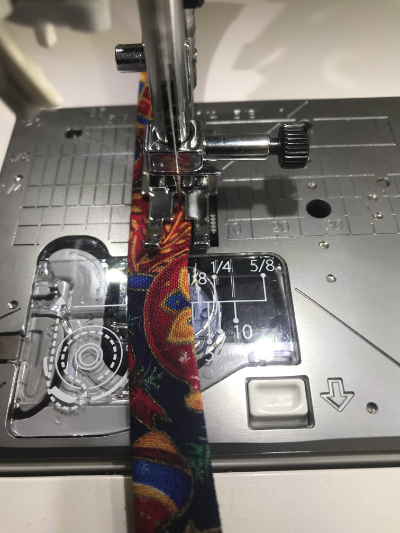
3. Iron the strip in half along the entire length with wrong sides together. Lay the strip flat on the ironing board with the right side on the board. Open the strip and fold each side into the centre of the strip. Iron each half into the centre of the fabric. Fold both sides together, iron then stitch down the open length of the strip to close. Set aside.
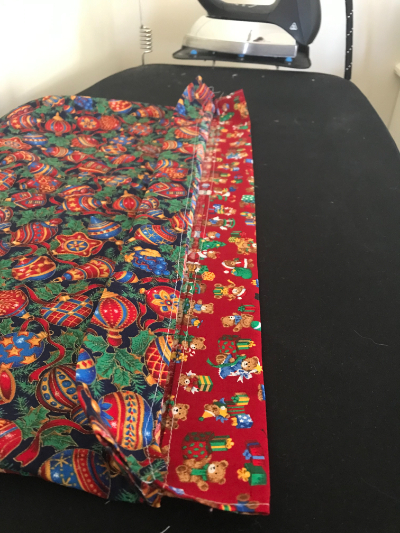
4. Fold and press the top edge of each rectangle by ¼” and stitch.
5. Take one rectangle and measure and mark 3” down on the longside each side of the rectangle. Cut the fabric ¼” in and fold the 3” piece under and stitch down. Repeat this step for the second rectangle.
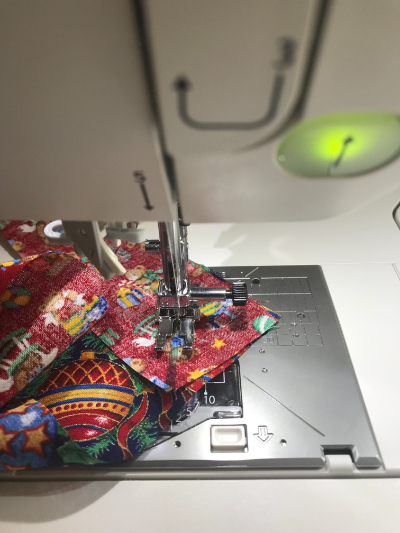
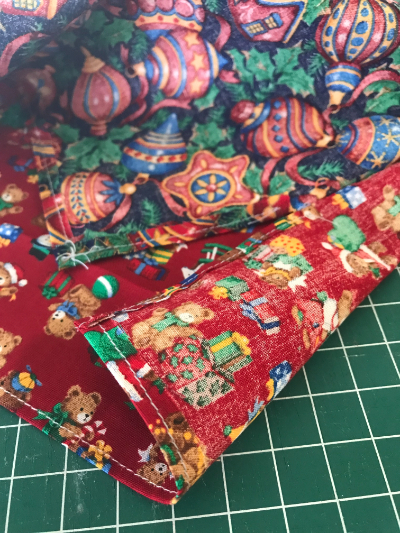
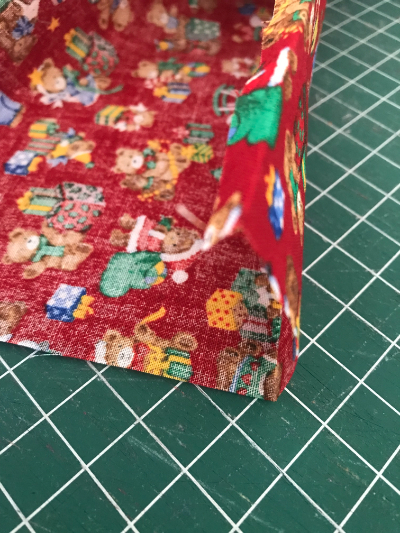
6. You have two options for sack construction, one using an overlocker and the second using a French seam which enclose the raw edges. If you are using an overlocker, by-pass steps 6 and 7! Using a four thread overlock, starting at the top of the sack stitch down each side first, then across the bottom. To use the French seam method, take both rectangles and place WRONG sides together. Pin from the top of the sack and use a ¼” seam to stitch each side.
Trim ⅛” off the seam, being careful not to cut the stitching. Turn the sack to the right side, press the seams, and pin the inside seam. Stitch each side then turn the right side out.
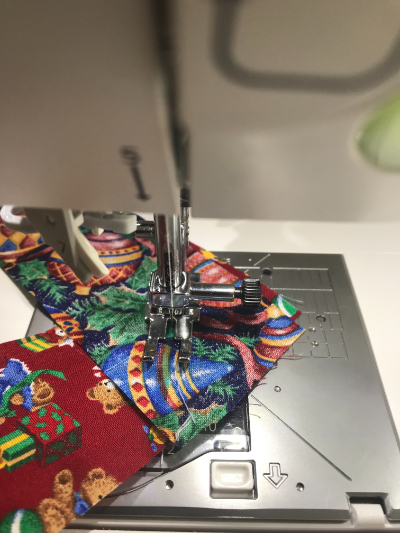
7. Using the same steps as above, create a French seam for the base of the sack by pinning WRONG sides together, stitch a ¼” seam along the bottom and trim to ⅛”. Turn the sack inside out, pin and stitch on the WRONG side enclosing the raw edges.
8. Turn the sack to the right side. Fold and press 1 ½” on the top edge of each side of the sack to create a casing for the sack tie, stitch along the top.
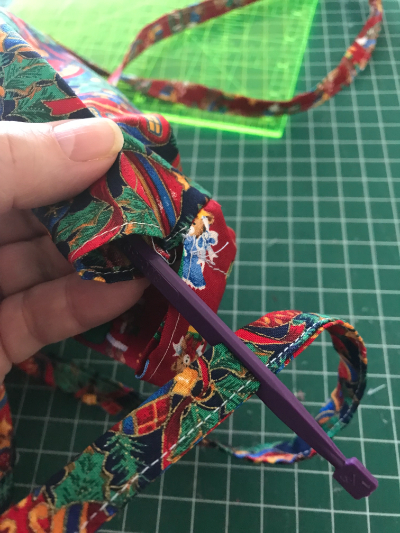
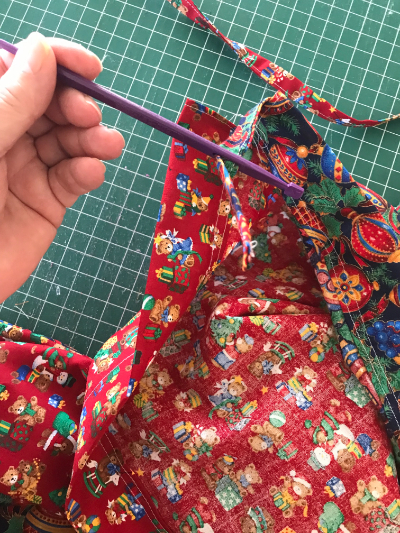
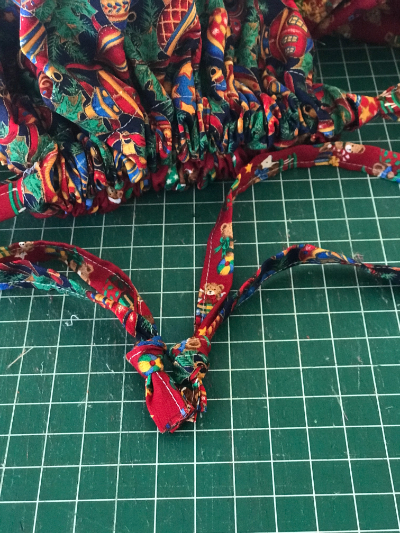
9. Take the tie completed in step 3 and cut in ½”. Take one tie and a Purple Thang and thread the tie through the sack casing. Tie a knot to secure it in place. Repeat for the second tie.
10. Project complete!
DONATE SOME TO A CHARITY
These Christmas Toy Bags can also be donated to charity. If you want to contribute to a great cause, the charities listed below accept our handmade toy bags to gift to children. Just send your creations in to the mailing address provided.
Are you a charity that would accept this item? Contact us to have your details added here.
QLD
Magic Moments Foundation
Address:
Brisbane Basket Brigade
Graeme Sherlock
c/- Unit 3241/30 Hollins Crescent
New Farm QLD 4005
Australia
VIC
Magic Moments Foundation
Address:
Melbourne Basket Brigade
Alex Fitzgerald
17 Cliff Street
South Yarra VIC 3205
Australia


Free Embroidery Designs
We're excited to offer our free Echidna designs available for download. These free designs are perfect for those at a beginner or an advanced level. Add these designs to your stash and create incredible embroidery!
View all free designs >
Sewing, Quilting and Embroidery Machines
Interested in learning how to sew, quilt or embroider? Take a look at the innovative Brother machines available for purchase at Echidna Sewing. Wherever possible we will beat any deal and you will always receive ongoing service and support!
Find out more >
Learn to Sew or Embroider with Echidna Sewing
Come along to our fun-filled classes to learn more about sewing, embroidery and crafting. Classes cater for all skill levels, whether you're just starting out or already have advanced knowledge.
Find out more >
Echidna project material/ fabric requirements are an indication only and can seem to be generous. This has been intentional. Should you make a cutting or embroidery mistake you will have sufficient fabric to rectify your error.

