All Projects
 Previous Next


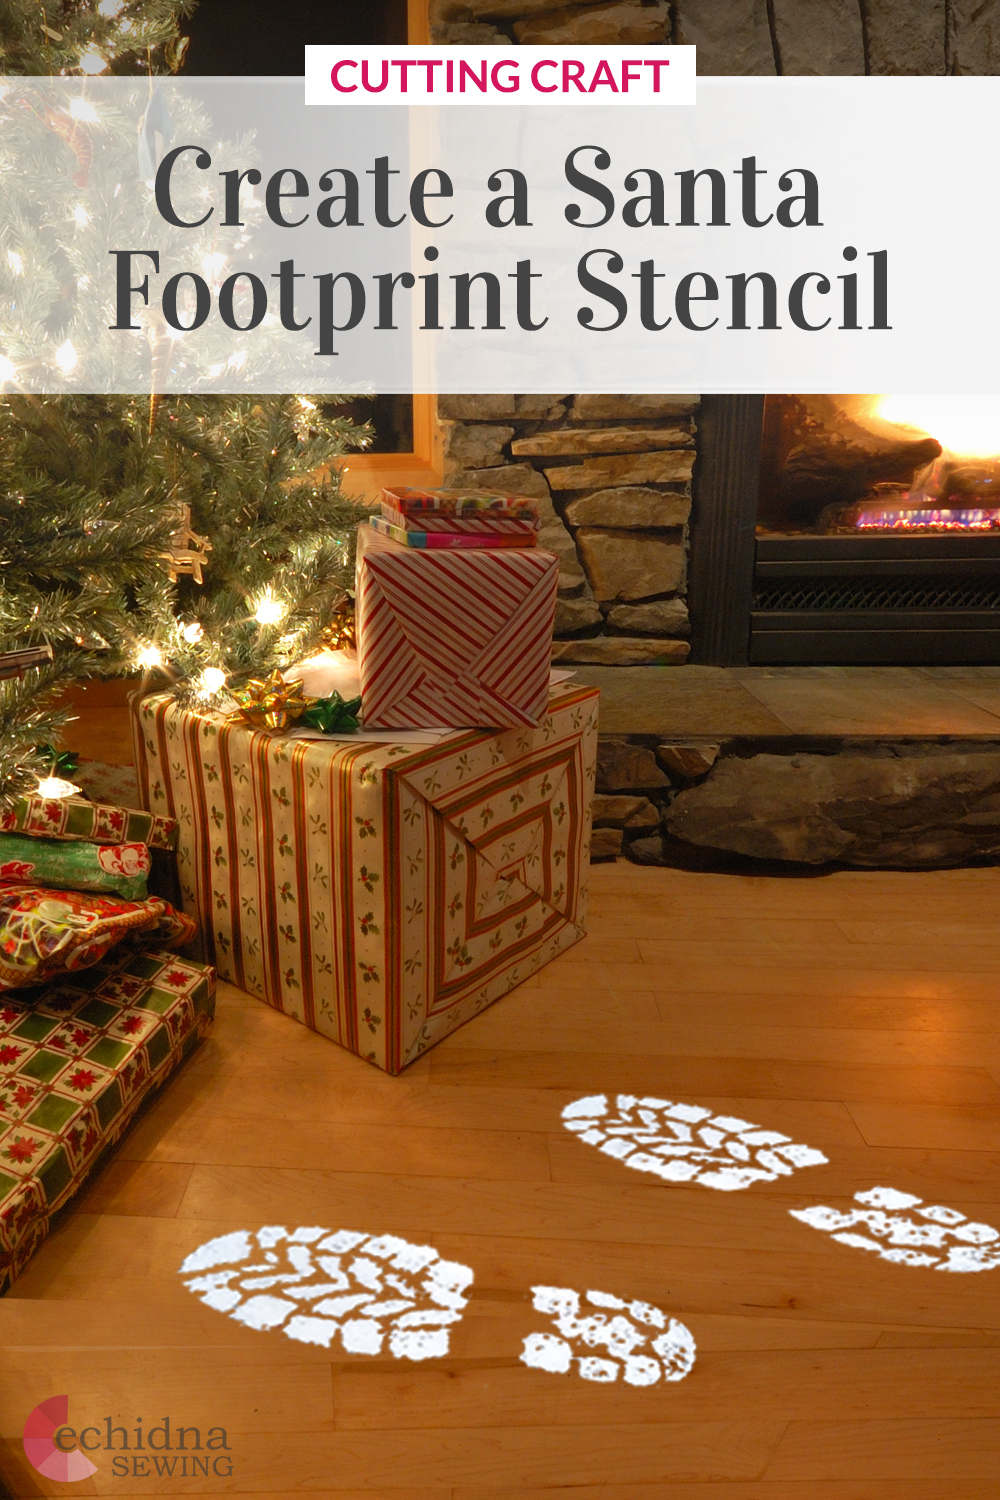
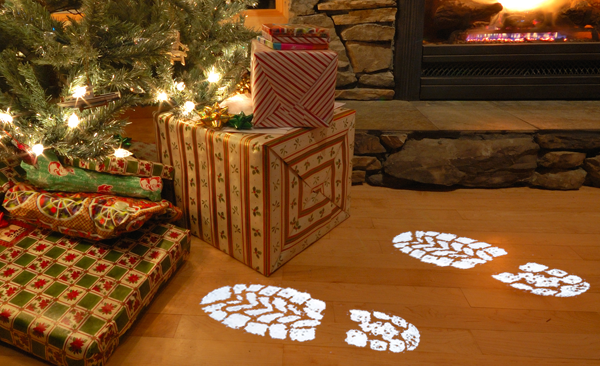
Santa Footprint Stencil
Author: Nicole H Date Posted:13 December 2024
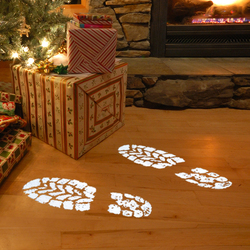
Christmas is a magical time of year, and one of its most exciting aspects for kids is when Santa comes to visit. For many, it is the highlight of the holiday season. But what if there was a way to make the experience even more magical? With a cutting machine, you can make an exact replica of Santa's footprints for your kids to find and experience the wonder of Christmas. This Free cutting machine Santa Footprint gives you the ability to create a life-like footprint, making it look like Santa has actually been in your home.
This project is a great beginner project for those who have just started on the ScanNCut journey!
Download the files for this project →
What you will need:
- Cutting machine (Brother ScanNCut, Cricut, Silhouette etc)
- One 12" x 12" scrapbooking card (A4 card can be used – your footprint may be smaller)
- Flour/Icing sugar/Baby powder (or similar substance that is easy to clean)
- Design Files Download Now →
Step overview:
Step one
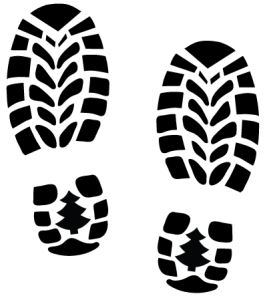
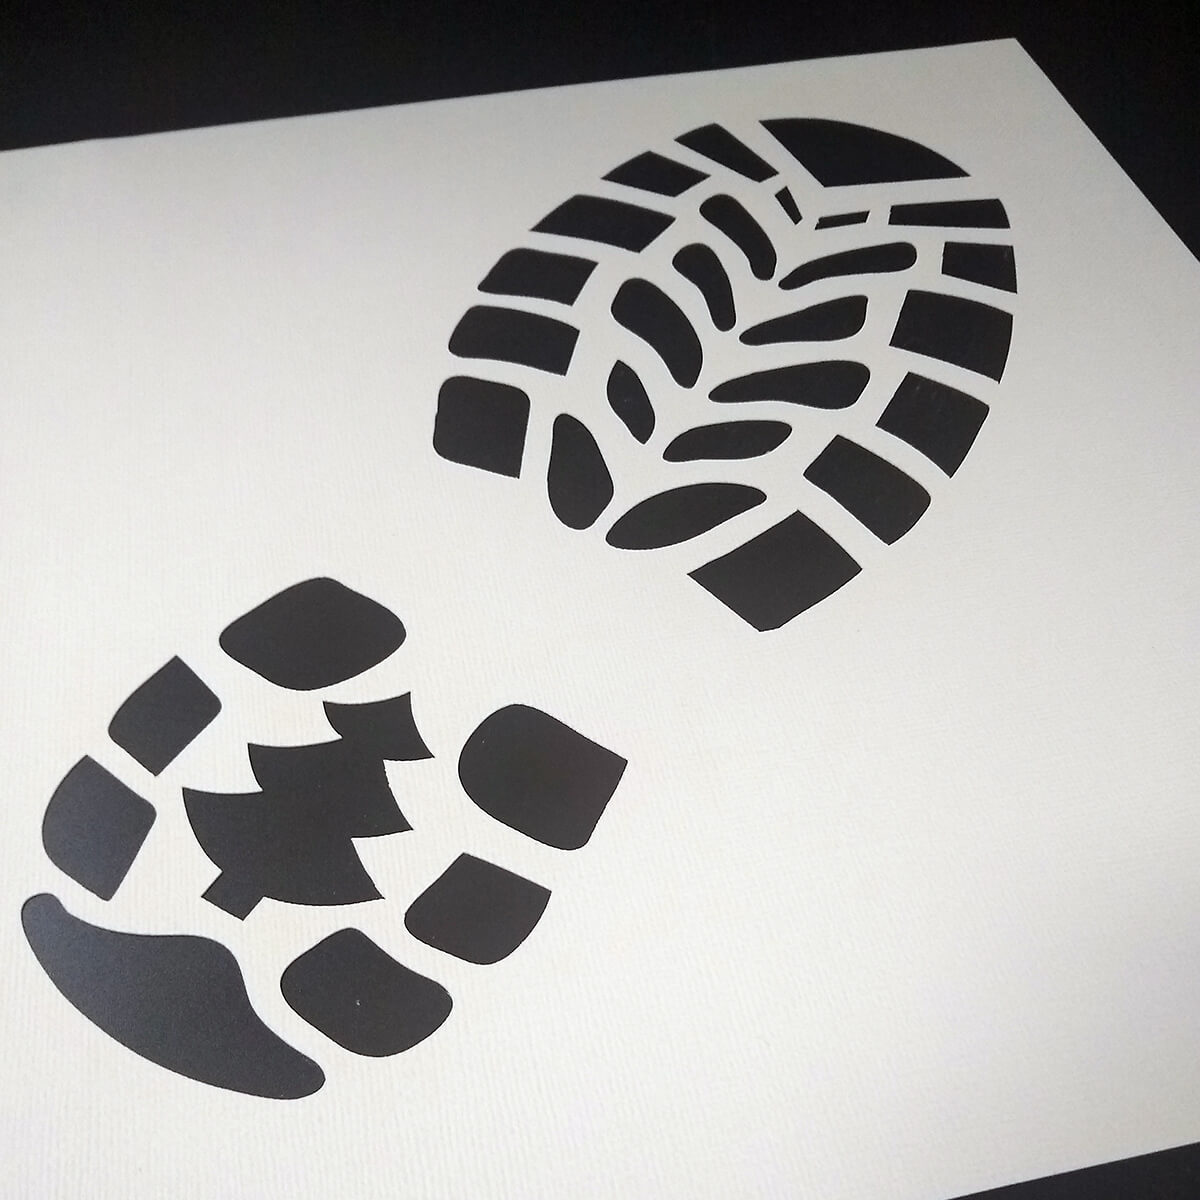
Cut out the foot shape from a piece of scrapbooking card.
Step two
Once completed, unload the mat from the machine and and gently remove the cut cardstock.
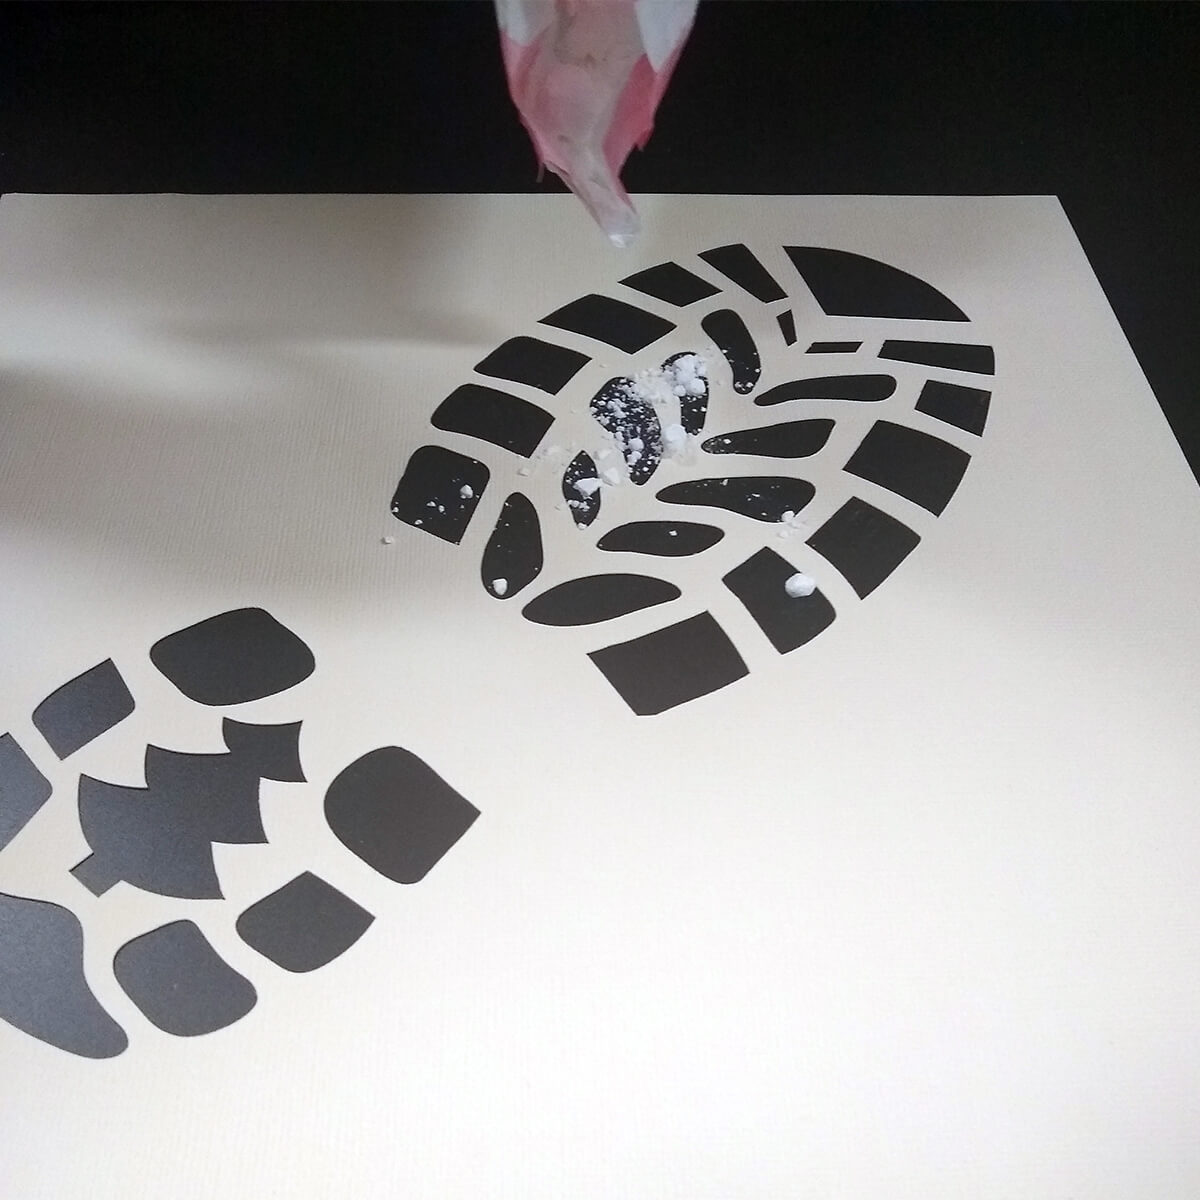
Step three
Place the template on floor in your desired location and gently sprinkle flour/icing sugar/baby powder or similar.
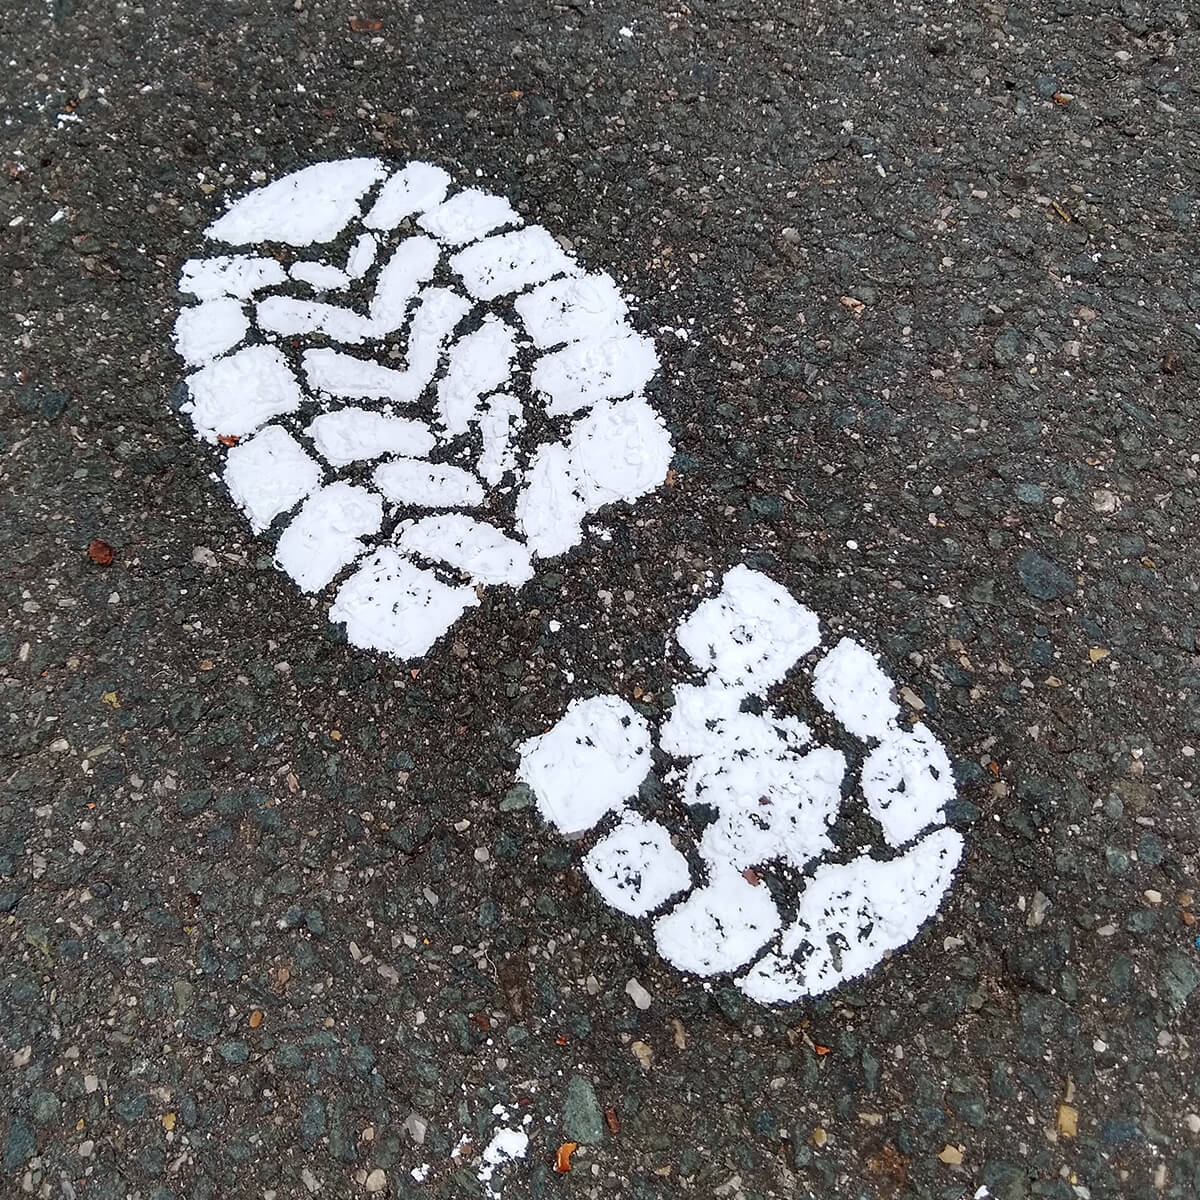
Step four
Create a trail of foot prints as desired.
Detailed instructions:
- Download the .svg file and save it onto a USB to plug it directly into your cutting machine.
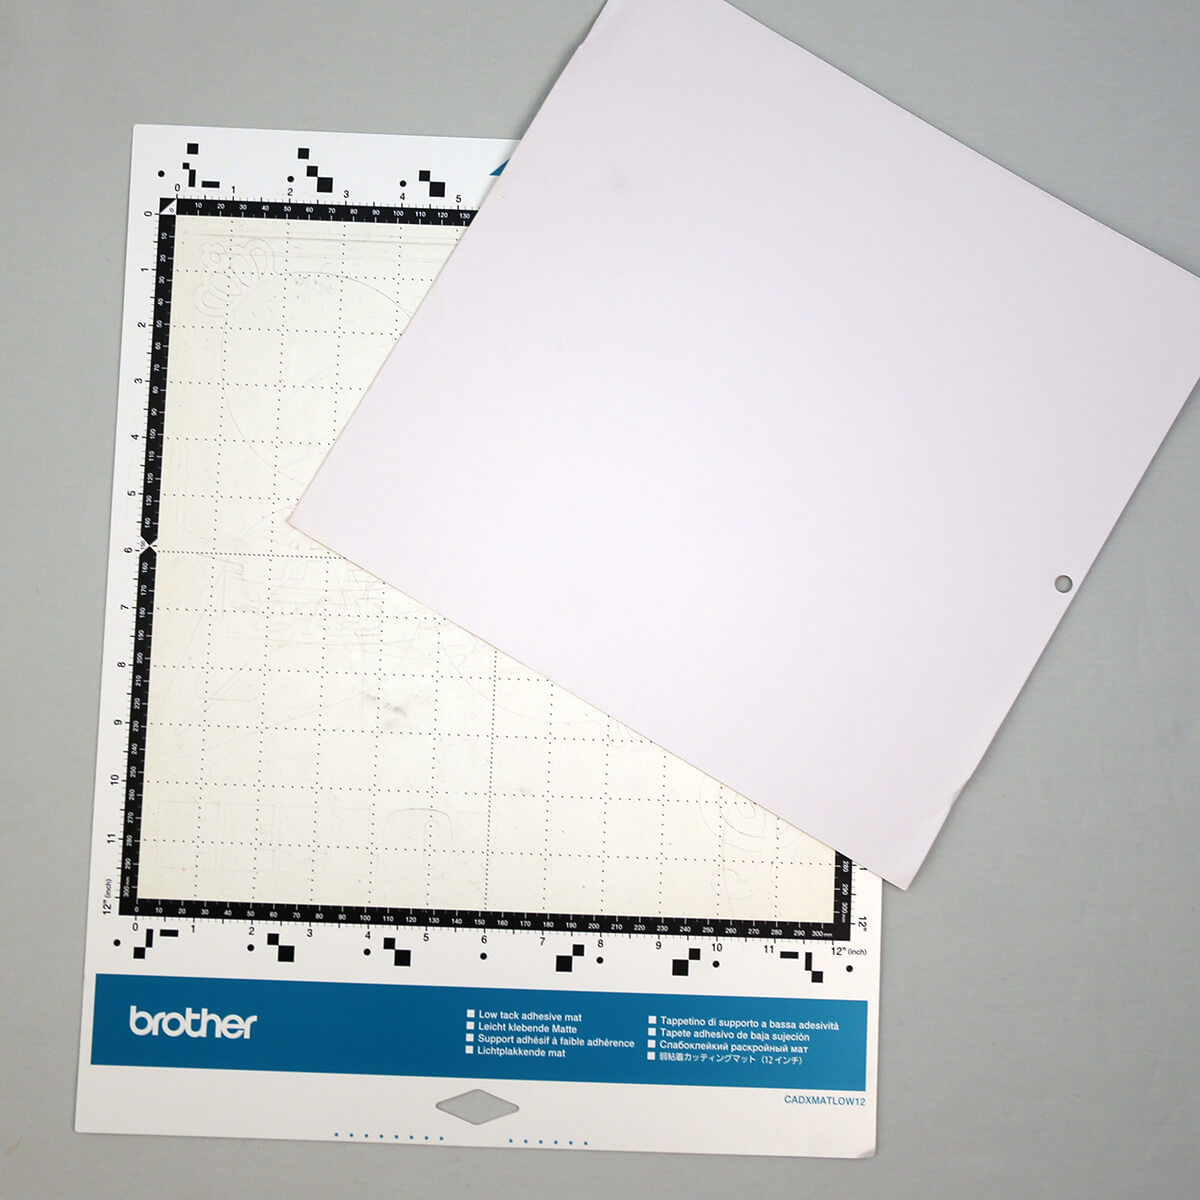
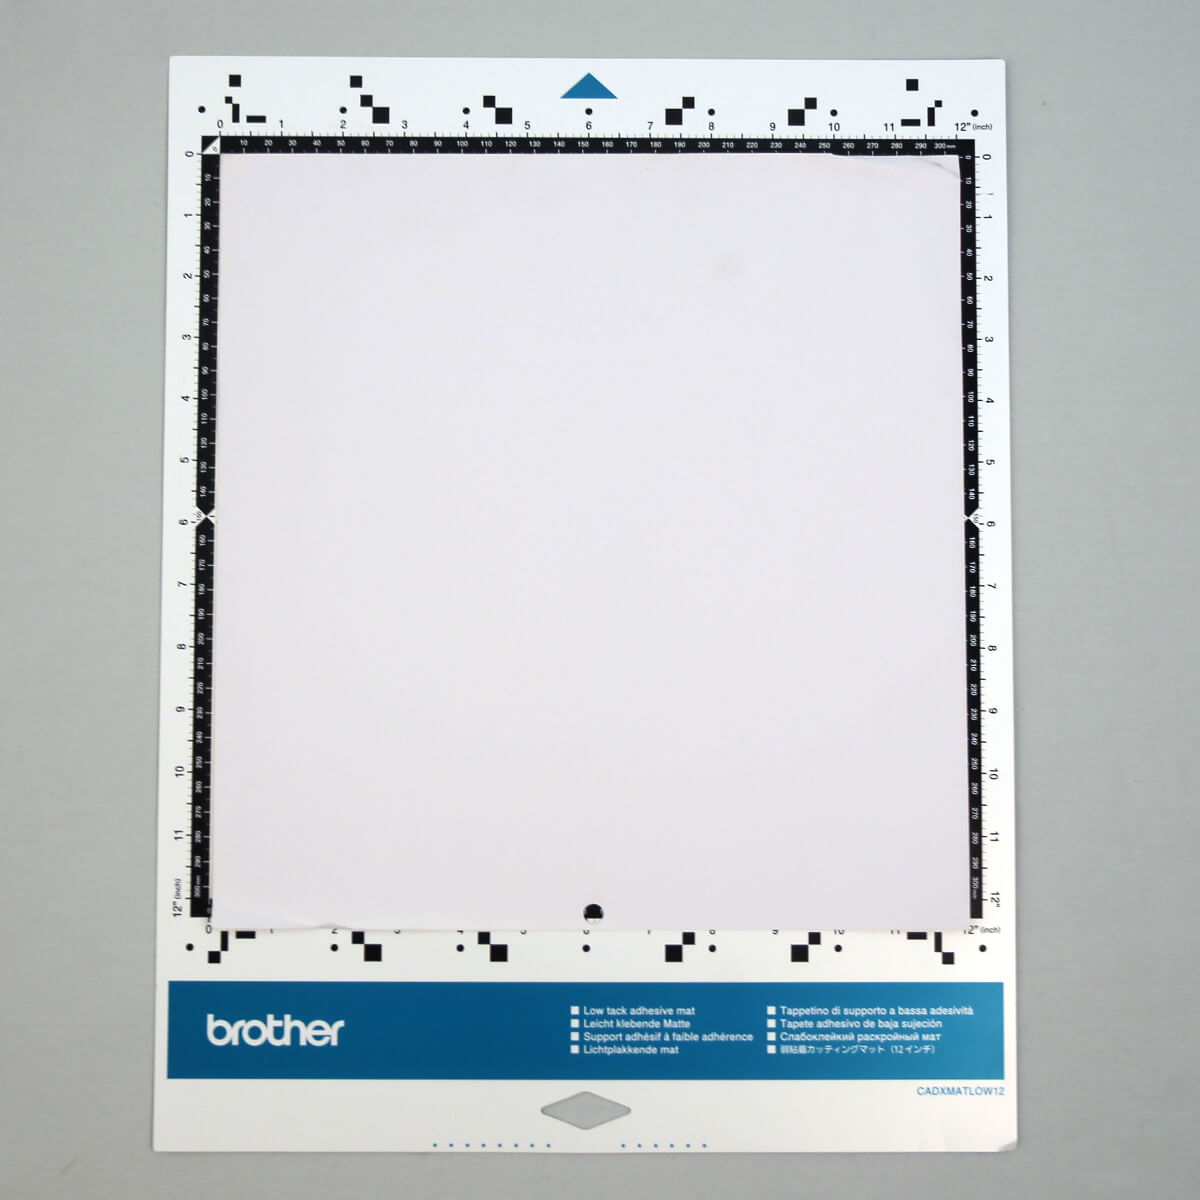
- Place the scrapbooking card on your machine mat. Use masking tape to hold the cardstock firmly in place if needed.
- Load the mat into your machine.
- Load the SantaFootprint.svg. (If you have a Brother ScanNCut do a quick scan of your mat to make sure the design is positioned correctly on top of the cardstock).
- Adjust your machine settings to allow for the cardstock thickness. (The SDX range of Brother ScanNCut will do this automatically if you if you have enabled this setting)
Tip: We suggest doing a test cut to ensure you have your settings correct for the medium you are using. Cutting a small hole in the corner of your mat is a lot less upsetting than cutting a large design straight through your mat.
- Proceed with cutting the design.
- Once the machine has finished cutting your design, unload the mat from the machine and gently remove the cut cardstock. You will now have a template of a single boot.
Tip: You can either cut out 2 boots or use one and simply flip it over to create a right foot.
- Place the template on floor in your desired location (we suggest in front of a fireplace or near the Christmas tree) and gently sprinkle flour/icing sugar/baby powder or similar substance to fill in the cut out sections. Take extra care not to spill over the edge of the card otherwise you will be left with an outline.
- Repeat Step 9 until you have created a trail of foot prints as desired.
- Enjoy seeing the reaction on the kids faces when they discover Santa has left some footprints in or around the house!
Free Embroidery Designs
We're excited to offer our free Echidna designs available for download. These free designs are perfect for those at a beginner or an advanced level. Add these designs to your stash and create incredible embroidery!
View all free designs >
Sewing, Quilting and Embroidery Machines
Interested in learning how to sew, quilt or embroider? Take a look at the innovative Brother machines available for purchase at Echidna Sewing. Wherever possible we will beat any deal and you will always receive ongoing service and support!
Find out more >
Learn to Sew or Embroider with Echidna Sewing
Come along to our fun-filled classes to learn more about sewing, embroidery and crafting. Classes cater for all skill levels, whether you're just starting out or already have advanced knowledge.
Find out more >
Echidna project material/ fabric requirements are an indication only and can seem to be generous. This has been intentional. Should you make a cutting or embroidery mistake you will have sufficient fabric to rectify your error.
Comments (1)
Fun
By: Chris Simpson on 1 November 2023Oh, so much fun, the grandies will love this!


