All Projects
In The Hoop Bookmark
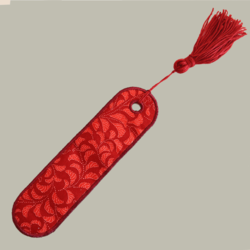
Create a practical and personalised bookmark completely in-the-hoop on your embroidery machine! This project is a great introduction to freestanding in-the-hoop embroidery techniques and combines fabric, stabiliser and satin stitching to create a sturdy finished bookmark with a neat eyelet ready for a tassel or ribbon. It’s perfect for gifts, teacher presents, book lovers or using up small fabric scraps.
About the Design
We’ve included the Double Rounded Bookmark embroidery design file for FREE with this project so you can stitch along step-by-step and create your own personalised bookmark.
Love creating in-the-hoop bookmarks? Check out the full In the Hoop Bookmark Collective Pack by Echidna for even more bookmark shapes and styles.
What You'll Need:
- Embroidery machine with 130mm x 180mm hoop (5" x 7")
- Embroidery thread + matching bobbin thread
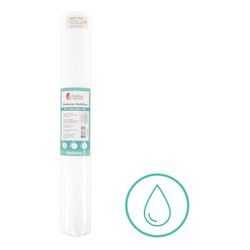
- Washaway Stabilizer
- 2 x cotton fabric pieces – 100mm x 200mm (approximately 4" x 8")
- 1 x Crispy Tearaway Stabilizer piece – 90mm x 190mm (approximately 3.5" x 7.5")
- Paintbrush
- Bowl of Warm Water
- Paper Towel or Towel
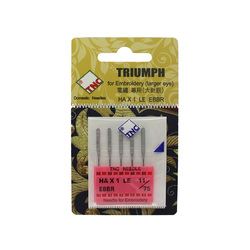
- 75/11 Embroidery Needle
- Paper Tape
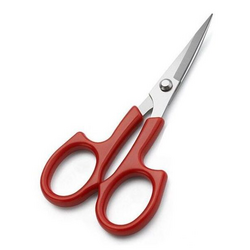
- Curved Appliqué Scissors
- Cutting Mat
- Rotary Cutter
- Patchwork Ruler
- Mini Iron
- Spray Starch
- Wool Pressing Mat
- Tassel or ribbon
- Free Design Download now →
Shop Online

Step Overview
Before You Start
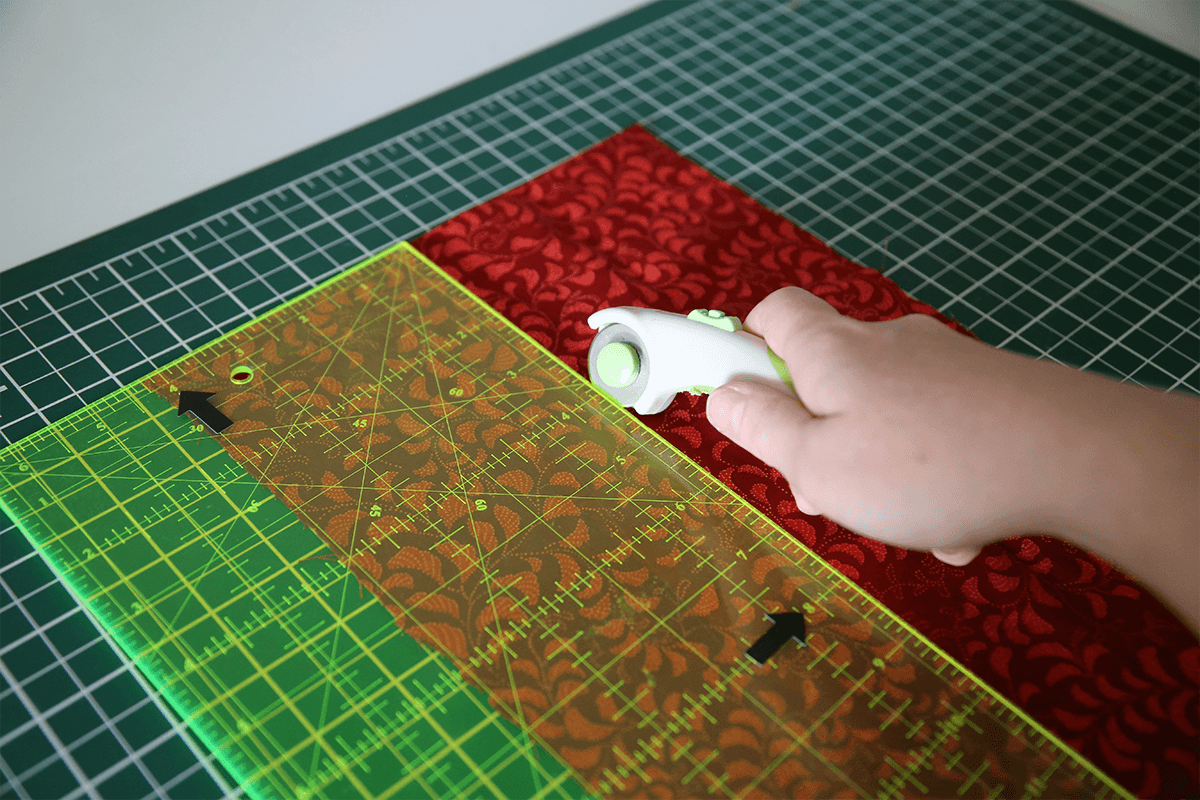
- Using your Rotary Cutter and Patchwork Ruler, cut the cotton fabric and Crispy Tearaway Stabilizer to size on your Cutting Mat.
- Wind a bobbin with embroidery thread to match your top thread.
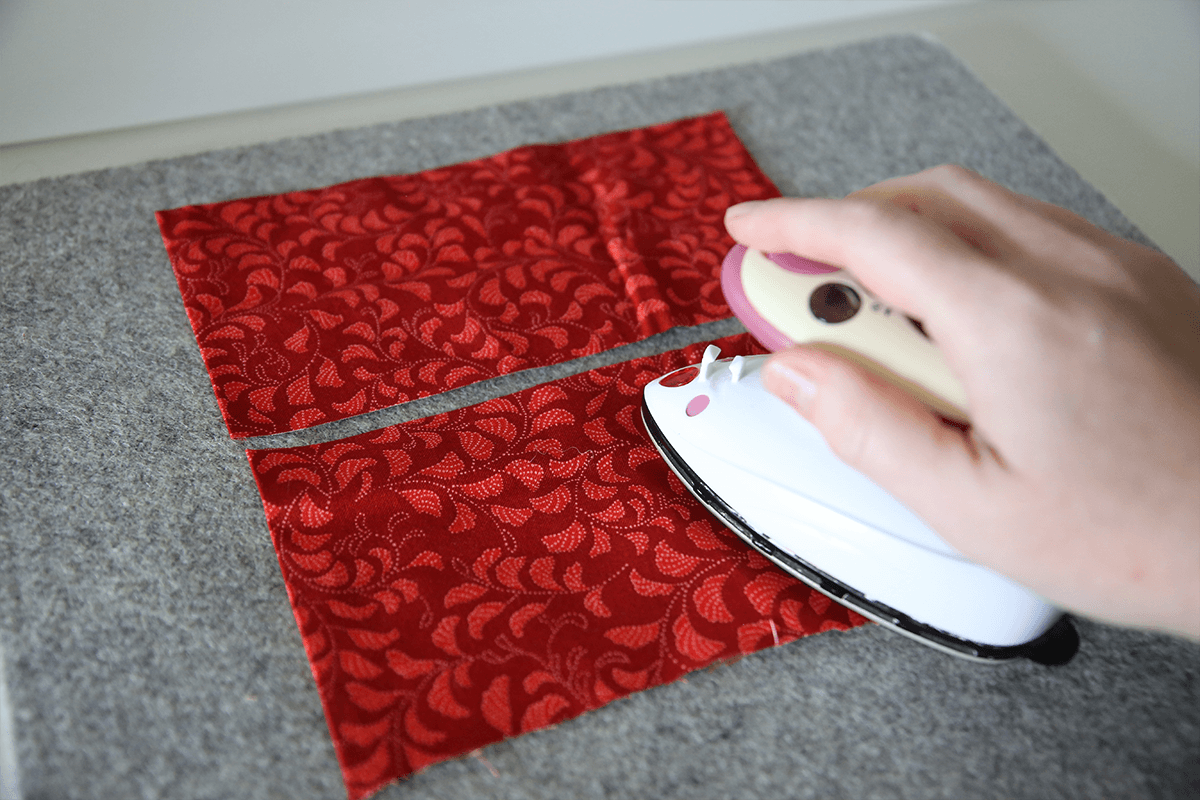
- Press both fabric pieces well using your Mini Iron on a Wool Pressing Mat. Using Spray Starch will help remove creases.
Stitching the Bookmark
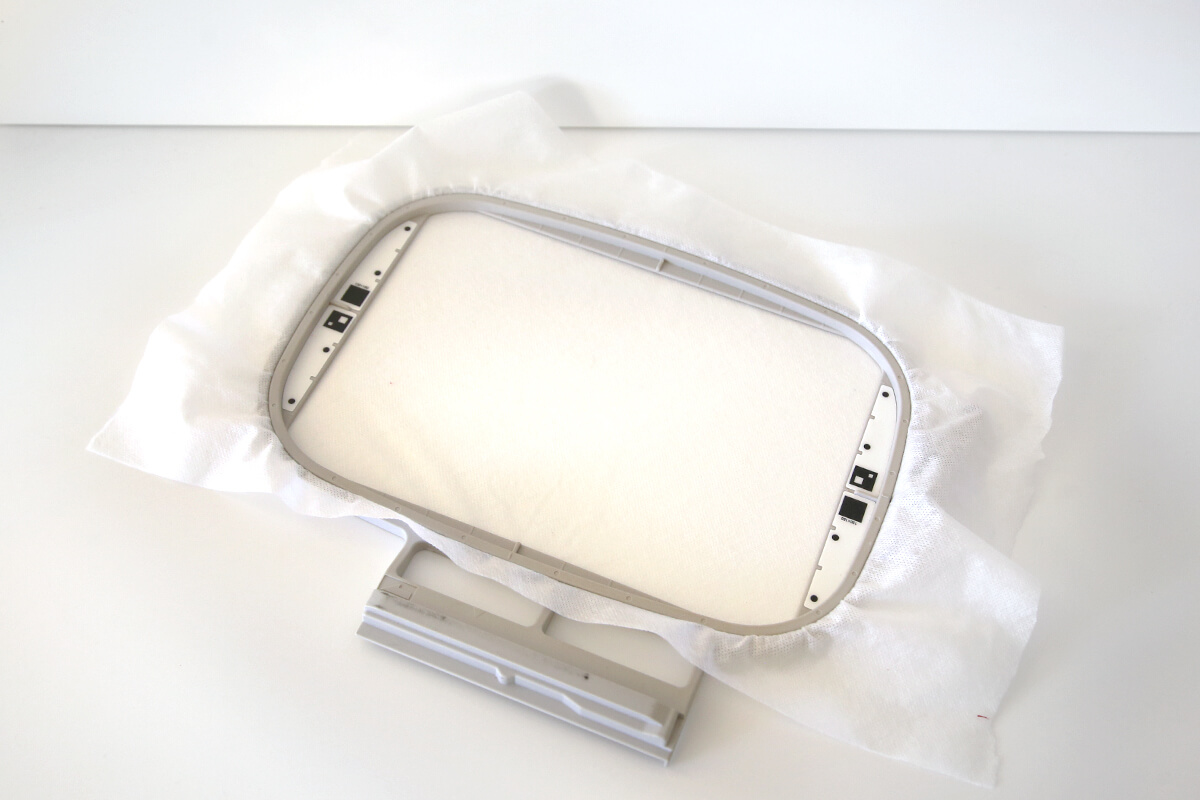
- Hoop two layers of Washaway Stabilizer in your 130mm x 180mm hoop (approximately 5" x 7").
- Load the design into your embroidery machine.
- Thread your machine with the thread colour for the hidden construction stitches. This colour will not be visible in the finished bookmark.
- Stitch the placement line [COLOUR 1].
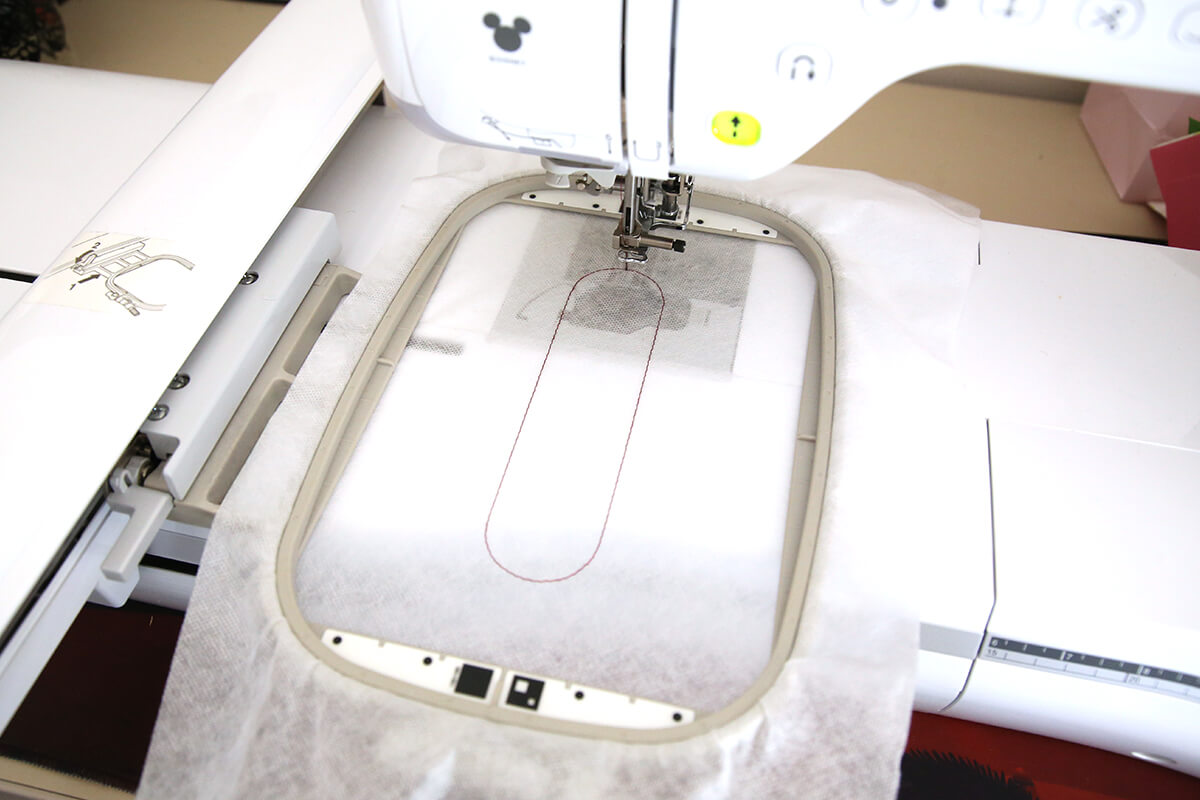
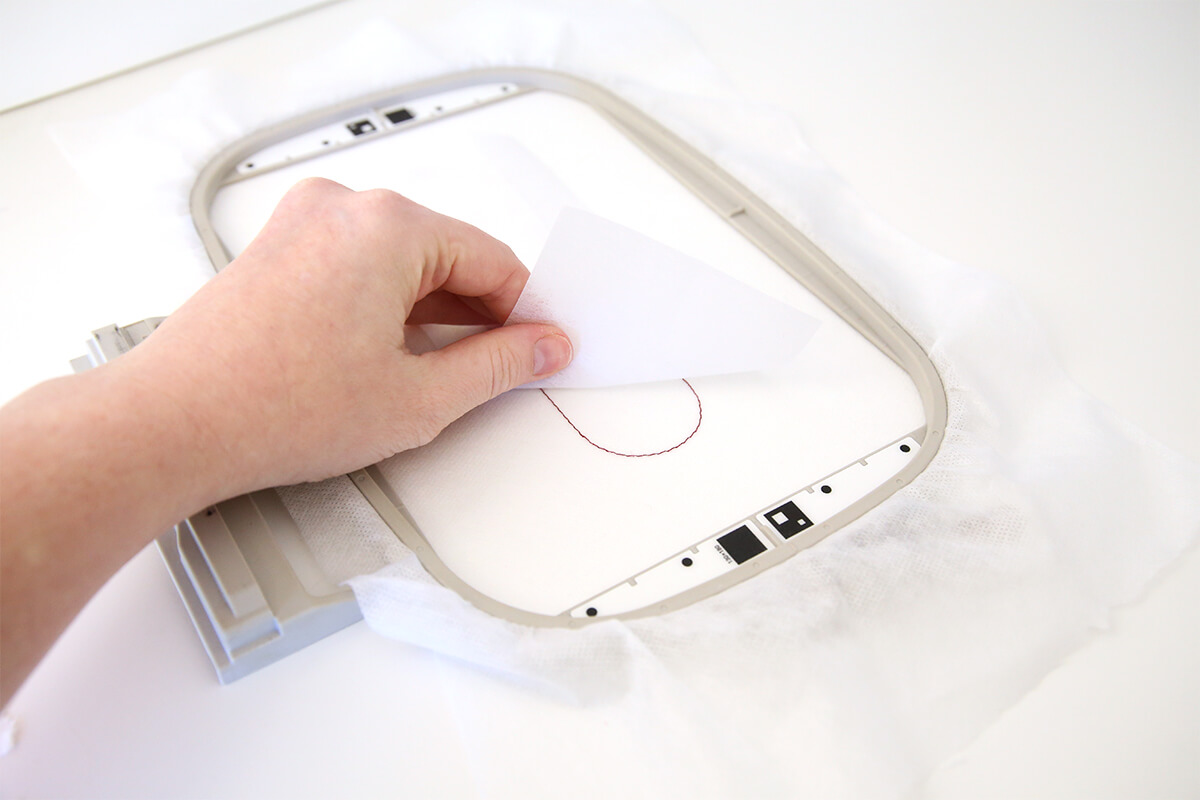
- Place the Crispy Tearaway Stabilizer over the placement line stitches, ensuring it fully covers the stitched area. Tape in place.
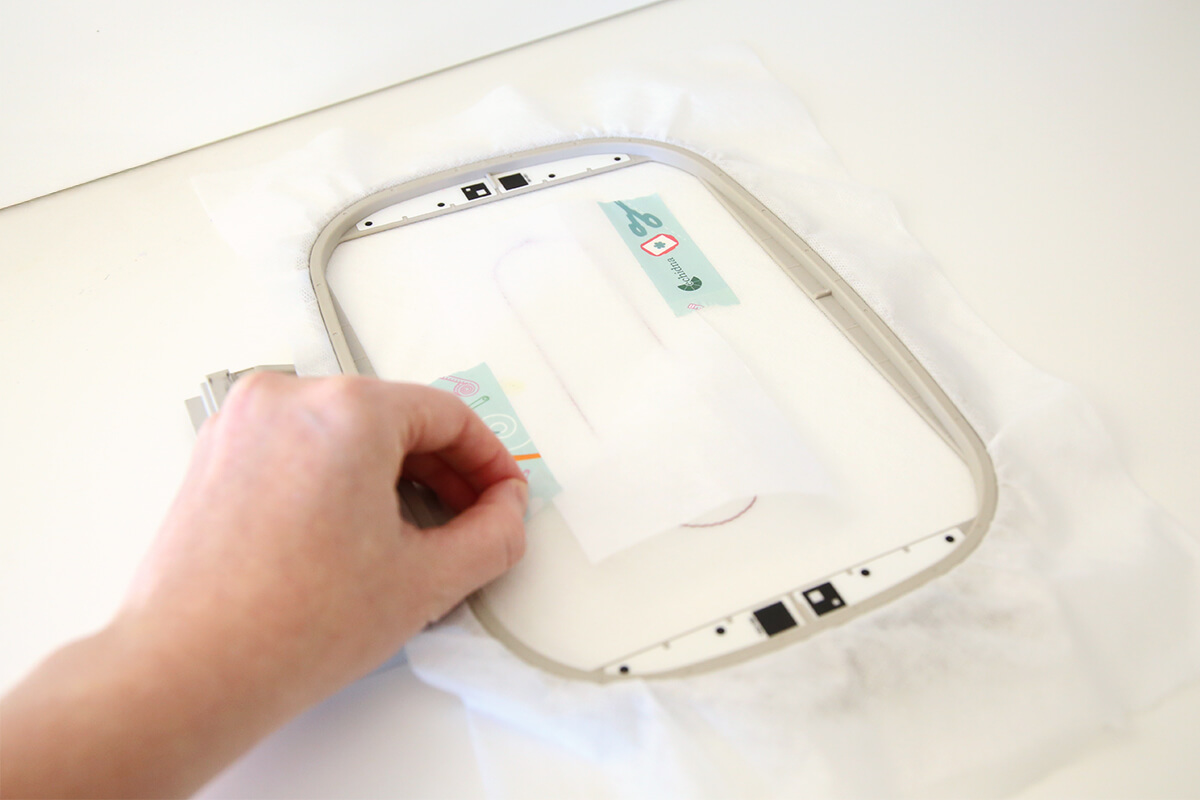
- Place one piece of cotton fabric on top of the Crispy Tearaway Stabilizer, ensuring it covers the placement stitches. Tape securely in place.
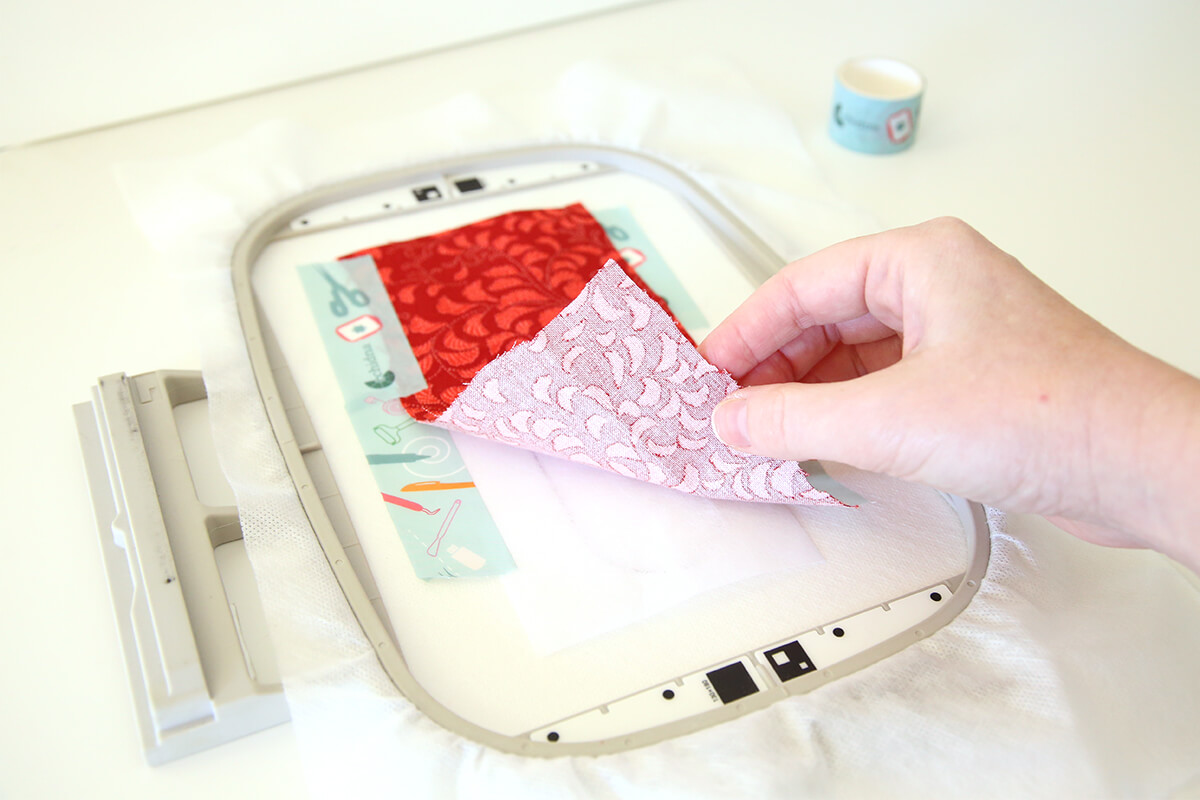
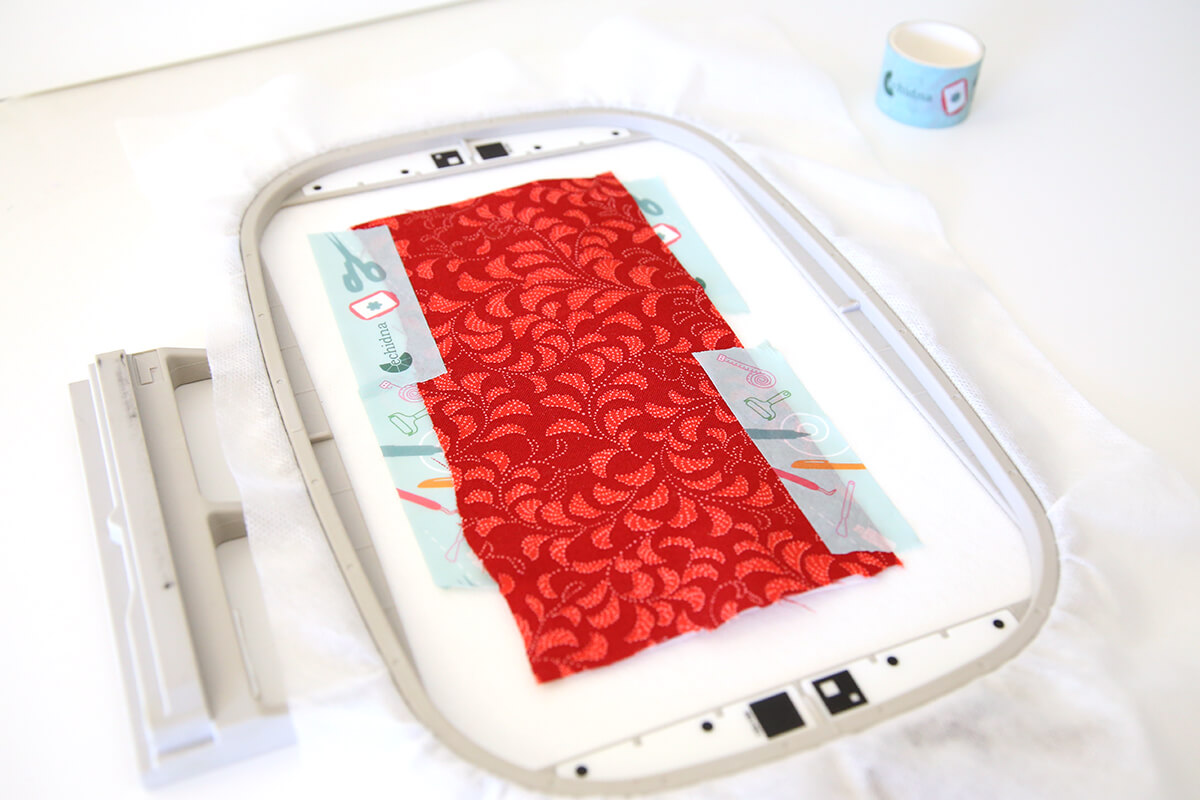
- Turn the hoop over and place the second piece of cotton fabric on the back of the hoop, again ensuring it fully covers the stitched placement line. Tape securely so the fabric does not shift or fall away during stitching.
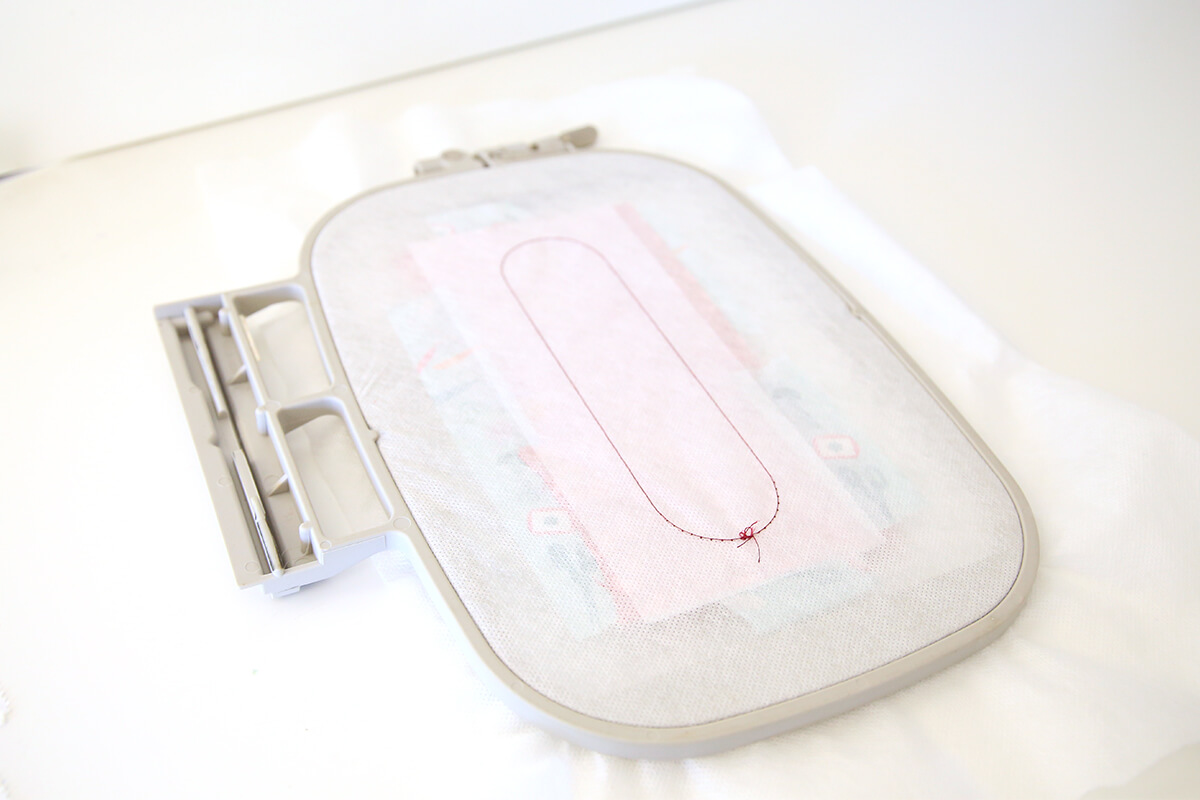
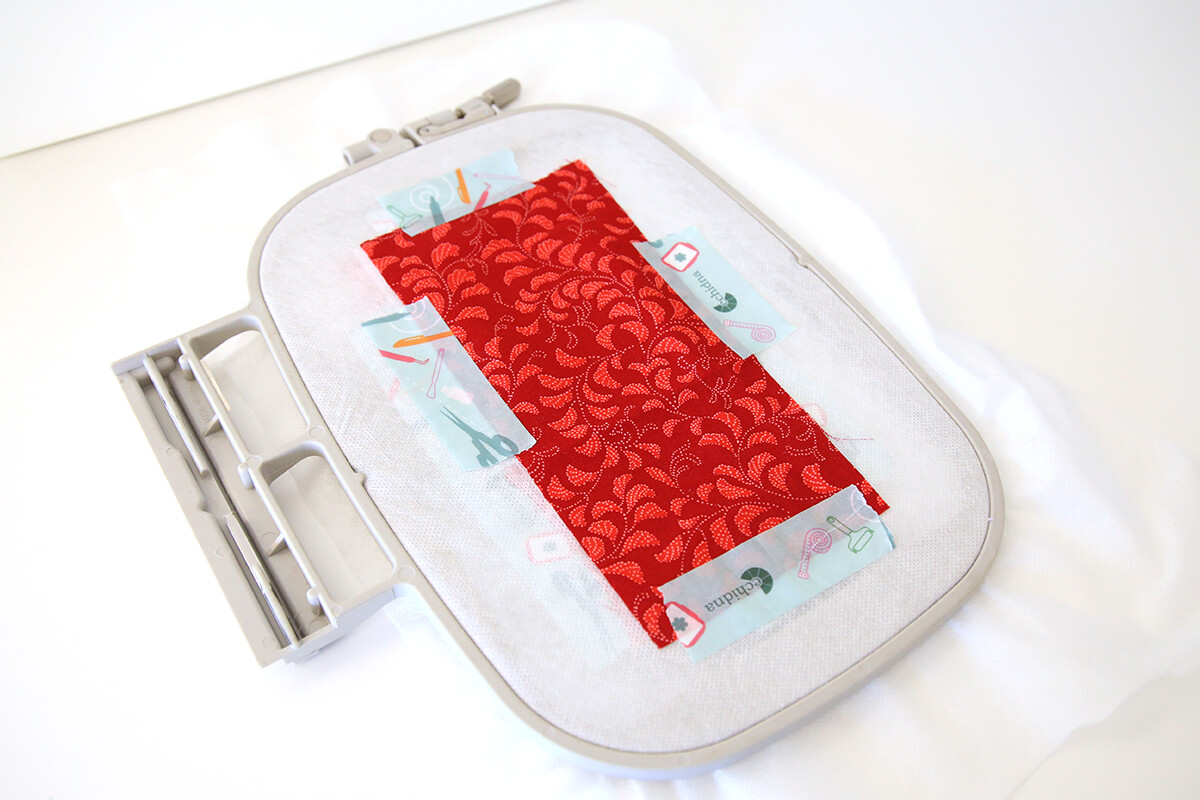
- Return the hoop to the machine and stitch the tack down stitch [COLOUR 2].
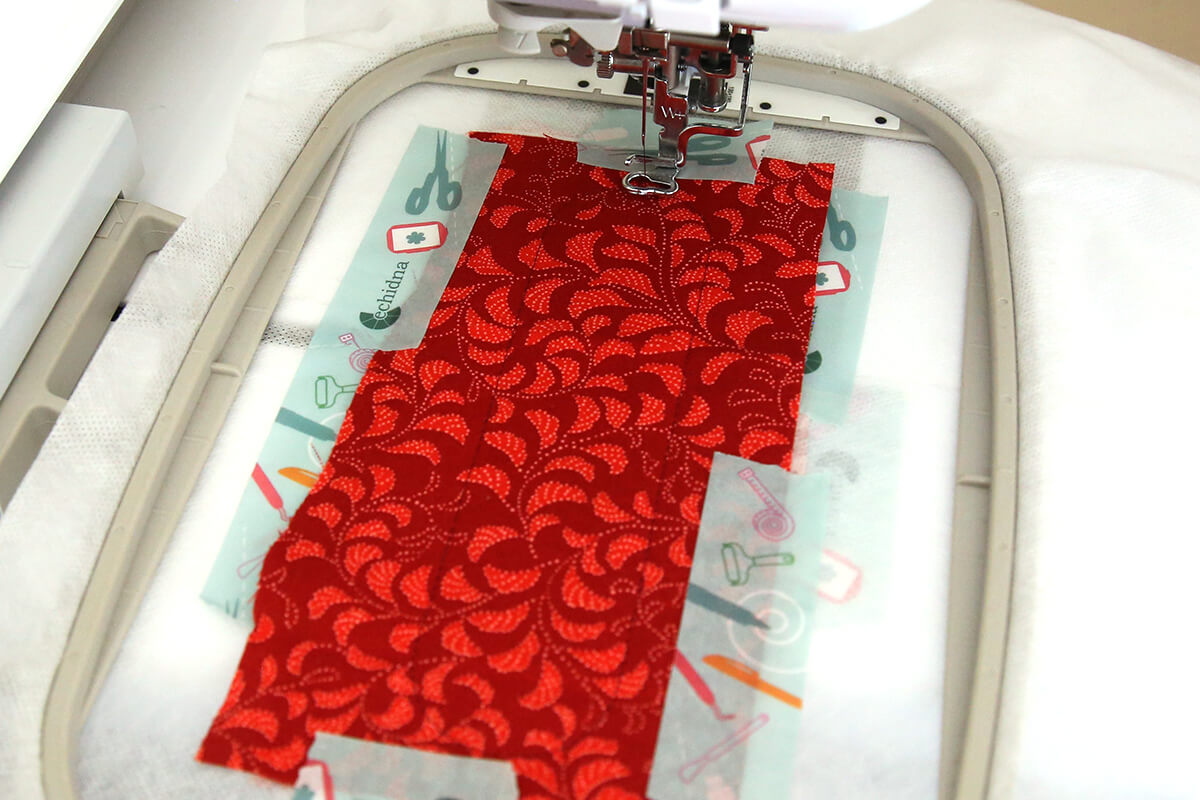
- Carefully remove the hoop from the machine. Remove any Paper Tape holding the front fabric and Crispy Tearaway Stabilizer in place.
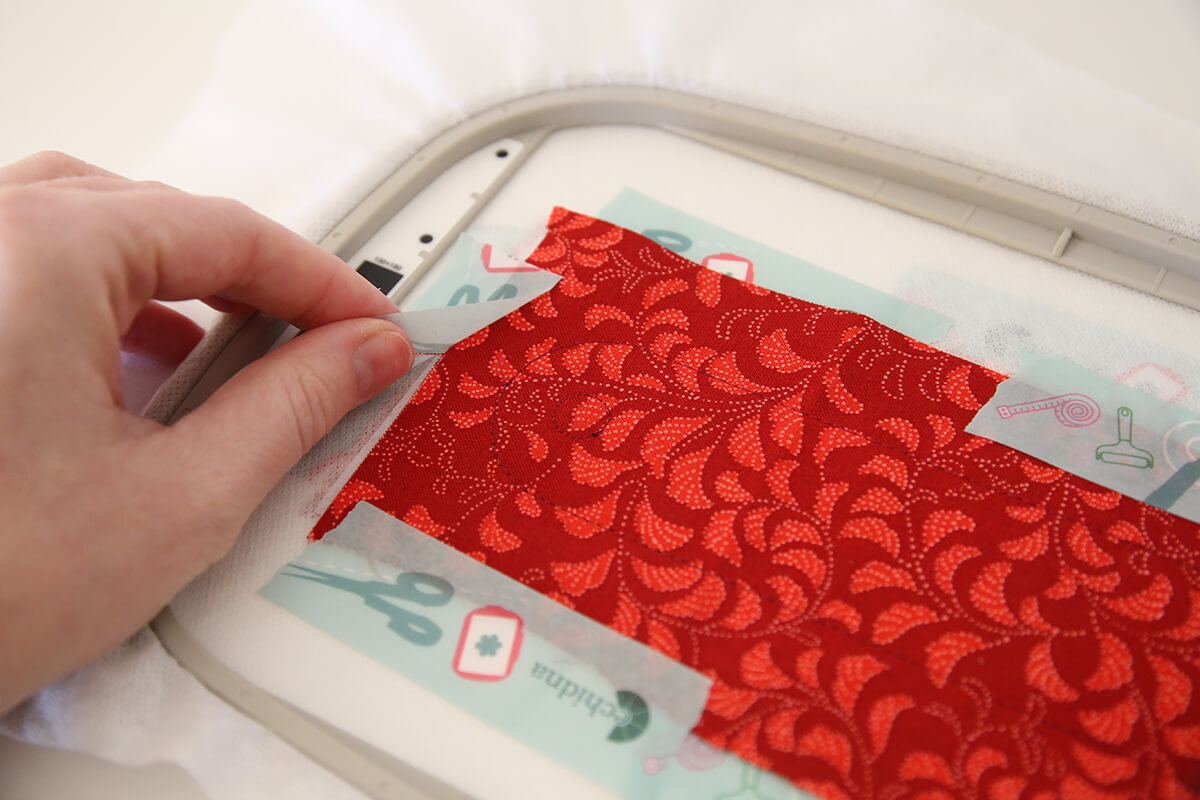
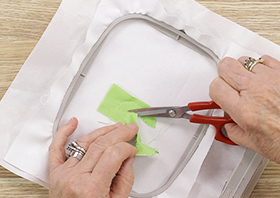
- Using Curved Appliqué Scissors, carefully trim the front fabric and Crispy Tearaway Stabilizer as close to the tack down stitching as possible.
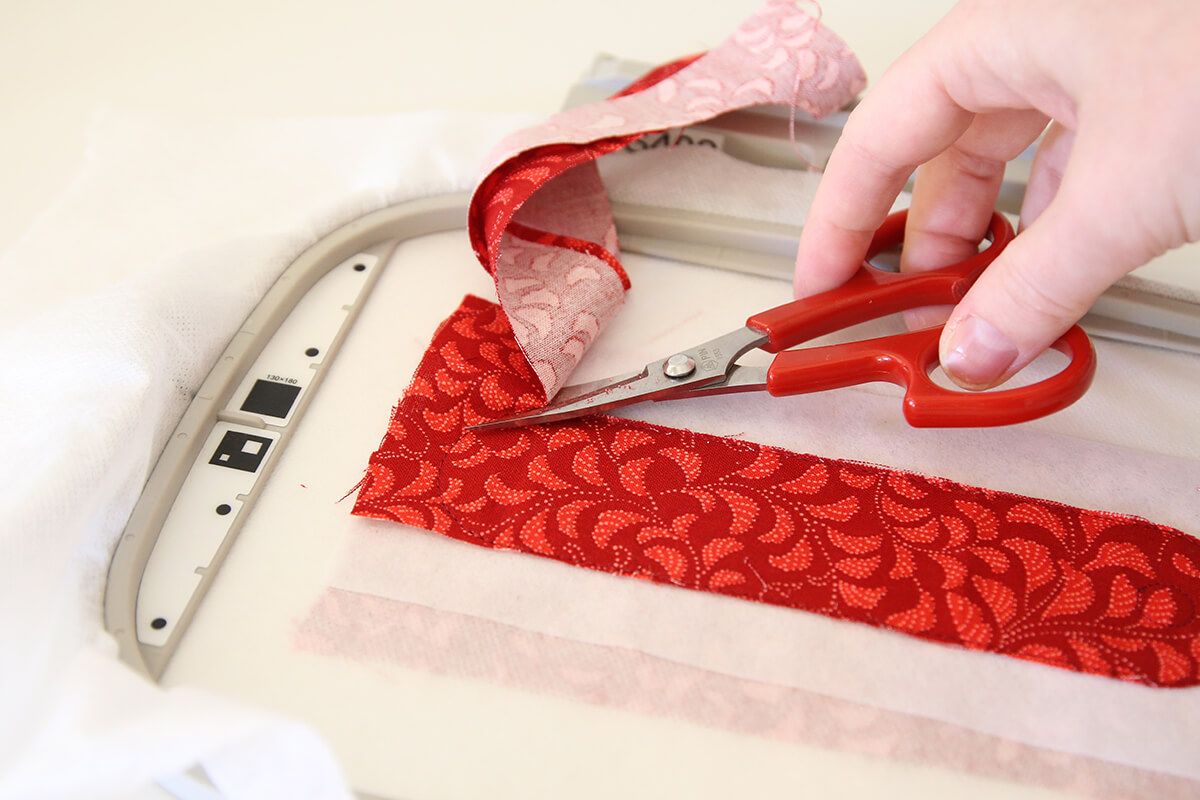
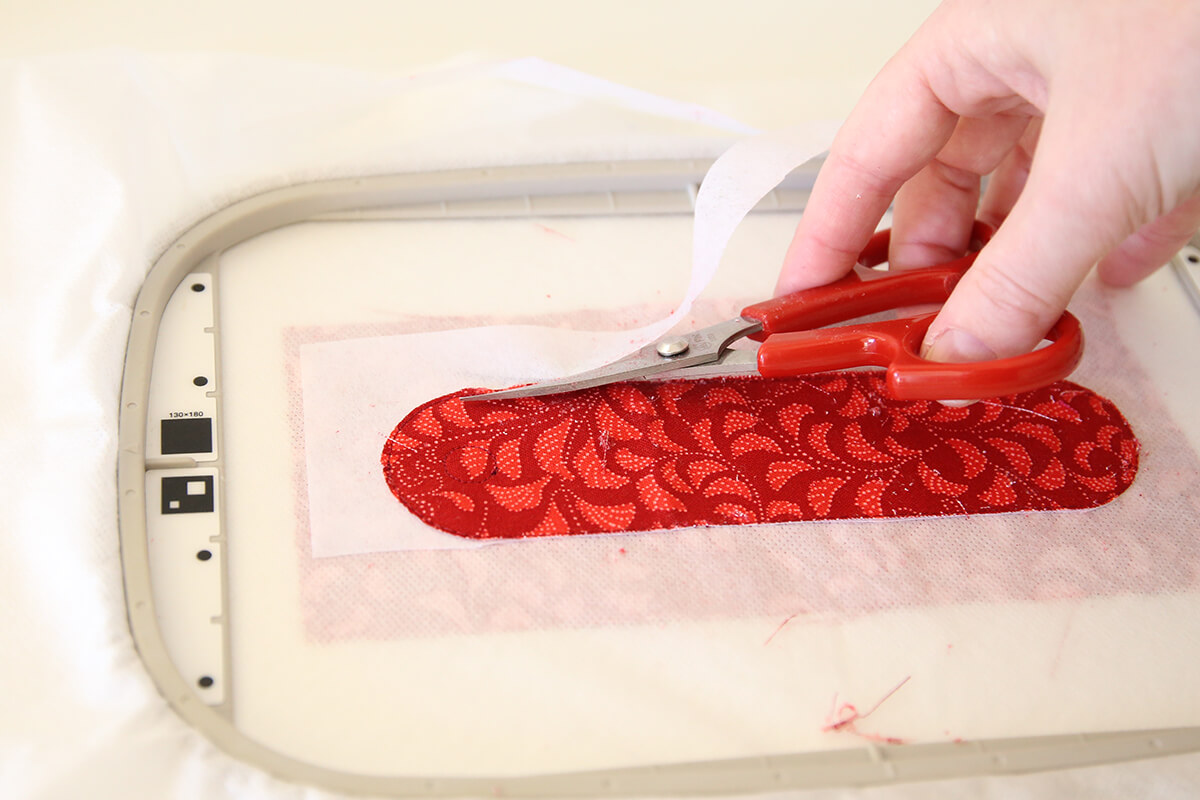
- Turn the hoop over and trim the back fabric close to the tack down stitching using Curved Appliqué Scissors.
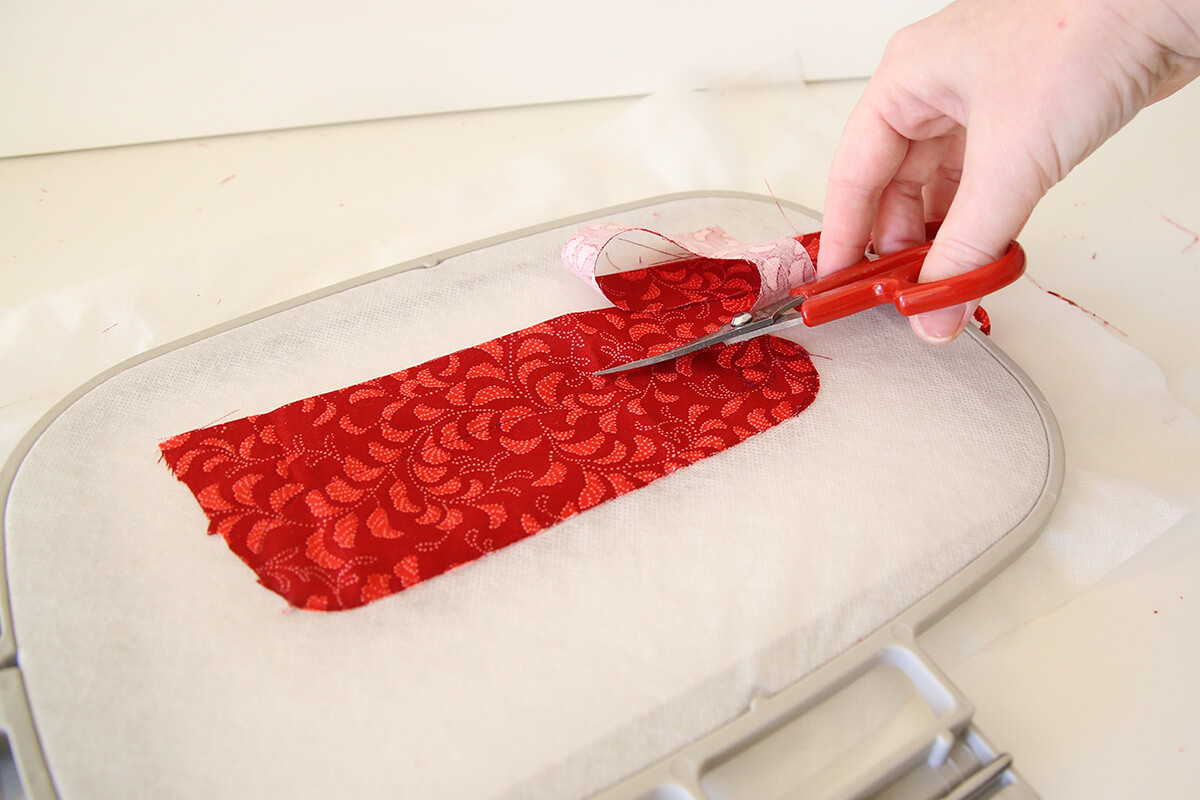
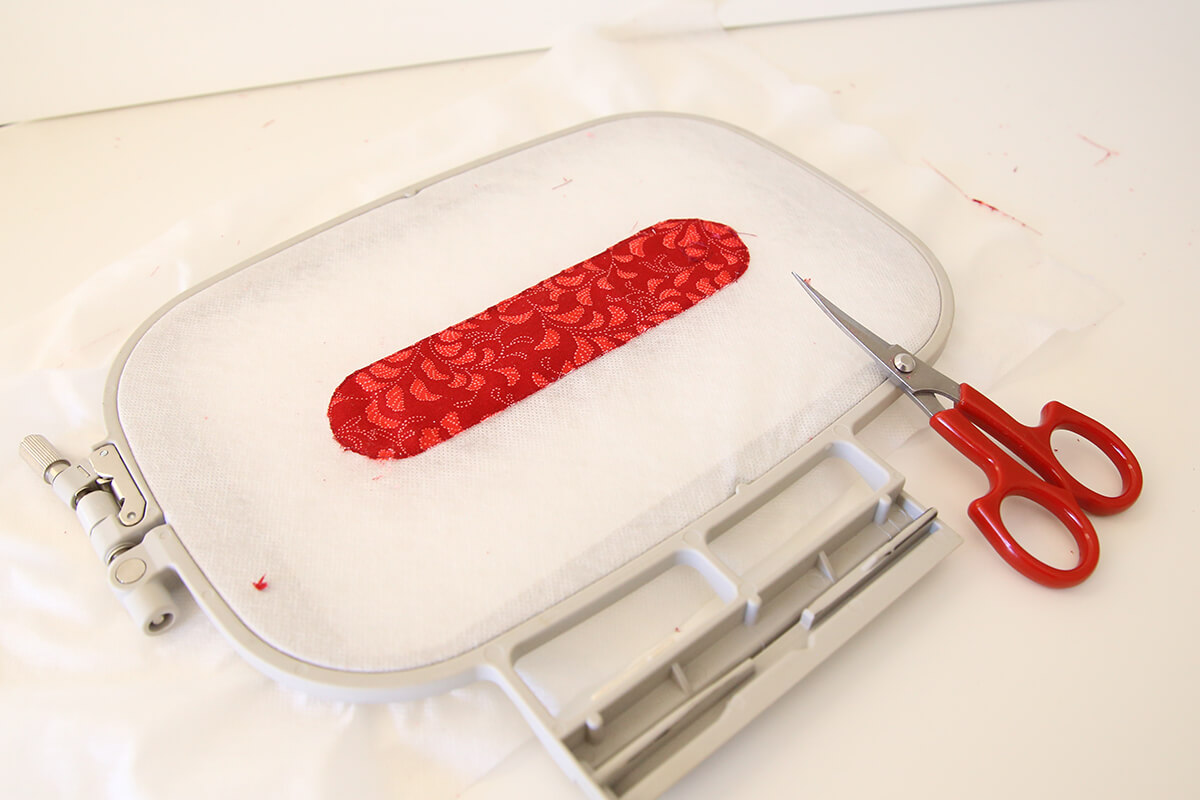
- Trim the eyelet opening carefully. Starting from the front of the hoop, cut a small X shape inside the stitched eyelet circle. Carefully trim away the fabric within the eyelet.
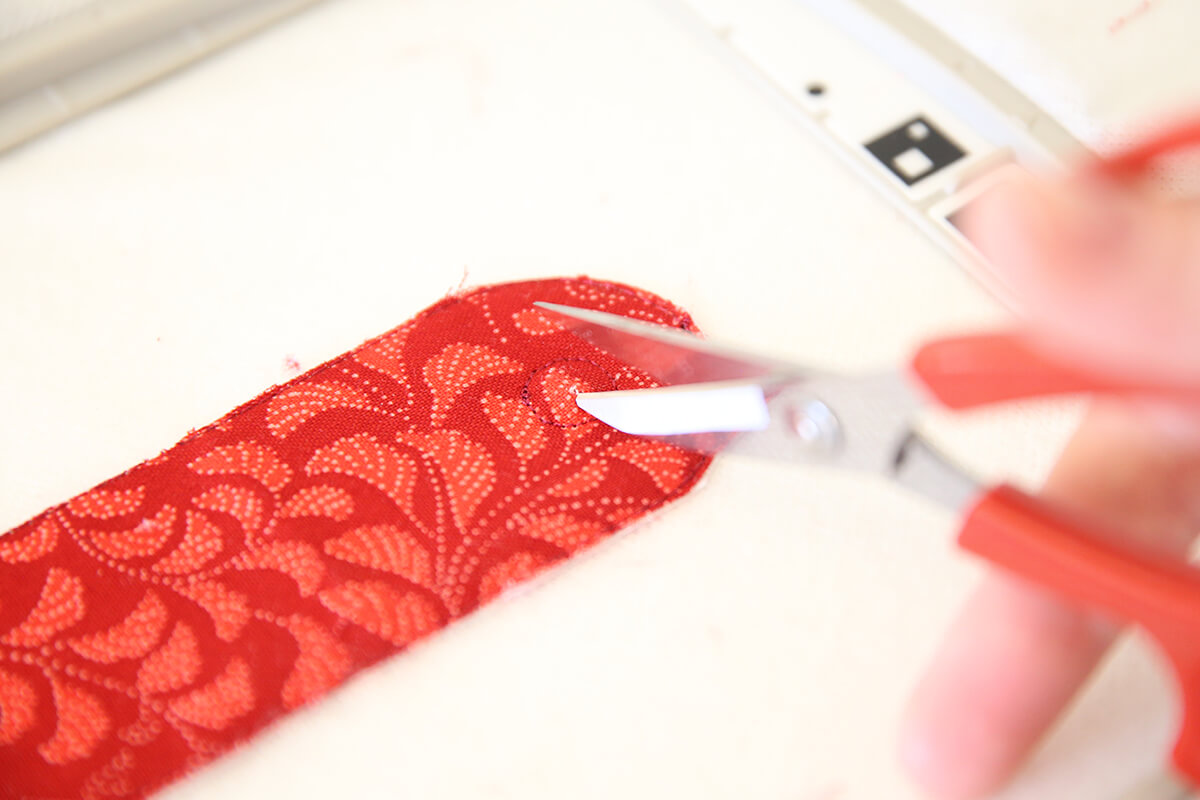
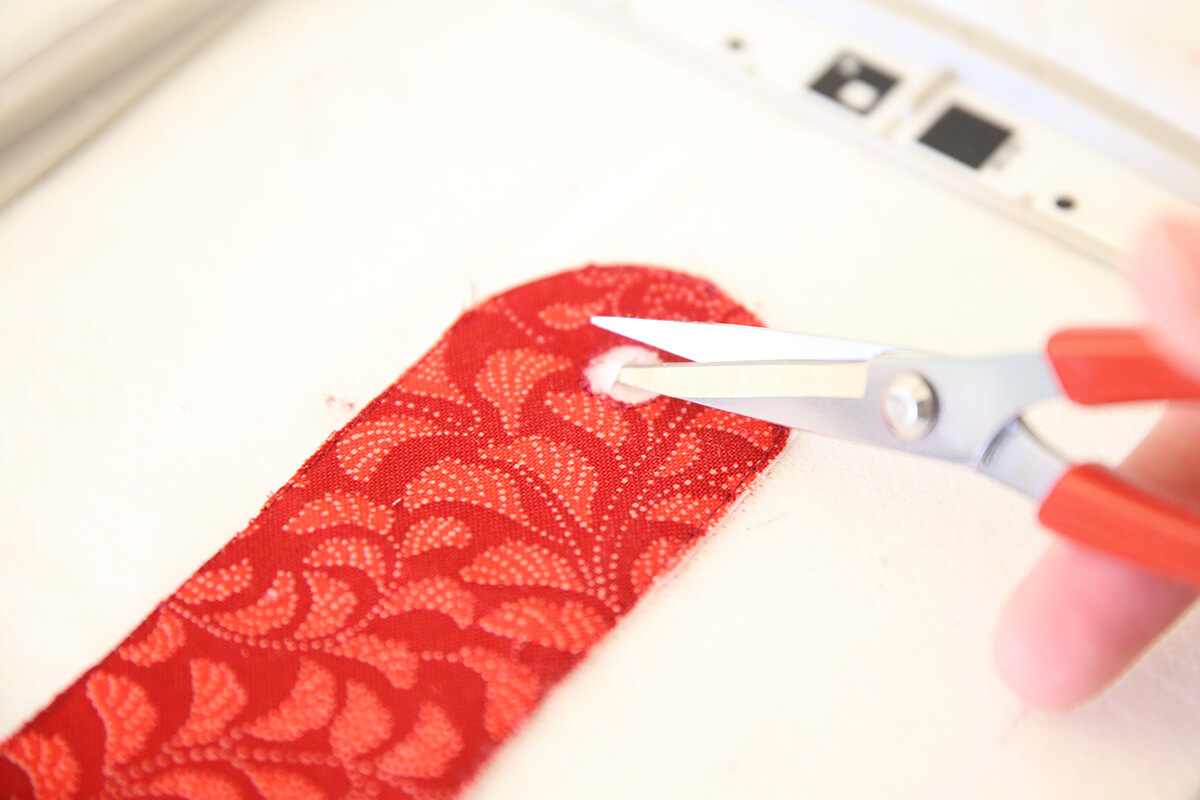
- Repeat the same process to remove the Crispy Tearaway Stabilizer within the eyelet as close to the stitching as possible, while trying to leave the Washaway Stabilizer intact.
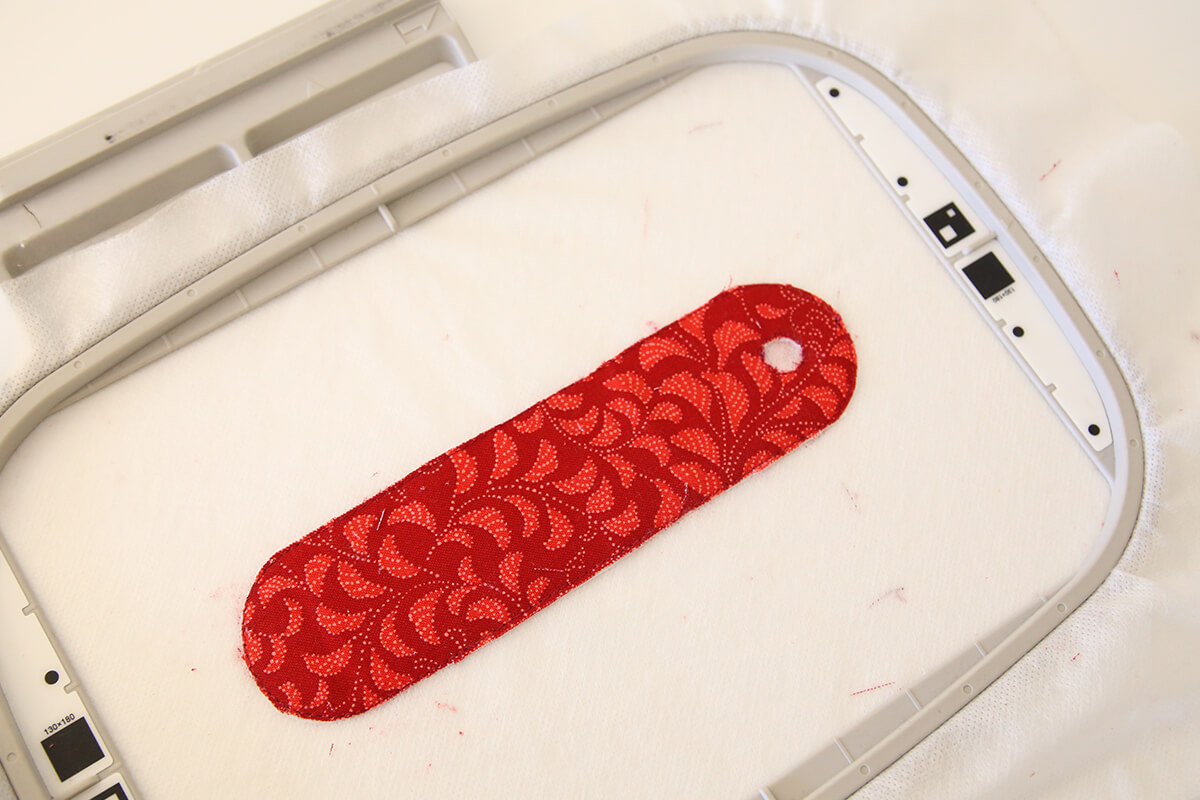
- Turn the hoop over and repeat the process on the back fabric by cutting a small X inside the eyelet and trimming the fabric away close to the stitching.
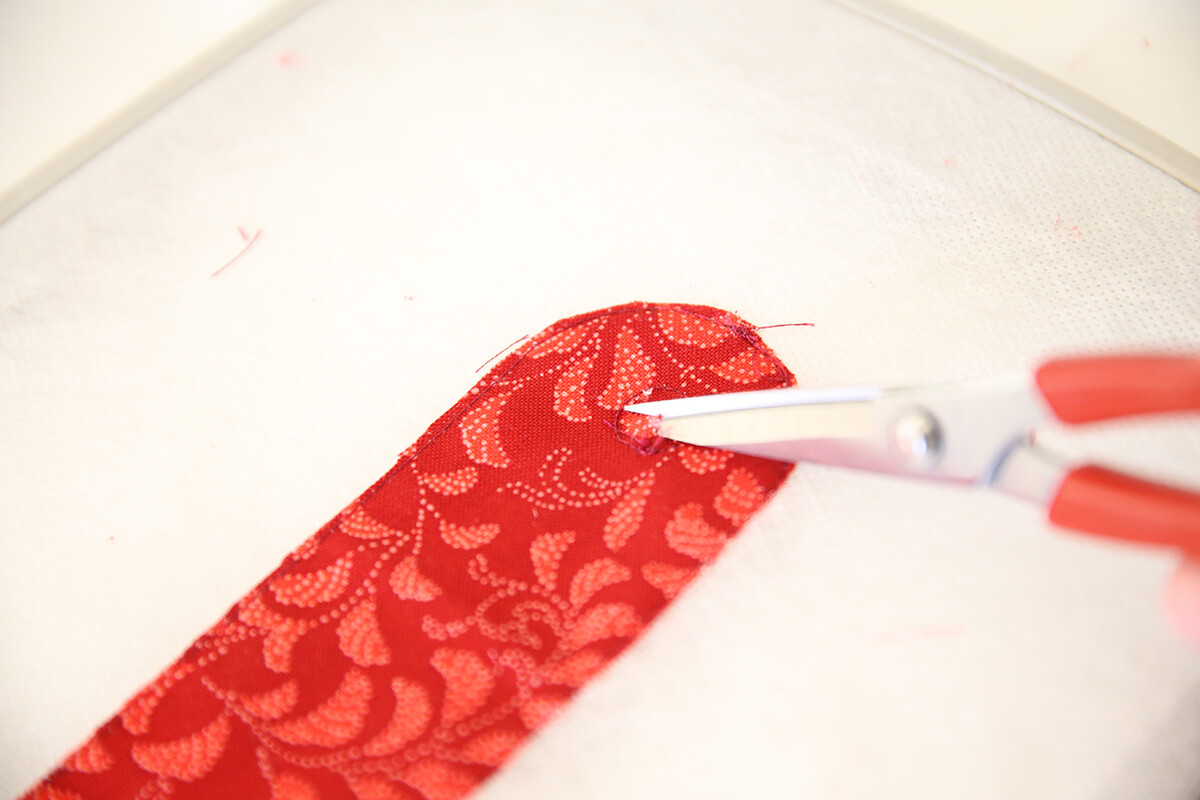
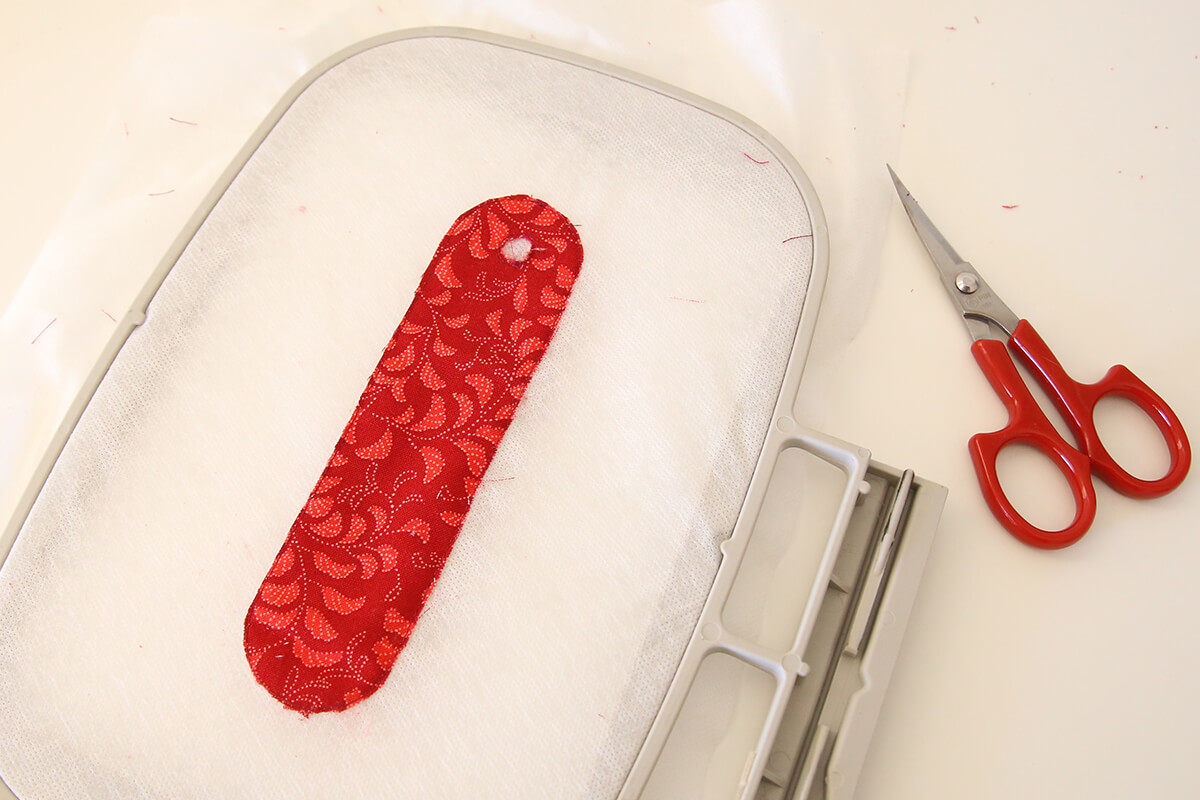
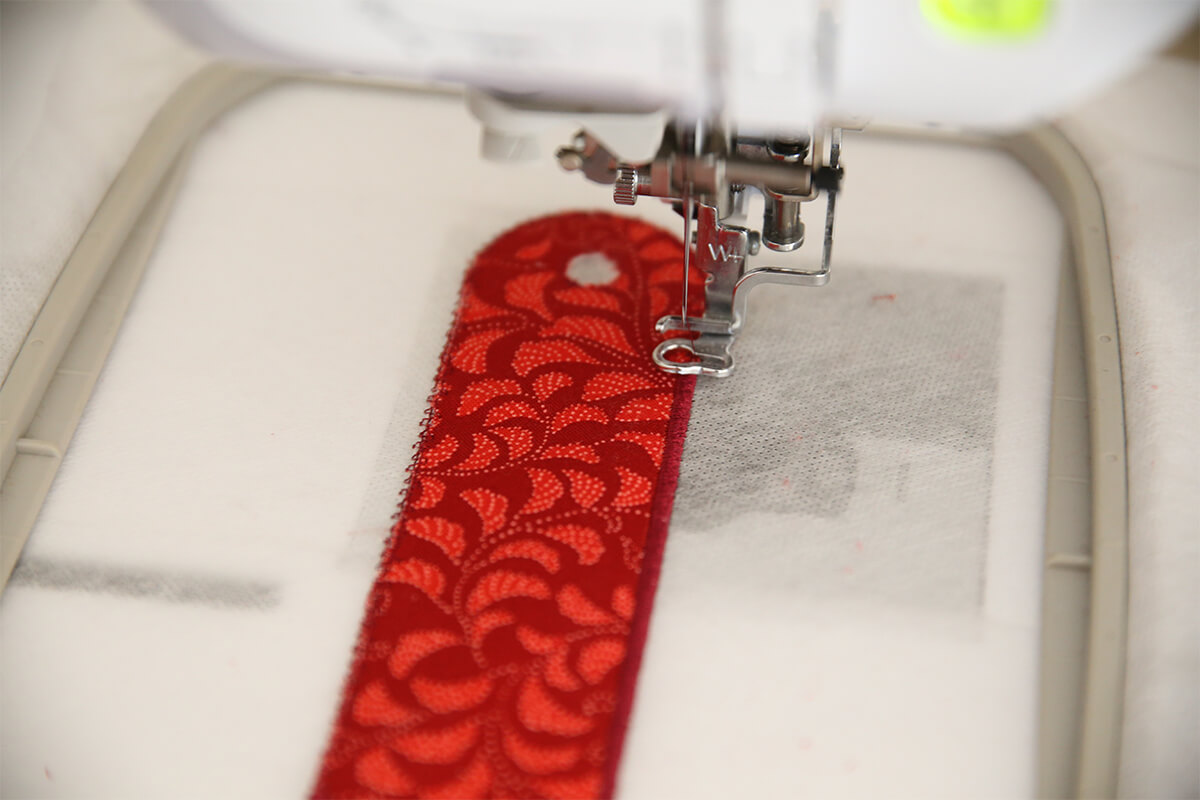
- Change the thread in your machine to the colour you would like for the bookmark border. Ensure your bobbin thread matches the top thread.
- Return the hoop to the machine and stitch the satin border and eyelet [COLOUR 3].
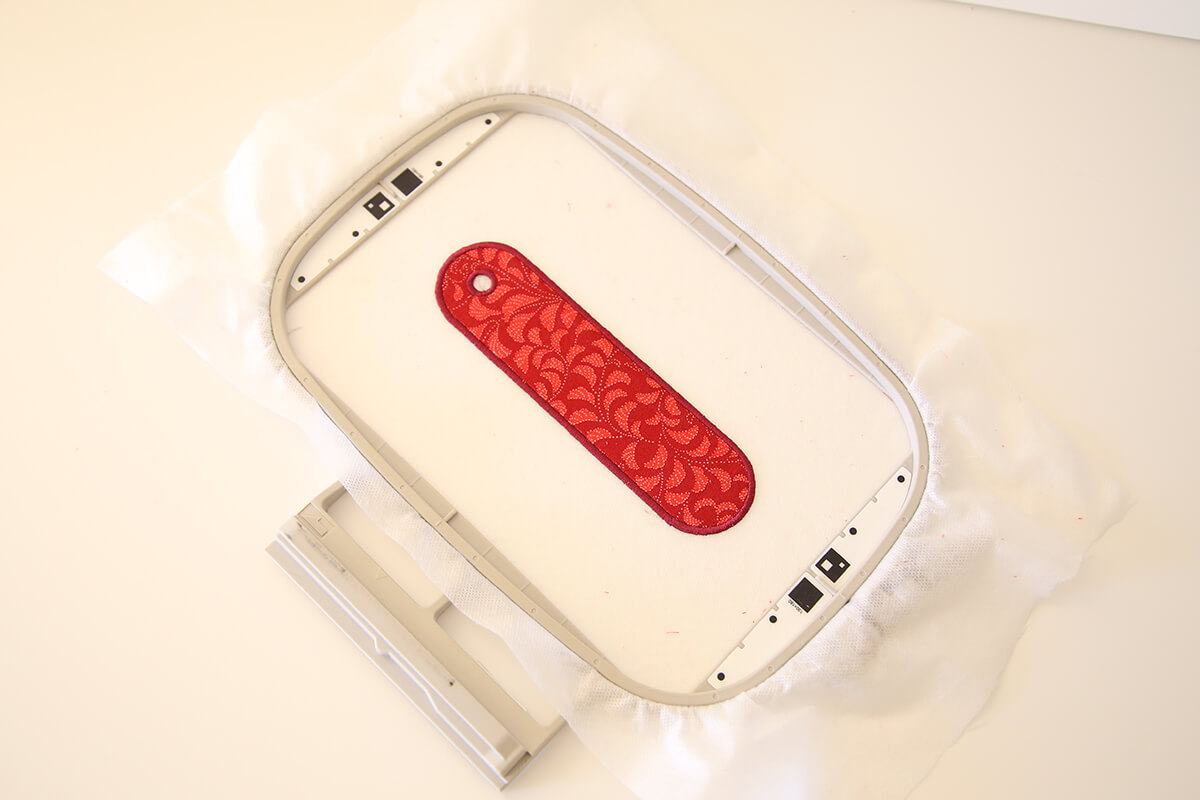
- Remove the finished bookmark from the hoop and trim away the excess Washaway Stabilizer.
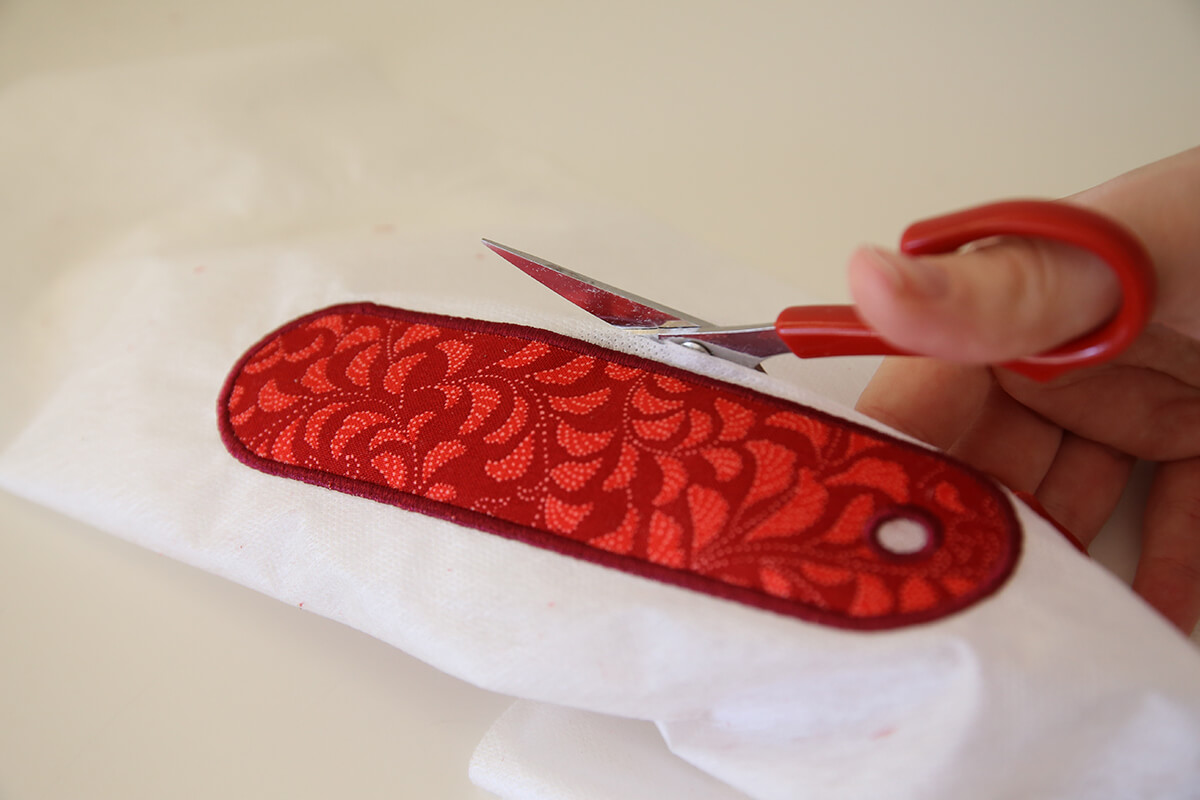
- Dip a Paintbrush into Warm Water and carefully brush along the satin stitch edge to dissolve the remaining Washaway Stabilizer. Try to avoid soaking the fabric itself.
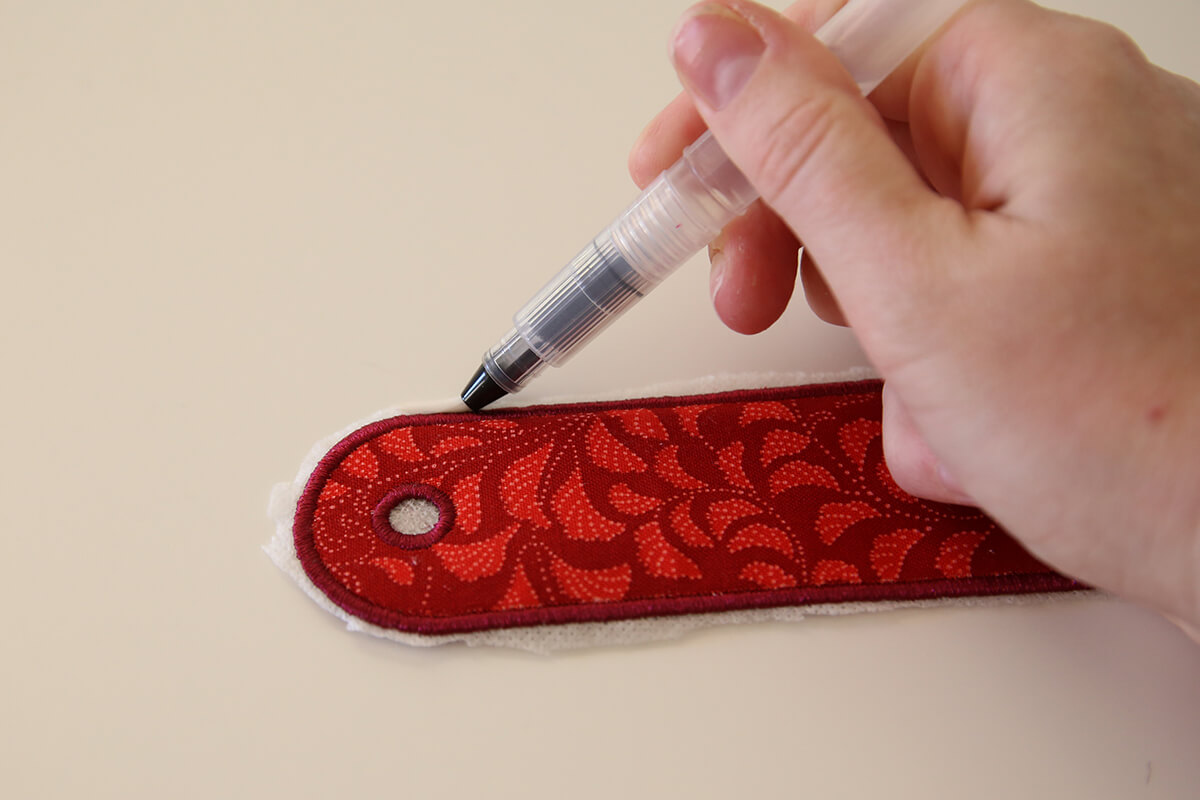
- Allow the bookmark to dry flat on a Paper Towel or Towel.
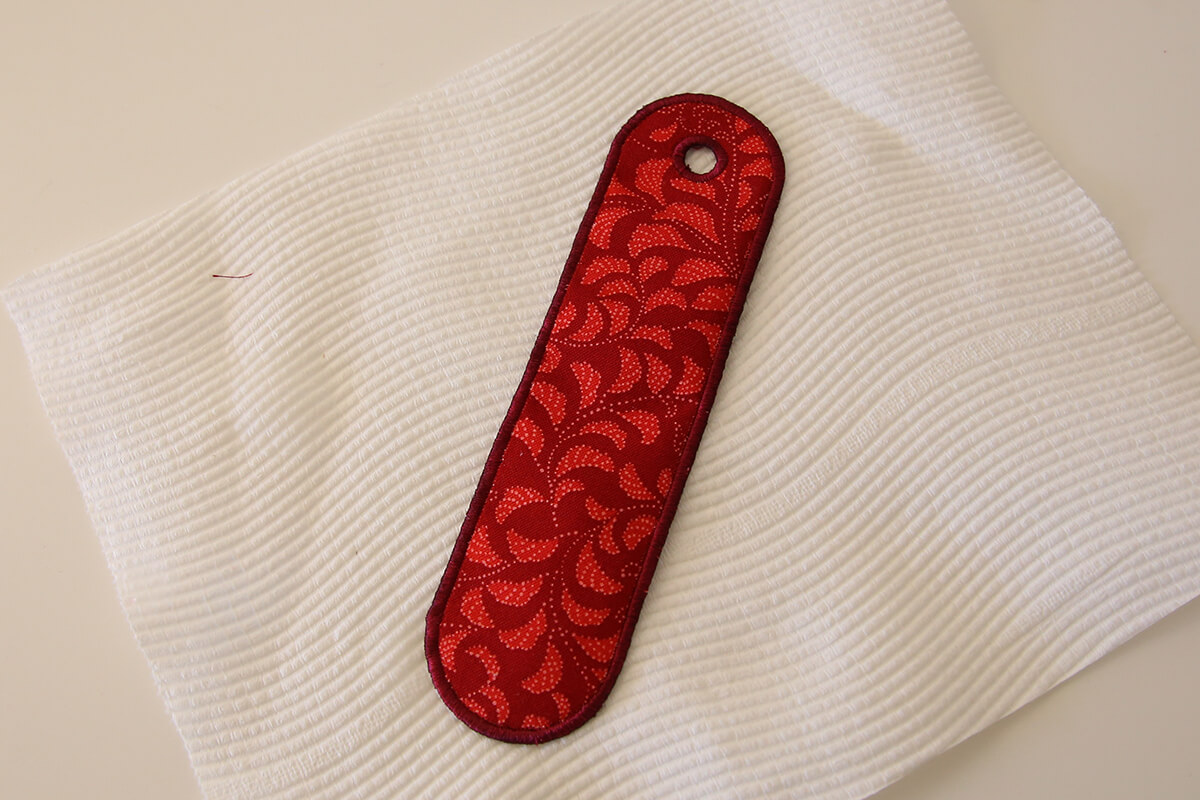
- Add a tassel or ribbon through the eyelet to finish your bookmark.
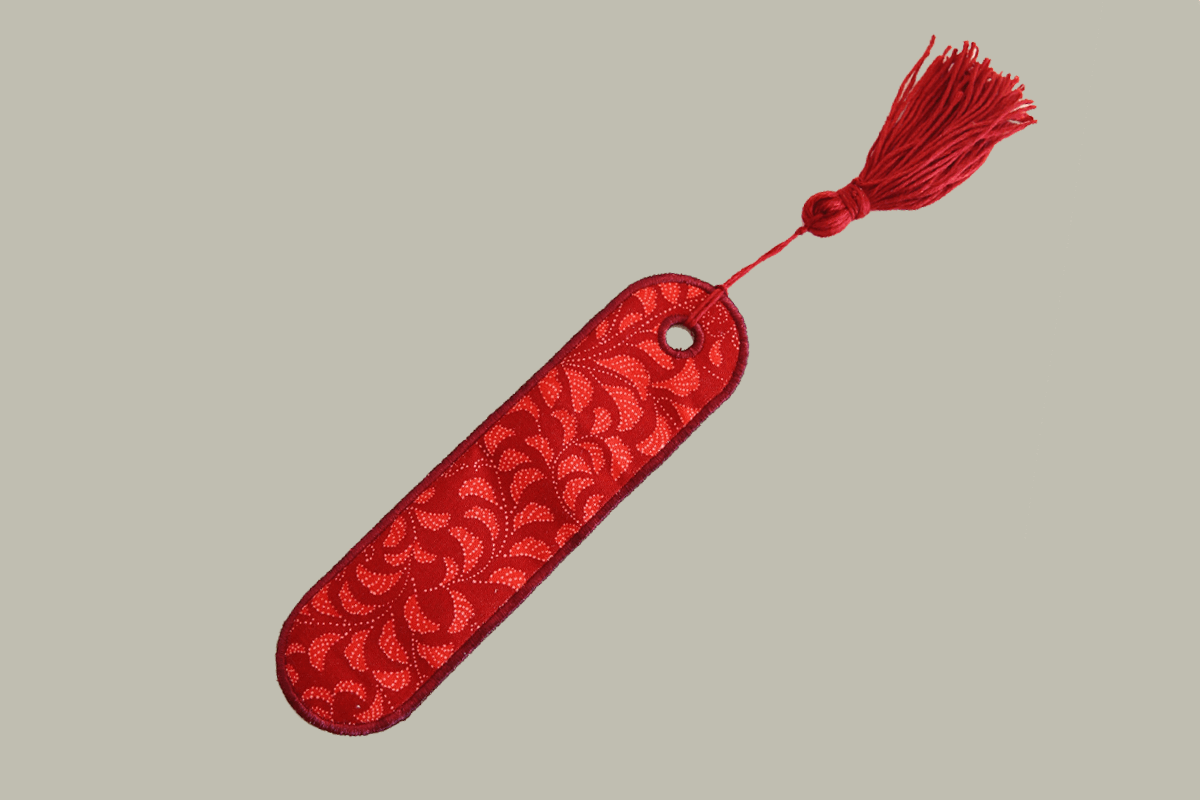
View instructions on how to make a tassel here: DIY Tassel Embellishment Tutorial
Free Embroidery Designs
We're excited to offer our free Echidna designs available for download. These free designs are perfect for those at a beginner or an advanced level. Add these designs to your stash and create incredible embroidery!
View all free designs >
Sewing, Quilting and Embroidery Machines
Interested in learning how to sew, quilt or embroider? Take a look at the innovative Brother machines available for purchase at Echidna Sewing. Wherever possible we will beat any deal and you will always receive ongoing service and support!
Find out more >
Learn to Sew or Embroider with Echidna Sewing
Come along to our fun-filled classes to learn more about sewing, embroidery and crafting. Classes cater for all skill levels, whether you're just starting out or already have advanced knowledge.
Find out more >
Echidna project material/ fabric requirements are an indication only and can seem to be generous. This has been intentional. Should you make a cutting or embroidery mistake you will have sufficient fabric to rectify your error.