All Articles

Joining Binding Ends
This beginner-friendly tutorial shows you a simple, no-fuss way to attach binding and neatly join the ends on a quilted project, without special tools or wasting fabric. You’ll learn how to cut and quilt a placemat, create crisp corners, and stitch binding smoothly for a clean, professional finish. Perfect for placemats, coasters, hot pads, table runners, quilts and more. Once you try this method, you won’t go back.
Tutorial by Notches Sewing
Machines Used
- Sewing Machine (This video features the Juki TL-2010Q and Juki TL- 2200QVP)
Recommended Tools
- Walking Foot
- Quilting Guide
- Left Compensating Foot
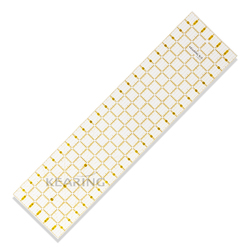
- 2 ½" Wide Quilting Ruler
- Point Turner
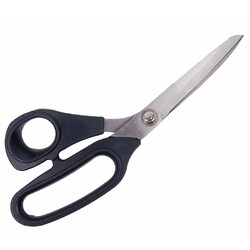
- Scissors
- Utility Knife
- 1 x 12” Ruler
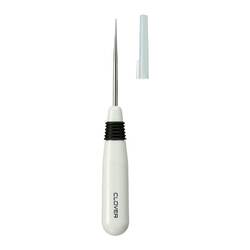
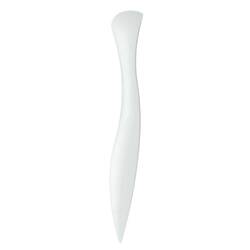
- Awl/Stiletto
- Steam Iron
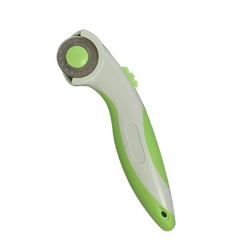
- Rotary Cutter
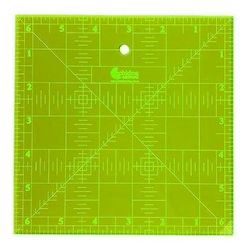
- 6 ½" Square Ruler
- Wide Quilting Ruler
- Marking Pen
- Mini Iron
- Magnet Eye hooks/weights
- Teflon Sheet
- Ironing Board
- Thread Snips
- Magnetic Seam Guide
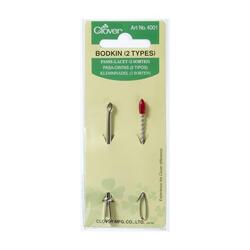
- Bodkin
- Loop Turner
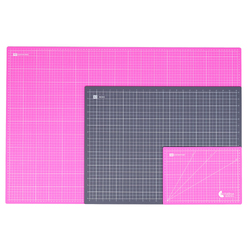
- Large Cutting Mat
- Template Grips
- Plastic Template
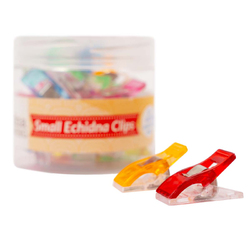
- Fabric Clips
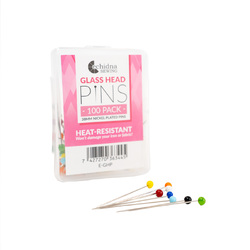
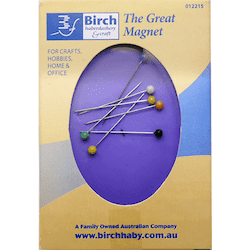
- Pins
- Paper Trimmer
- Magnetic Tray
Shop Online


This project has been crafted and created by Notches Sewing. Featured with permission.


