All Projects


DIY Tassel Embellishment
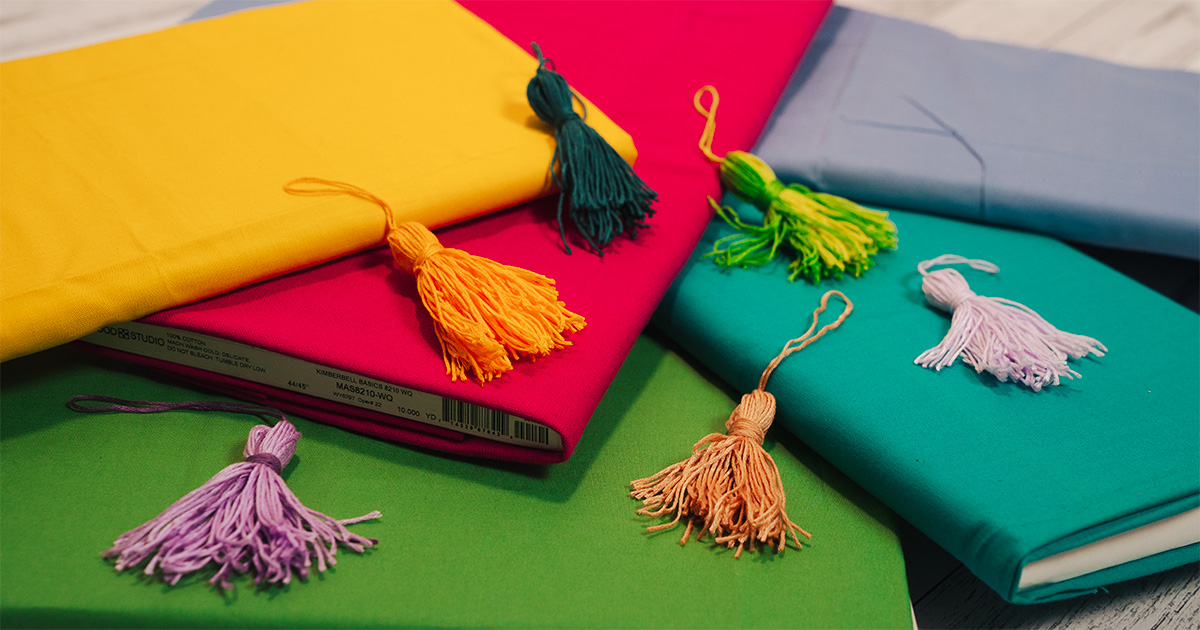
Add a handmade finishing touch to your next project with a simple DIY tassel. Made using embroidery floss skeins, these tassels are quick to create and perfect for adding colour and texture to a wide range of sewing, embroidery, and craft projects.
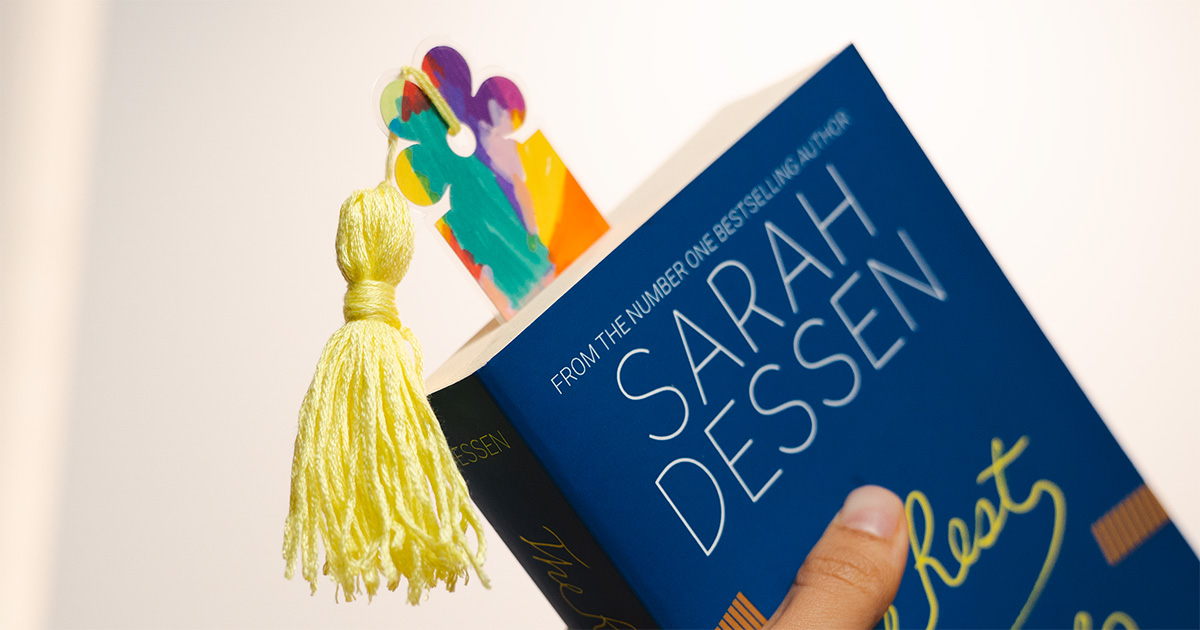
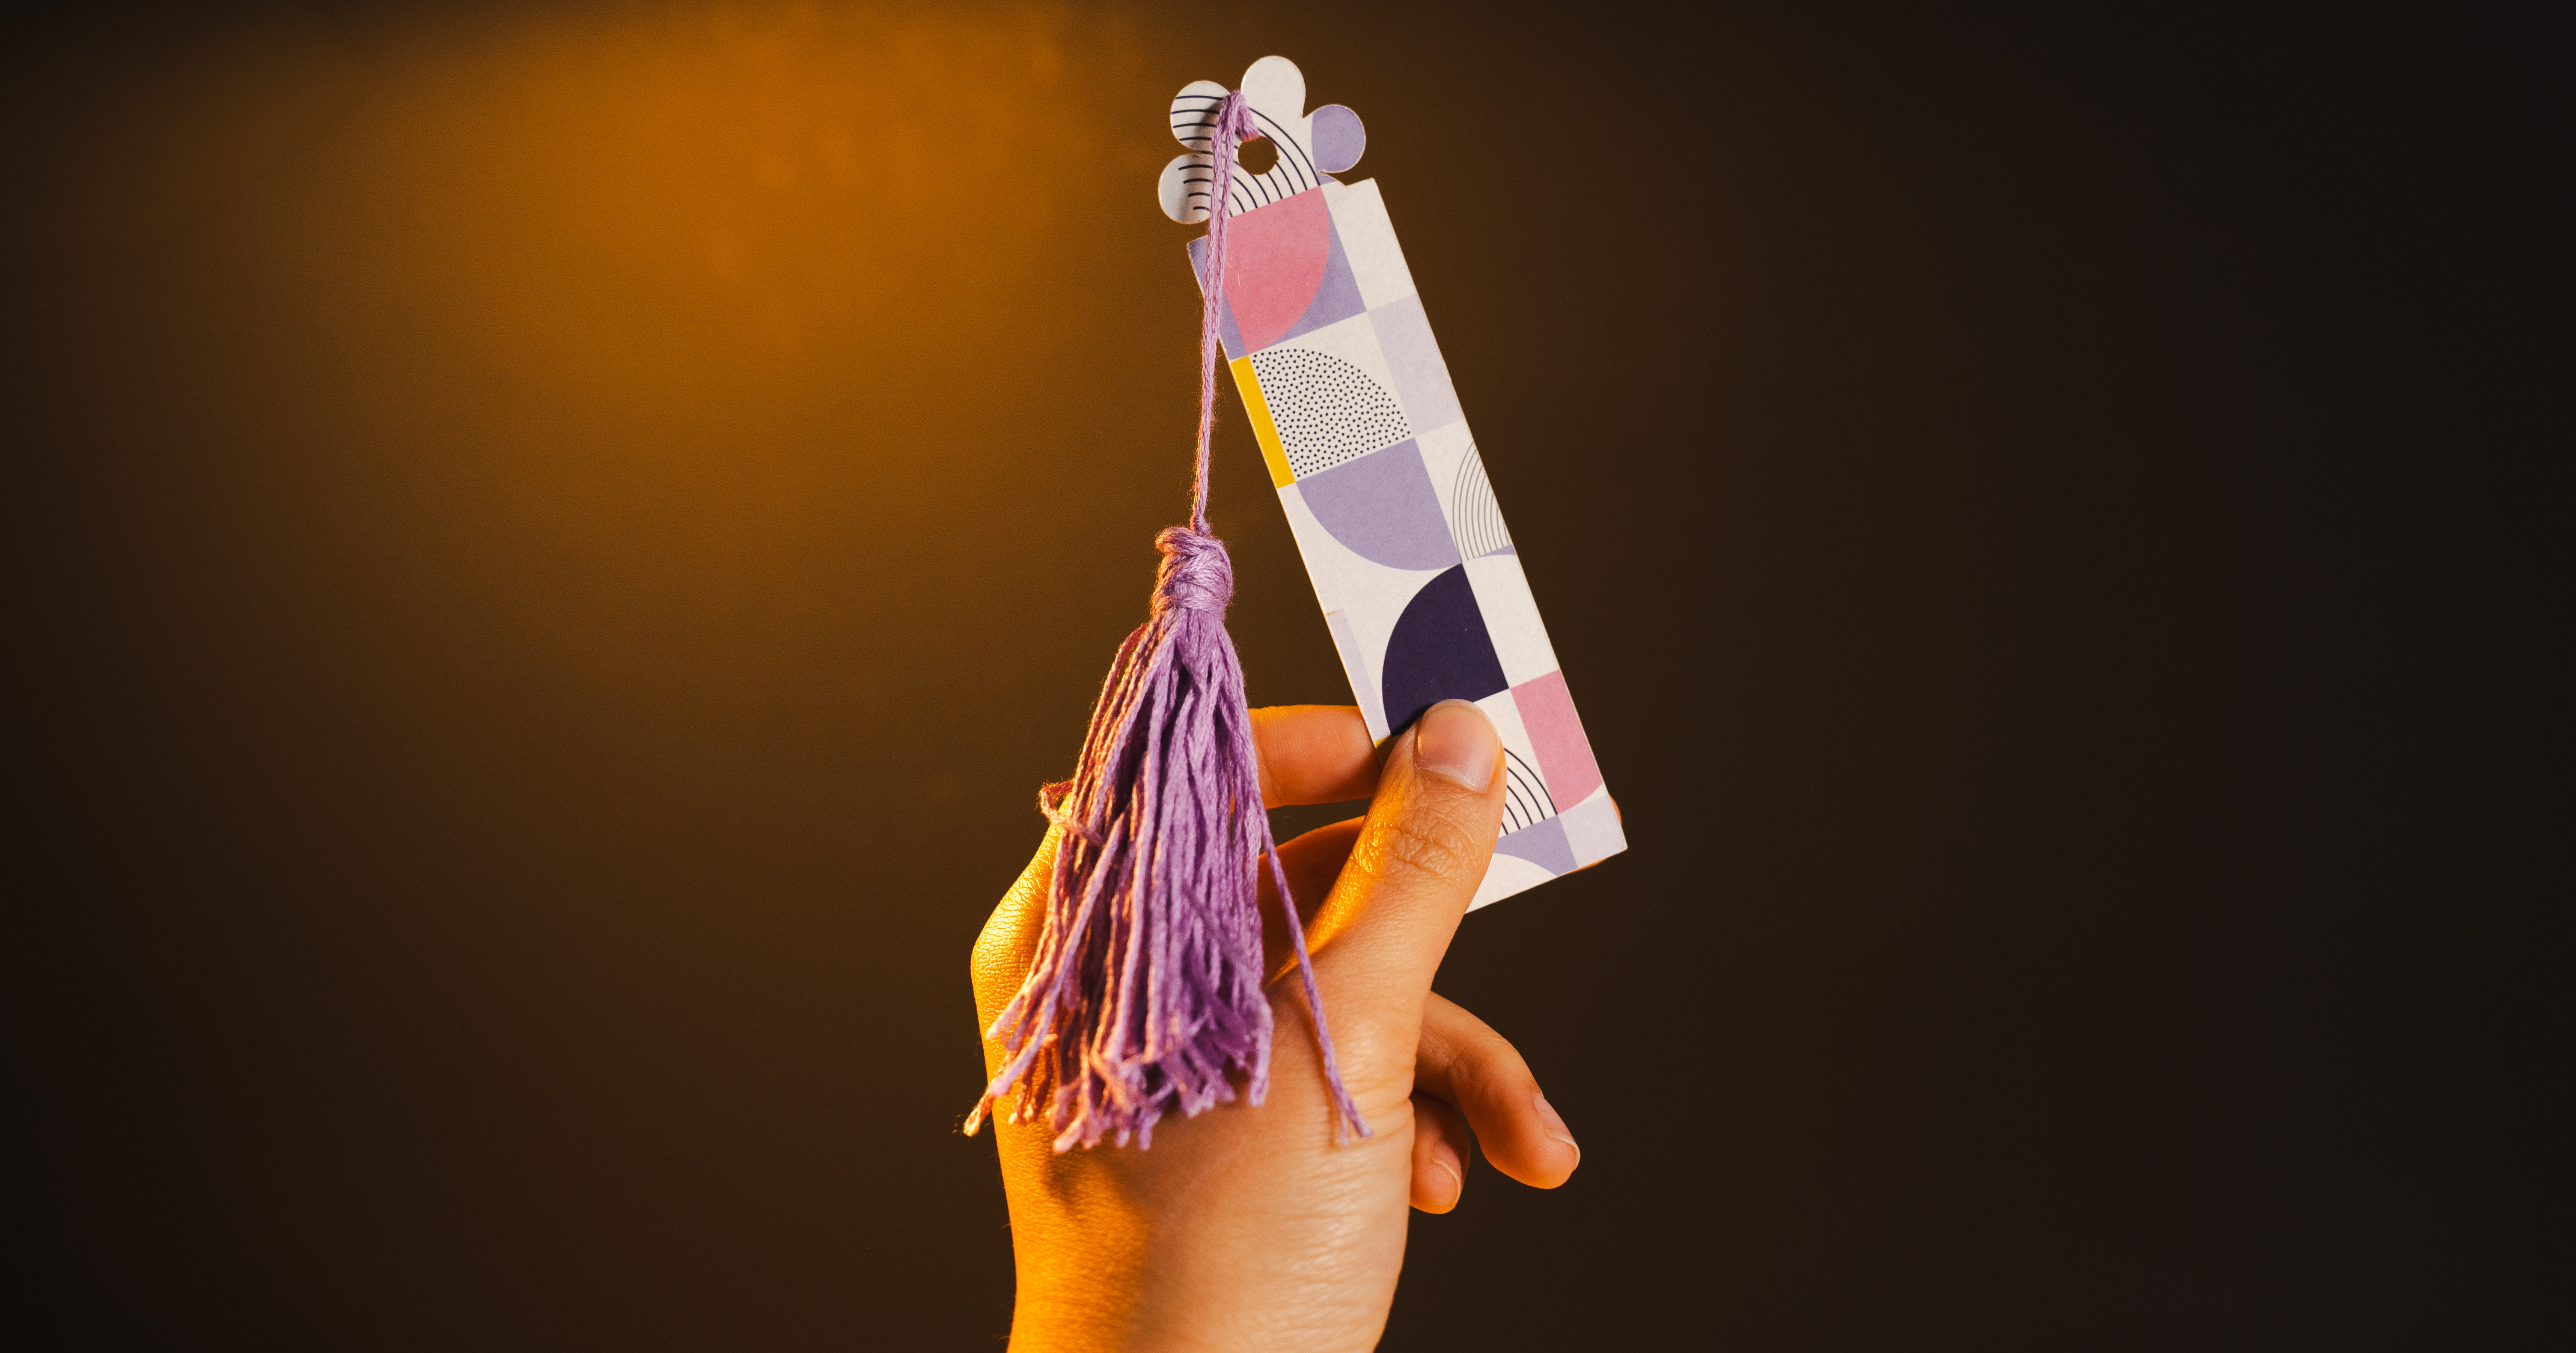
They’re ideal for embellishing bags, keyrings, bookmarks, garments, and more—giving your work a polished, decorative finish with minimal effort.
Follow along with the video below for a step-by-step guide on how to create your own.
What you'll need:
- 1 x Embroidery Floss Skein
- Sharp scissors
- Ruler/Measuring Tape (Optional)
Step Overview
The steps below are just an overview of the project instructions and must be used in conjunction with the tutorial video. Print these steps out to have beside you when watching the video as a reminder.
- Remove the paper band from the embroidery floss, keeping the strands together so they don’t unravel.
- Cut two separate pieces of thread from the skein. One approximately 30cm (12″) long, and another approximately 45cm (18″) long. Set both aside, leaving the rest of the skein intact.
- Take the shorter piece (30cm) and fold it in half. Tie a double knot right in the middle of the folded thread, to create a loop.
- Place this looped piece around the centre of the remaining skein and secure it tightly with another double knot. This will become the hanging loop of your tassel.
- Keeping the loop separate, fold the skein in half so the ends meet evenly.
- Insert your fingers through the loops at the bottom of the skein and carefully cut through them to create loose ends. You should now have the basic tassel shape.
- Take the longer piece of thread (45cm) and place it around the tassel about 2cm from the top, just below the loop. Leave a short tail (approx 8cm) on one side and a longer length on the other.
- Tie a knot to secure it, then wrap the longer end around the tassel several times to form the “neck.”
- Once wrapped, tie the ends together securely near the back of the tassel. Let the ends fall in with the rest of the strands.
- Trim the bottom of the tassel evenly if needed, then fluff it out to finish.
Don’t forget to show us your finished projects on Instagram or Facebook #echidnasewing #madebyme
Free Embroidery Designs
We're excited to offer our free Echidna designs available for download. These free designs are perfect for those at a beginner or an advanced level. Add these designs to your stash and create incredible embroidery!
View all free designs >
Sewing, Quilting and Embroidery Machines
Interested in learning how to sew, quilt or embroider? Take a look at the innovative Brother machines available for purchase at Echidna Sewing. Wherever possible we will beat any deal and you will always receive ongoing service and support!
Find out more >
Learn to Sew or Embroider with Echidna Sewing
Come along to our fun-filled classes to learn more about sewing, embroidery and crafting. Classes cater for all skill levels, whether you're just starting out or already have advanced knowledge.
Find out more >
Echidna project material/ fabric requirements are an indication only and can seem to be generous. This has been intentional. Should you make a cutting or embroidery mistake you will have sufficient fabric to rectify your error.


