All Projects
Balsa Wood Christmas Ornament
Author: Nicole H
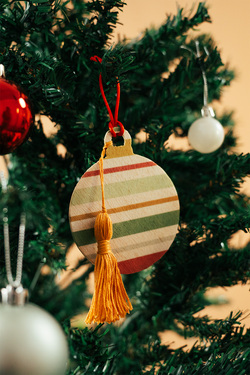
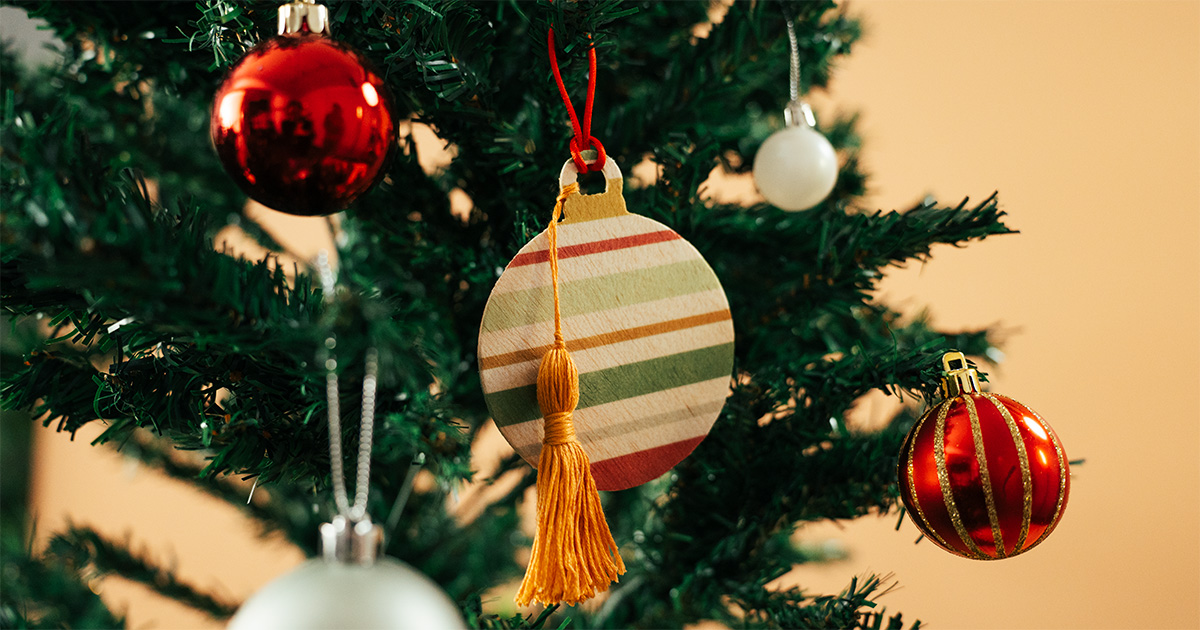
Create a beautiful personalised wooden Christmas ornament by combining the precision of a Brother ScanNCut with the vibrant colours of sublimation printing. In this project, you'll cut a Christmas ornament from 3mm Balsa Wood before transferring a sublimation design directly onto the timber.
These ornaments make wonderful keepsakes, personalised family decorations, teacher gifts, baby milestone ornaments, memorial decorations and unique handmade Christmas presents.
Free Design Files
We've included everything you need to complete this project.
- Round Christmas Ornament SVG
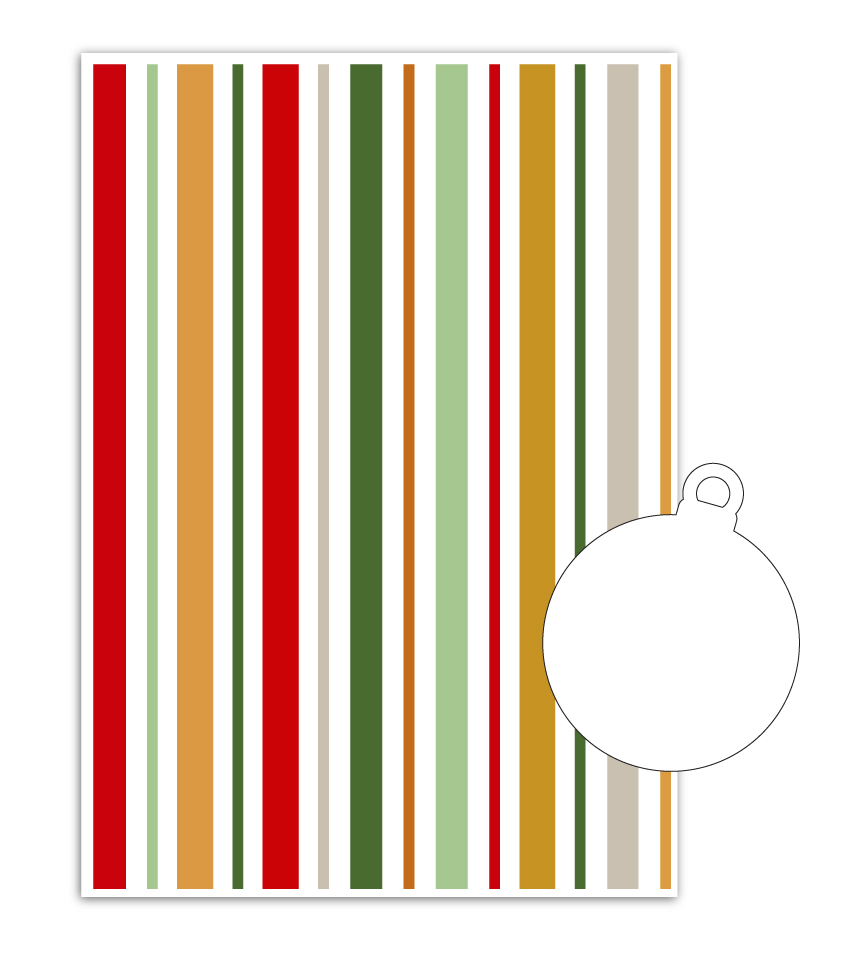
- Christmas Sublimation Pattern PDF (A4 & Letter)
What You Will Need
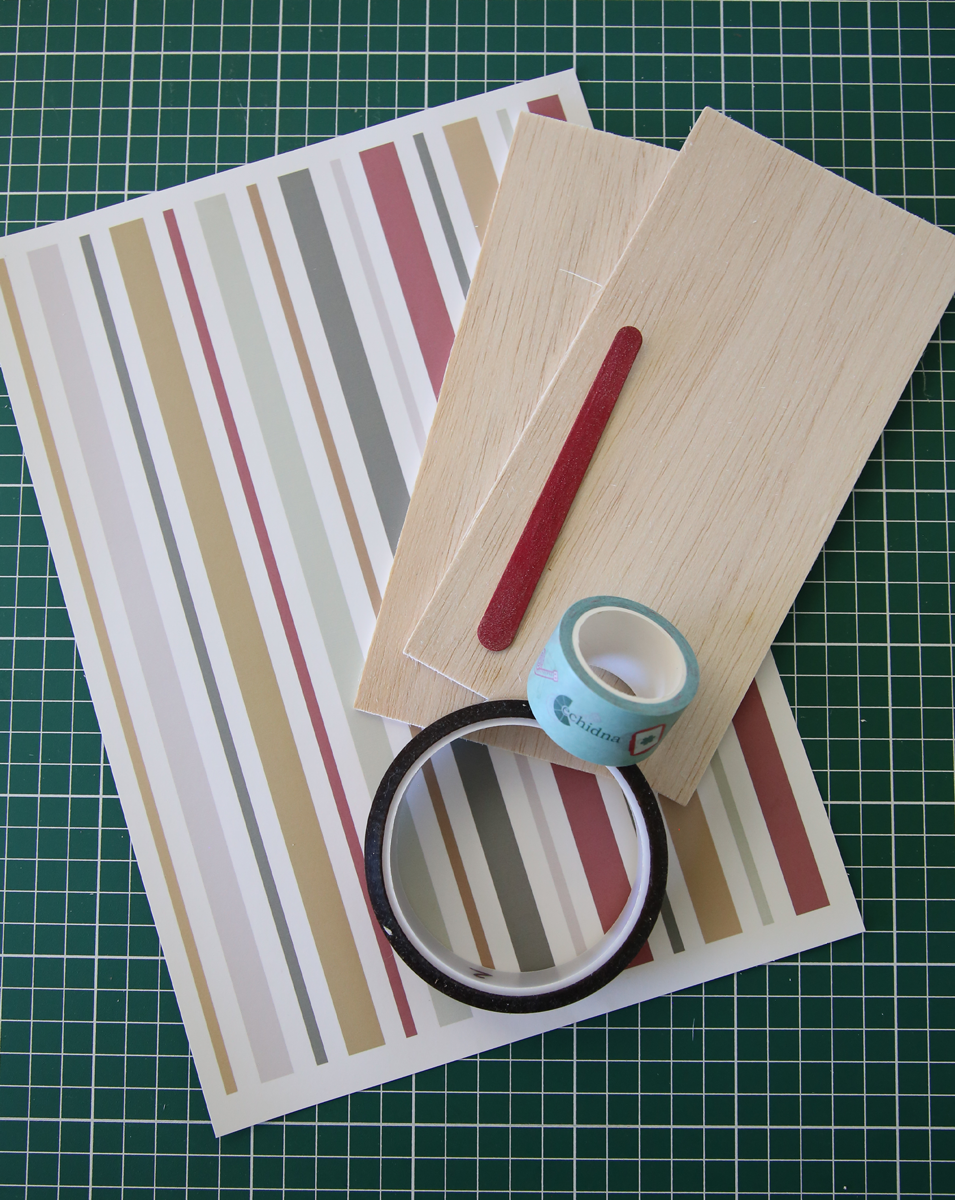
- Brother ScanNCut (or compatible cutting machine capable of cutting 3mm Balsa Wood)
- 3mm Balsa Wood Sheet
- High Tack Washi Tape
- Sublimation Printer
- Sublimation Paper
- Sublimation Ink
- Heat Press
- Heat Resistant Tape
- Protective Heat-Resistant Sheet
- Plain Copy Paper
- Paper Scissors
- Nail File (or Fine Sandpaper)
- Ribbon, Twine, Ornament Hook or Handmade Tassel
- Project Files (Download Now →)
Detailed Instructions
- Download the supplied Christmas Ornament SVG and Christmas Sublimation Pattern PDF.
- Copy the SVG file to a USB flash drive or send it directly to your Brother ScanNCut using CanvasWorkspace Wireless Transfer.
- Load the ornament SVG onto your ScanNCut.
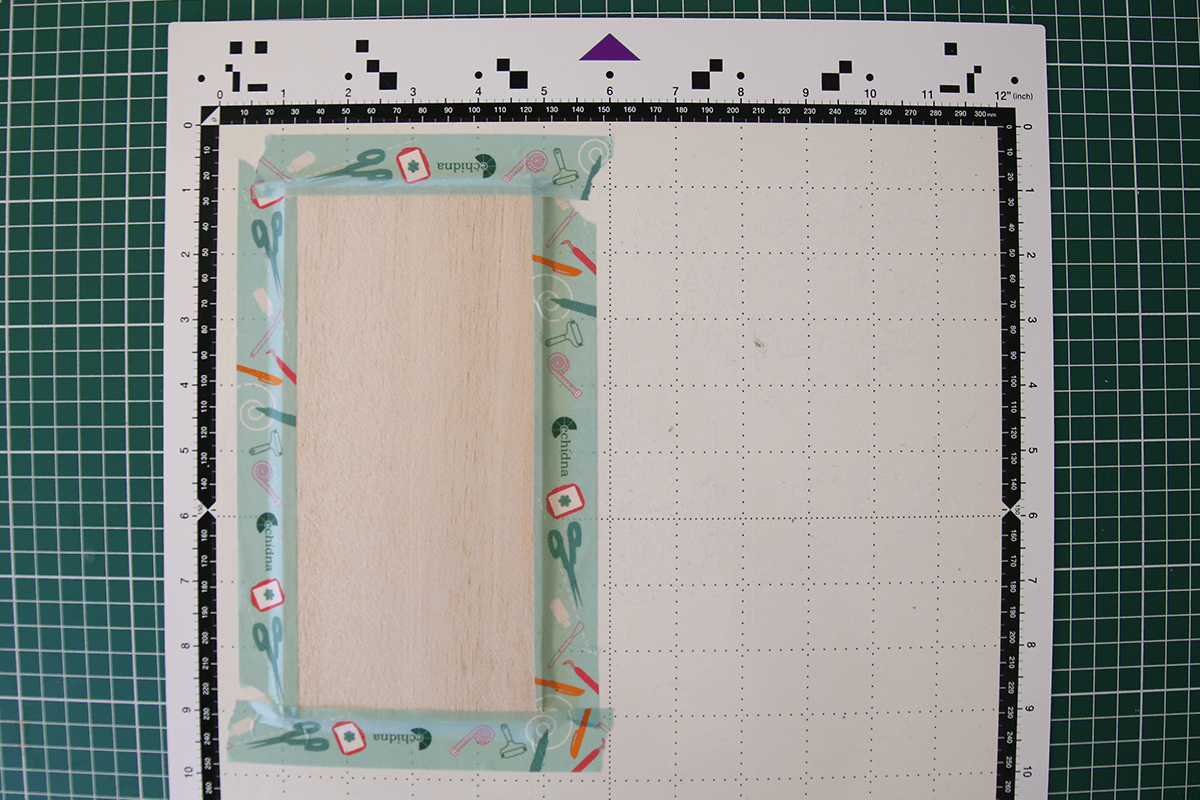
- Place the 3mm Balsa Wood onto your Cutting Mat, positioning it approximately 25mm (1") in from the left and top edges of the mat. This leaves enough room to secure the balsa wood with Washi Tape without covering the left edge where the machine rollers travel or the markings along the top of the mat that the ScanNCut uses to recognise the mat. Apply Washi Tape around the edges of the balsa wood to help keep it securely in place while cutting.
⚠️ Tip: Cutting 3mm Balsa Wood will dull your blade faster than materials such as paper or vinyl. If possible, use an older blade and mat for this project and keep a newer blade for fine-detail materials like vinyl and cardstock.
- Load the Cutting Mat into the ScanNCut.
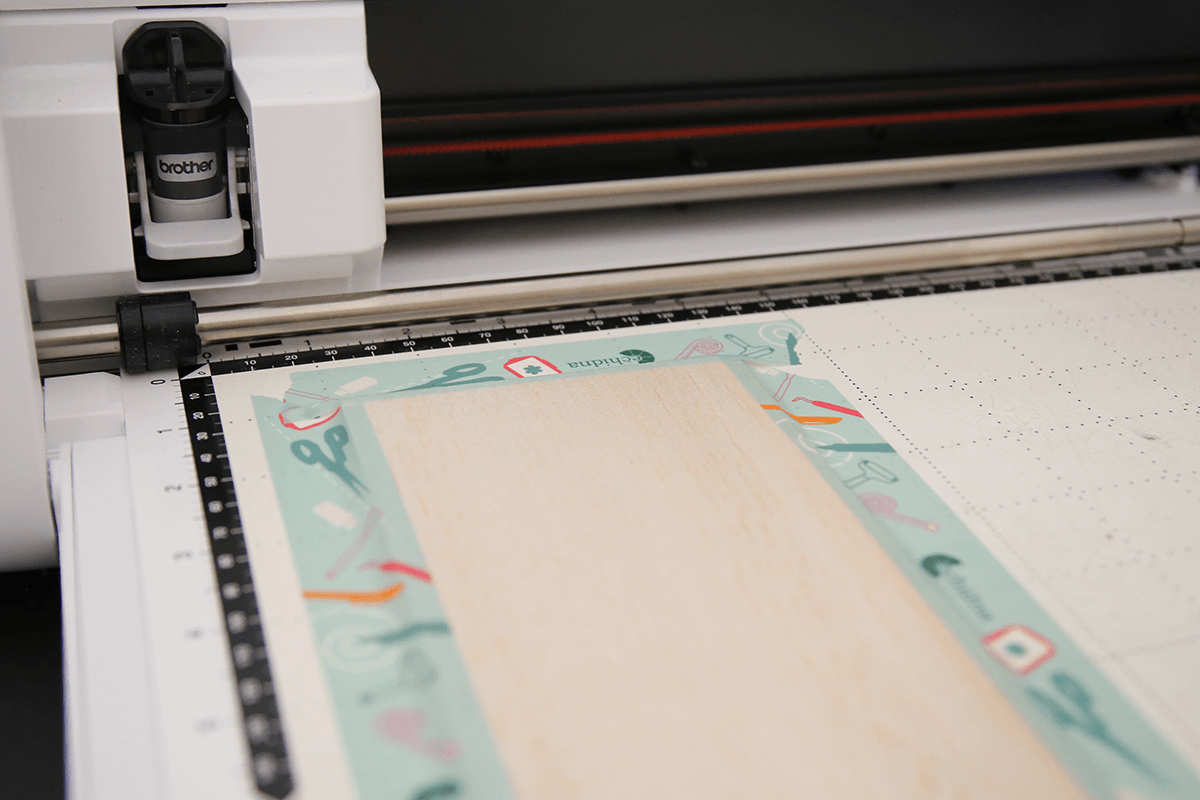
- Raise the scanner lever (on the left side of the machine) to "2". Scan the mat to check the placement of the design on the balsa wood.
- Resize the ornament SVG to fit comfortably within the width of your 3mm Balsa Wood.
⚠️ Tip: For best results, do not reduce the ornament below 100mm. Smaller sizes may result in the hanging hole not cutting correctly or becoming too fragile.
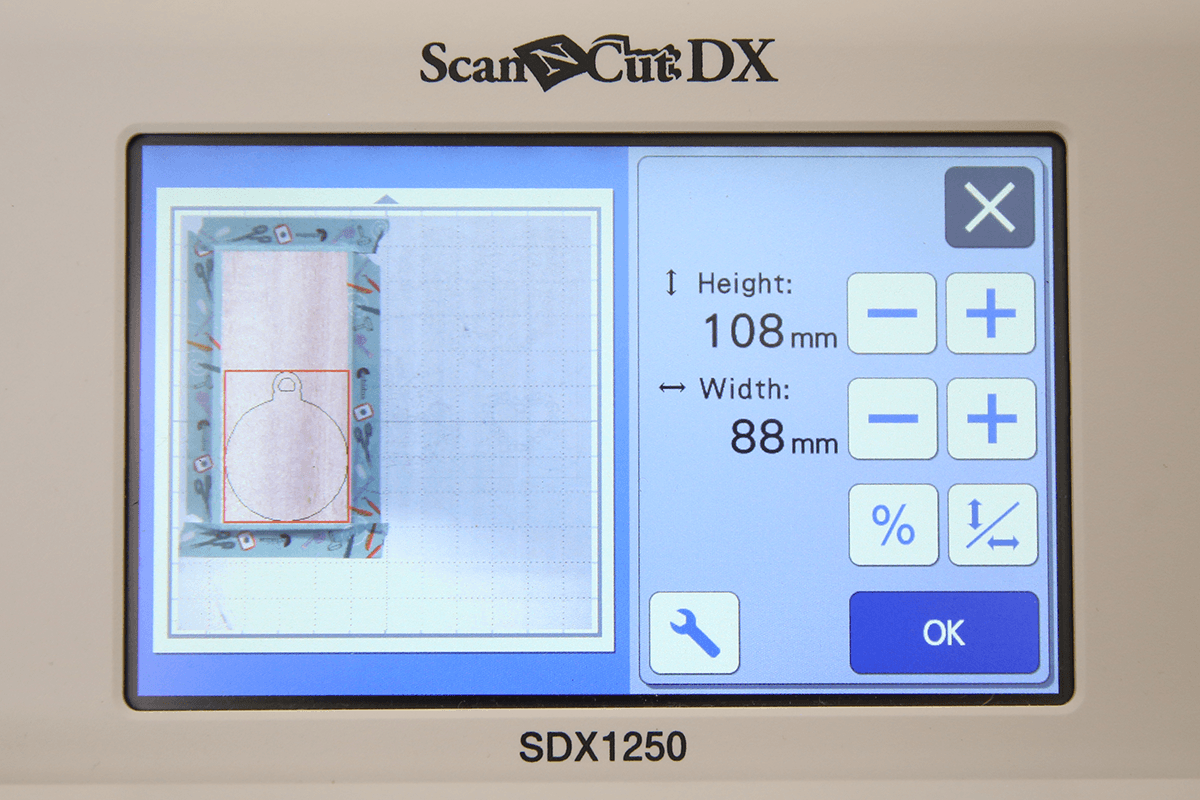
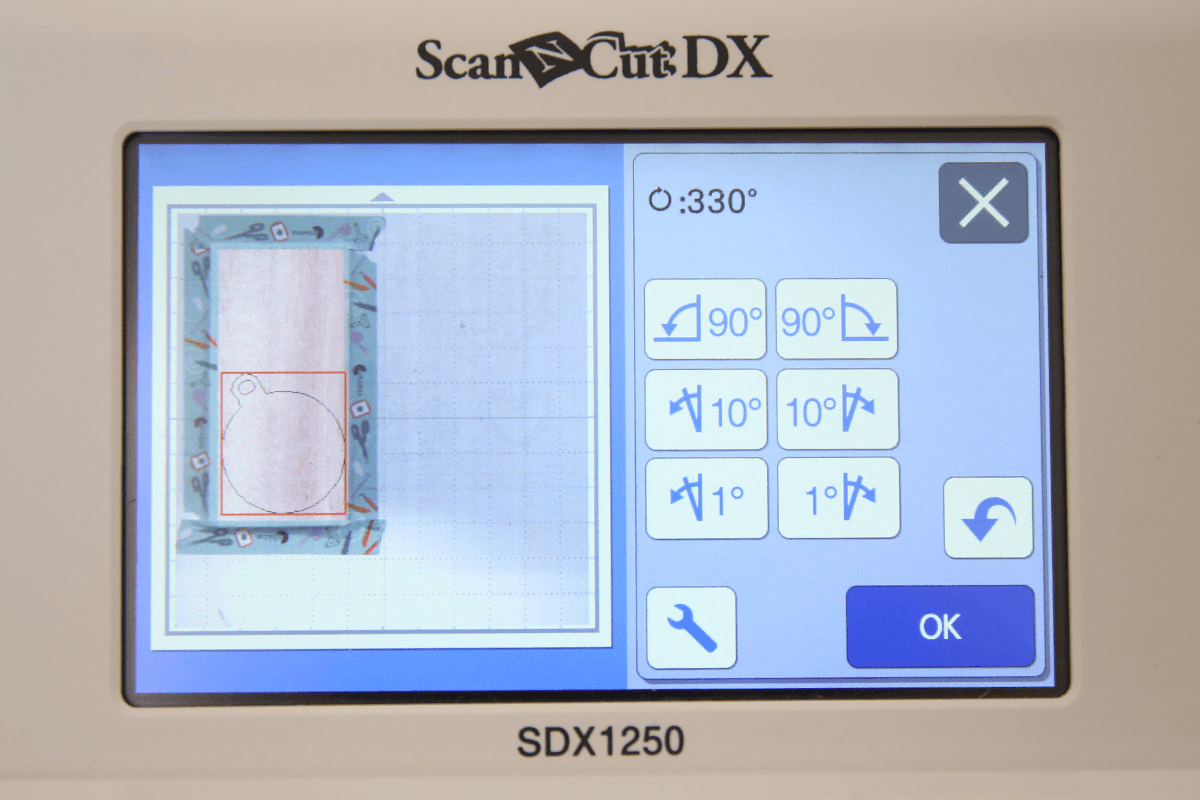
- Rotate the ornament and position it towards the bottom of the balsa wood, with the top of the ornament and hanging hole pointing inwards towards the centre-left of the balsa wood. This positioning helps make the most of the available space and leaves room for a second ornament.
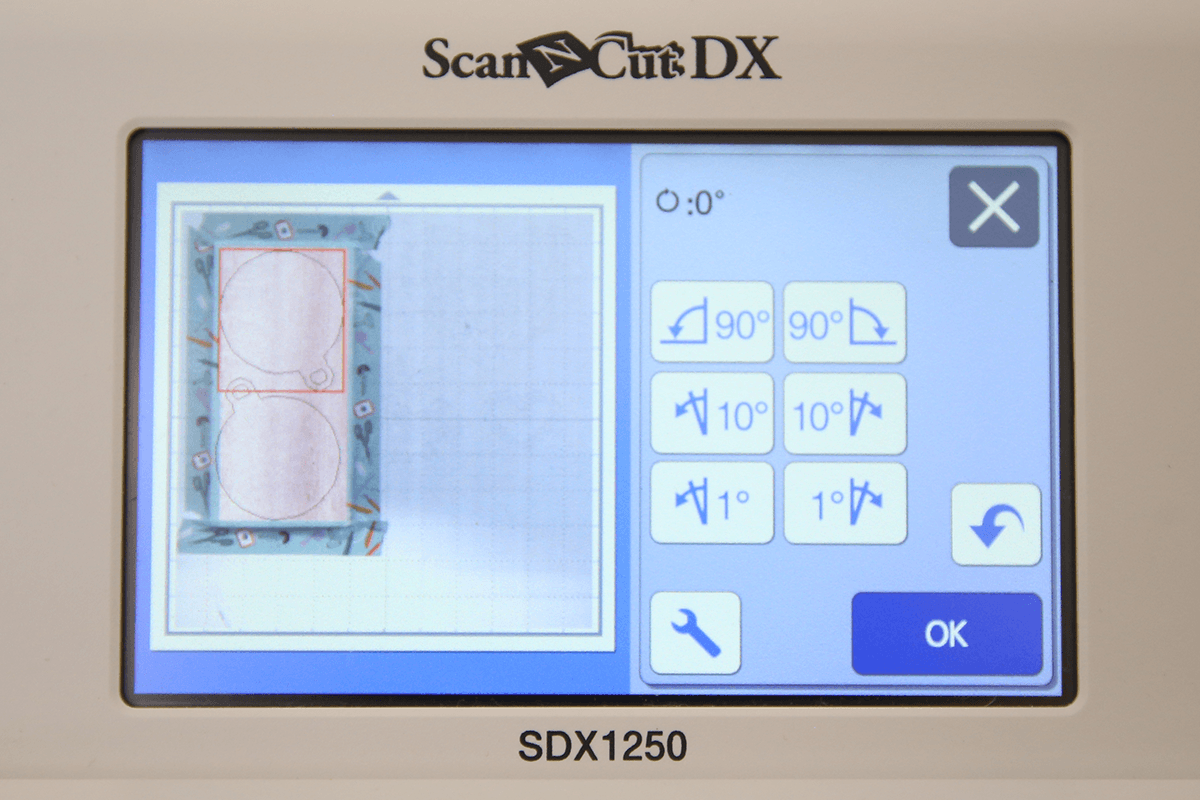
- Duplicate the ornament, then rotate the second copy and position it in the remaining space so the two ornaments fit neatly together on the balsa wood.
⚠️ Tip: Position the two ornaments as closely as practical without allowing the cut lines to overlap. This helps minimise wasted balsa wood.
- Adjust your machine settings to allow for the 3mm balsa wood thickness.
- Proceed with cutting the design.
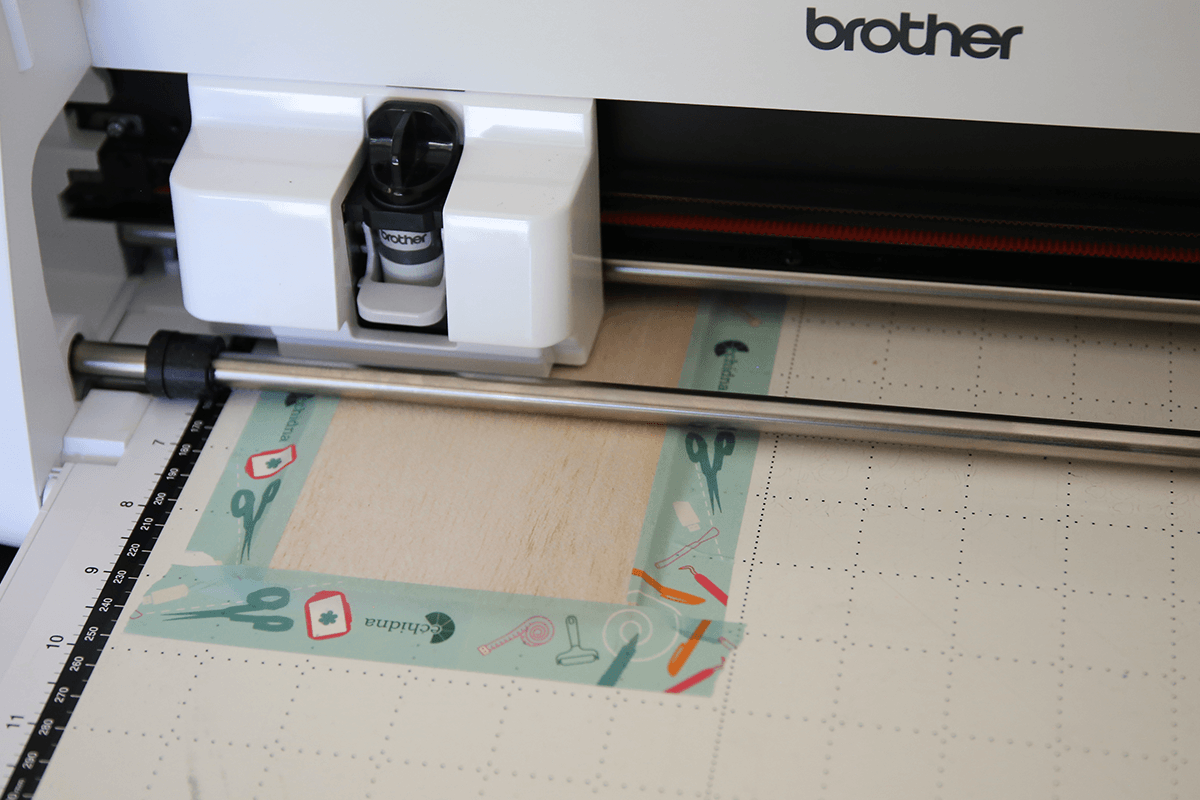
- Once the cut has finished, unload the Cutting Mat.
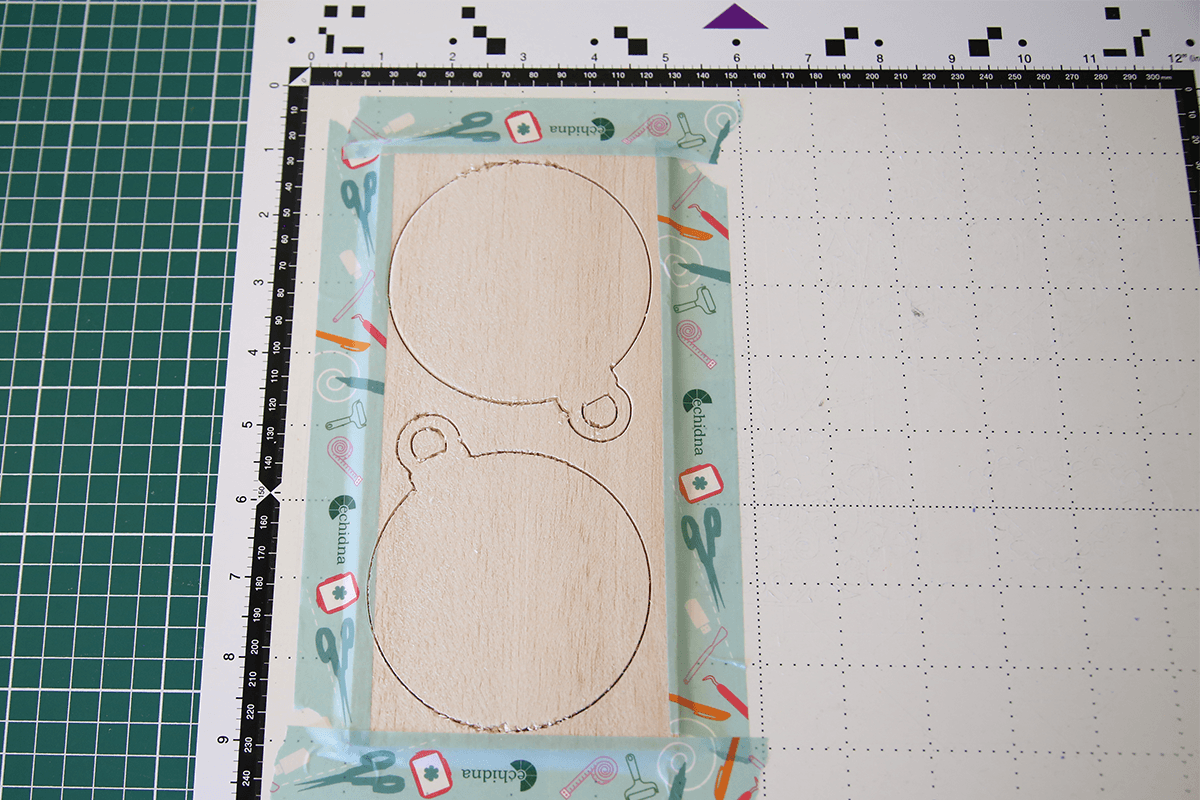
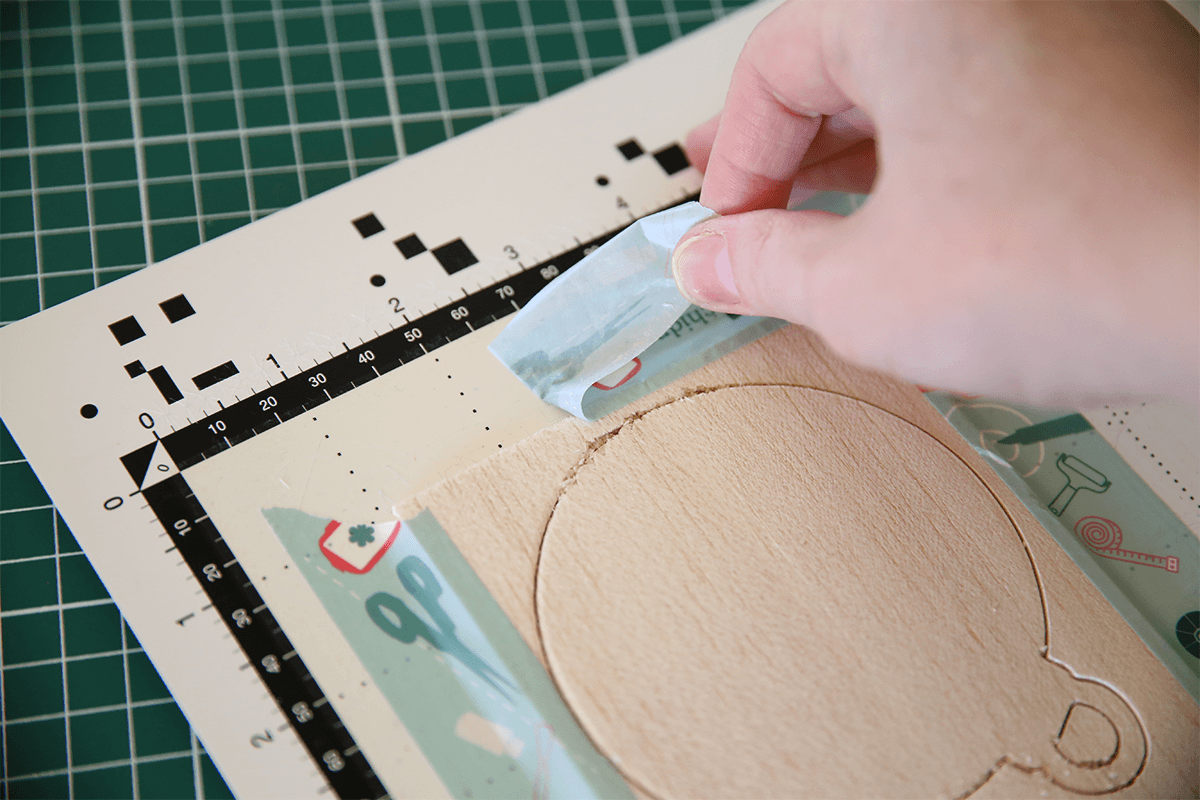
- Carefully remove the Washi Tape from the balsa wood and Cutting Mat.
- Gently lift the outer cut of the ornament from the Cutting Mat.
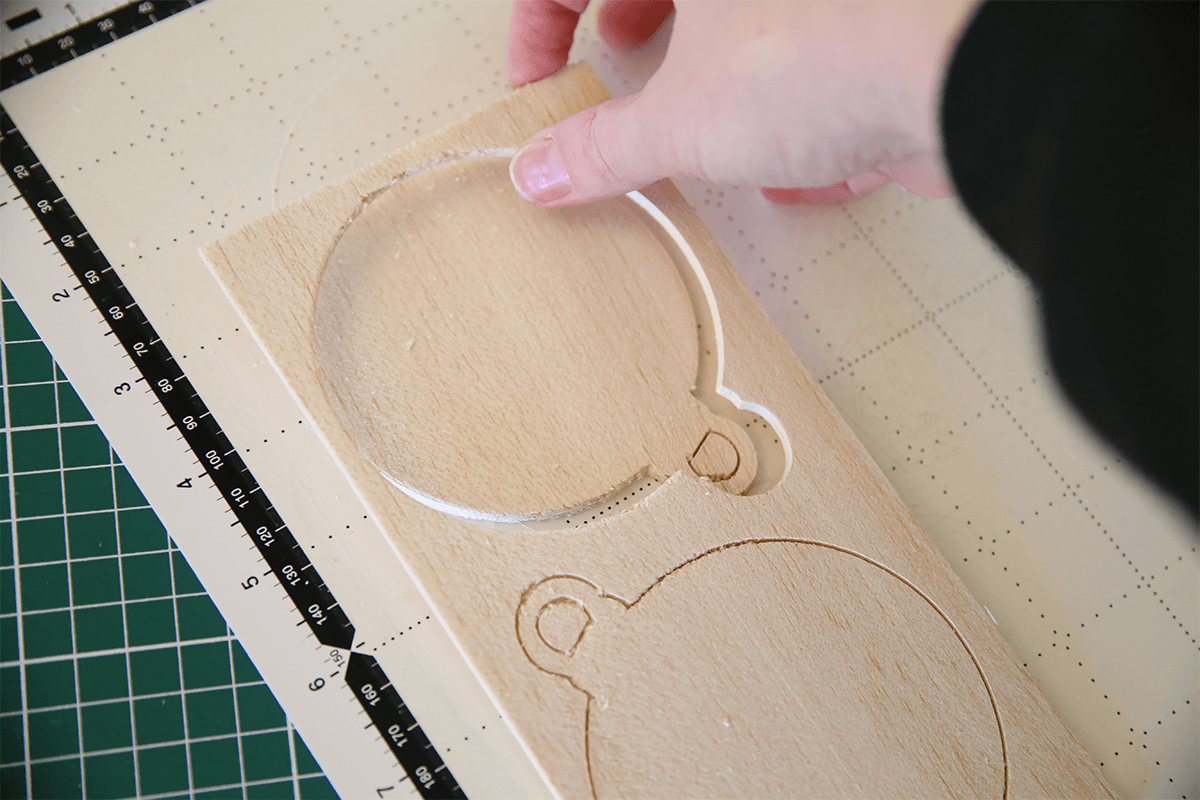
- Carefully push out the small cut piece for the hanging hole.
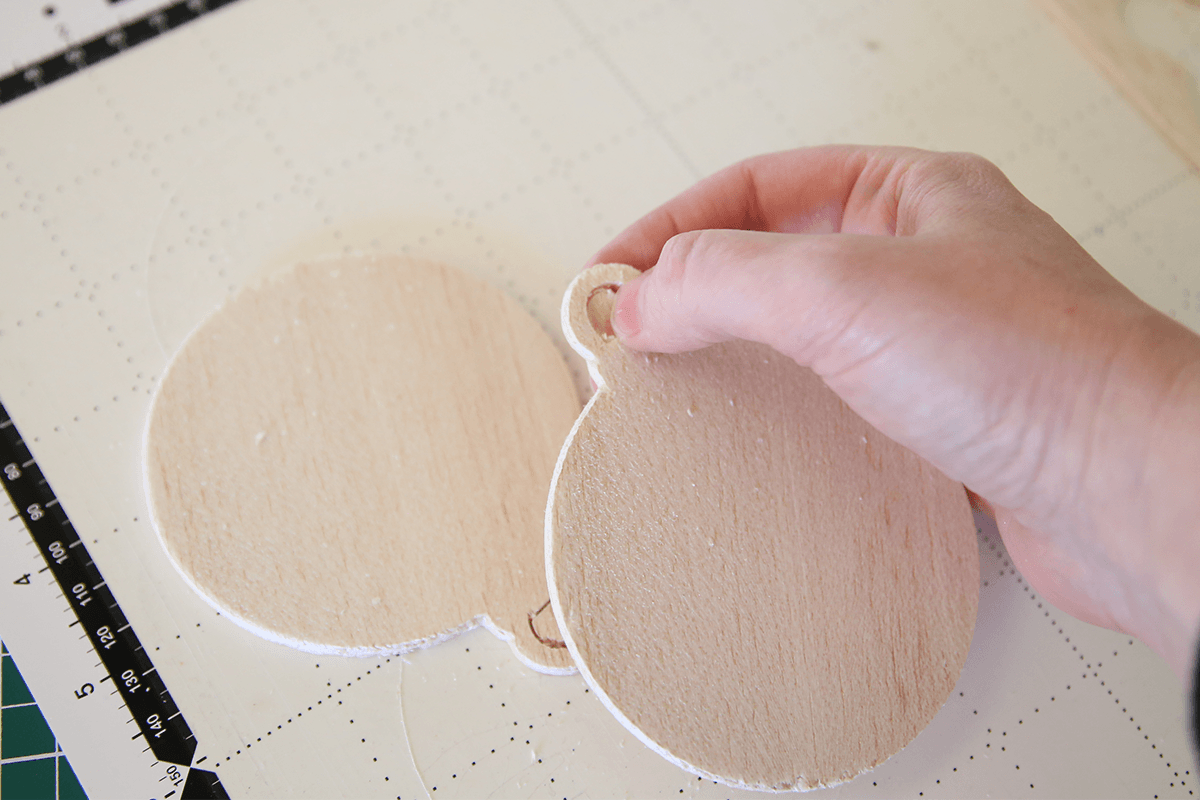
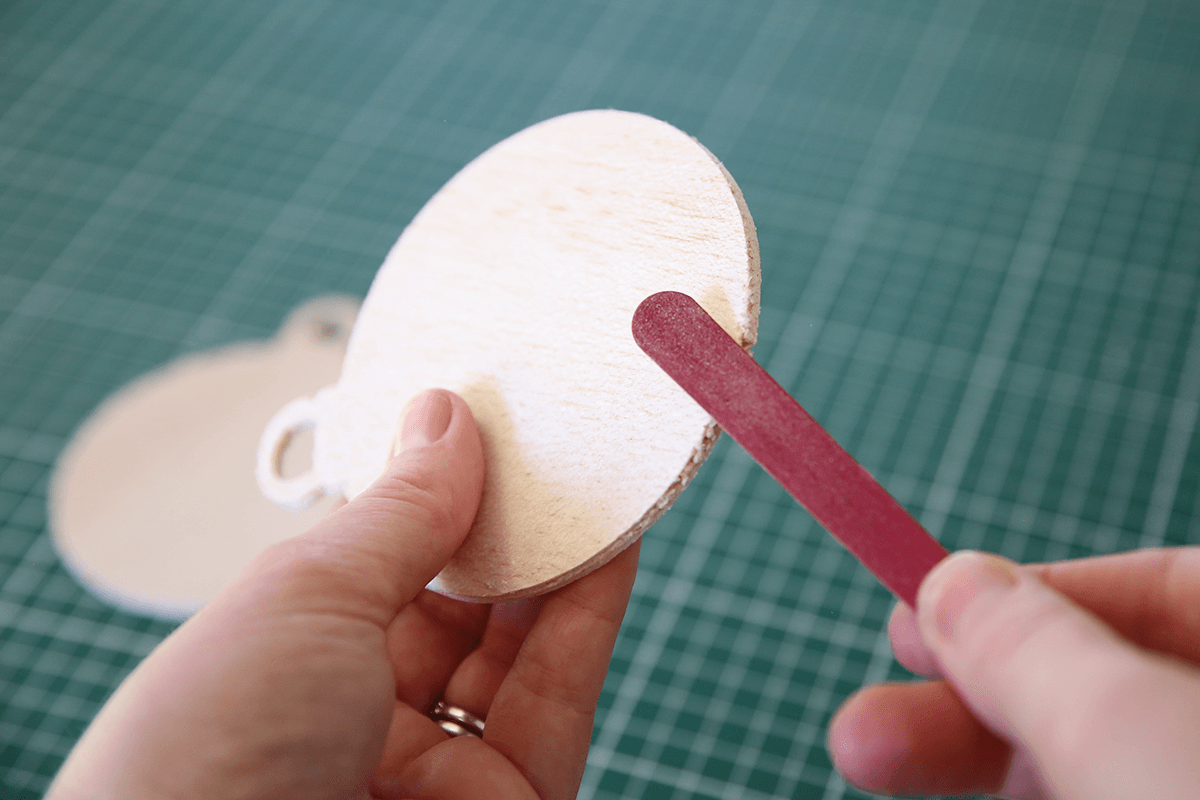
- If required, gently smooth any rough edges using a nail file or fine sandpaper, then set the ornament aside while you prepare your sublimation design.
- Open the supplied Christmas Sublimation Pattern PDF using your Sublimation printers required software and print the pattern onto sublimation paper using sublimation ink.
Need some help? Check out our Dye Sublimation videos →
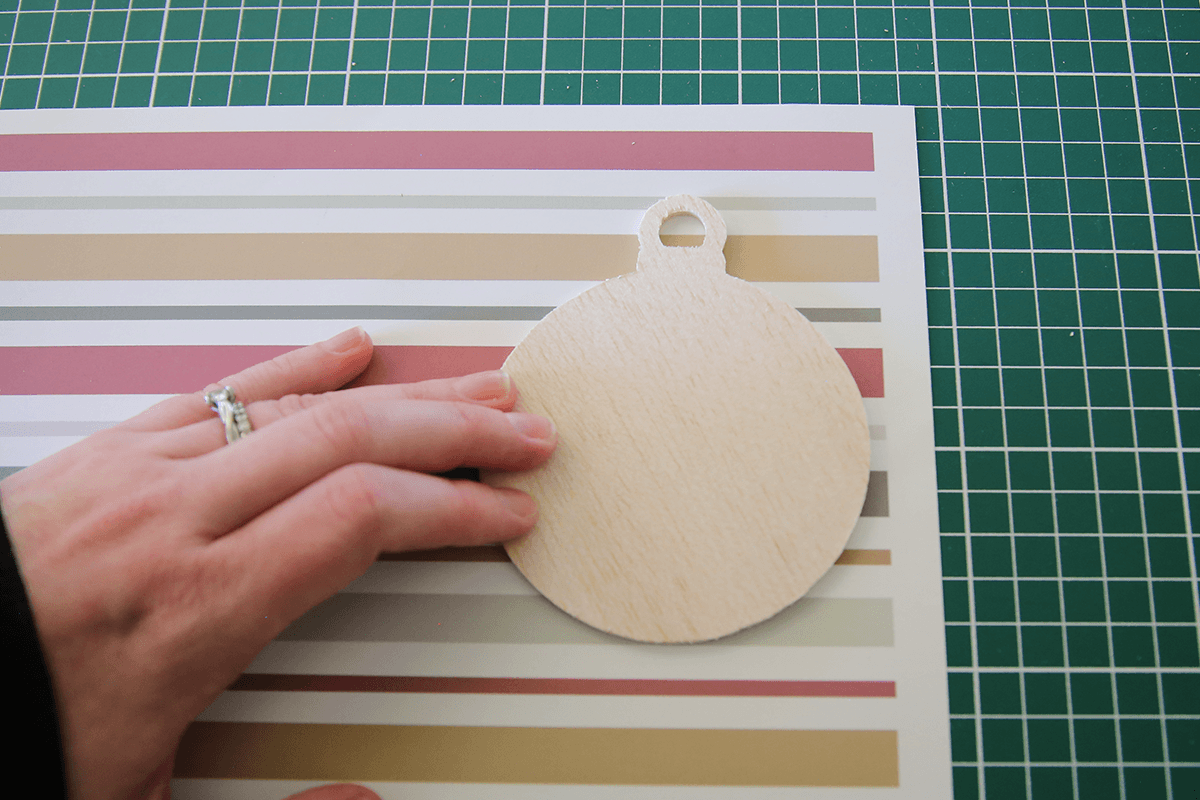
⚠️ Tip: The pattern is available in both A4 and Letter sizes. Be sure to print the version that matches your paper size. Print using Actual Size or 100%, and remember to enable the Mirror Image setting before printing if you are using a design with words. - Position the ornament face down over your chosen section of the printed pattern. You should be able to get multiple ornaments from the same piece of sublimation paper if you use the available area wisely.
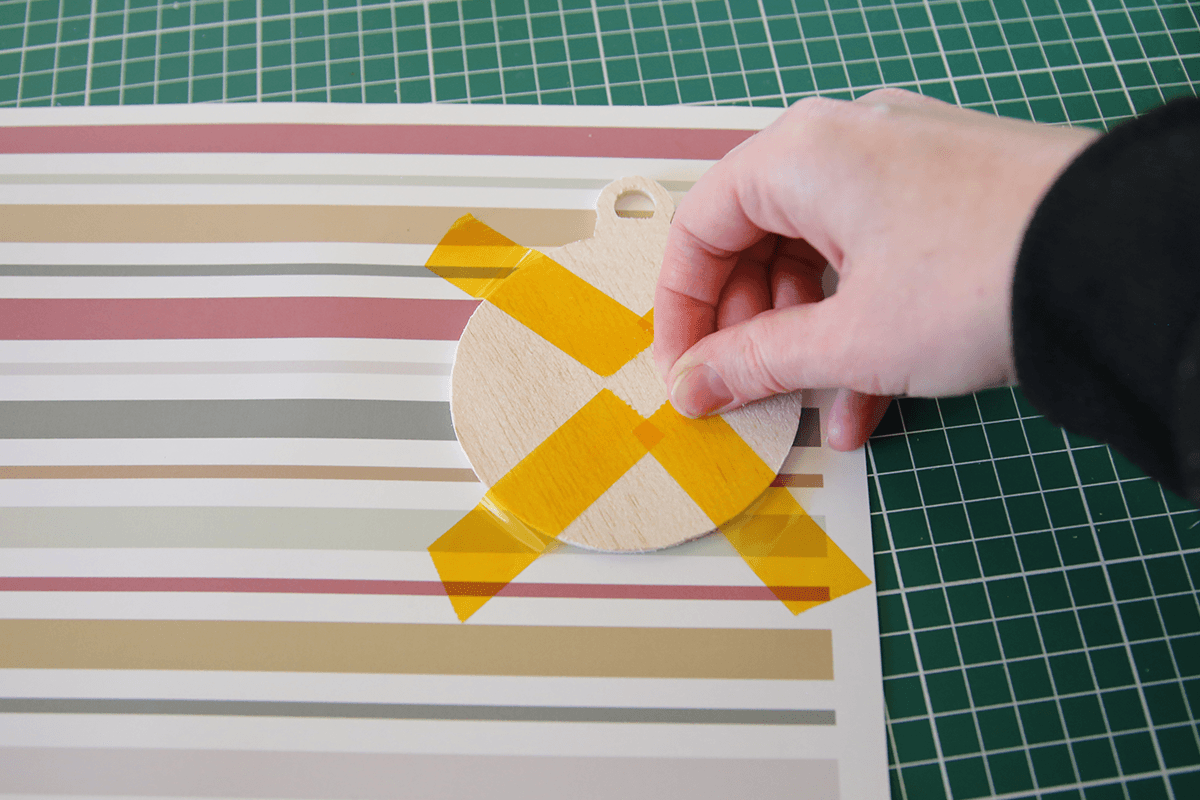
- Secure the ornament to the sublimation paper using Heat Resistant Tape. This will help prevent the paper from shifting during pressing and reduce the risk of ghosting.
- Trim away the excess sublimation paper using Paper Scissors, keeping the unused printed sections so they can be used to decorate the opposite side of the ornament later.
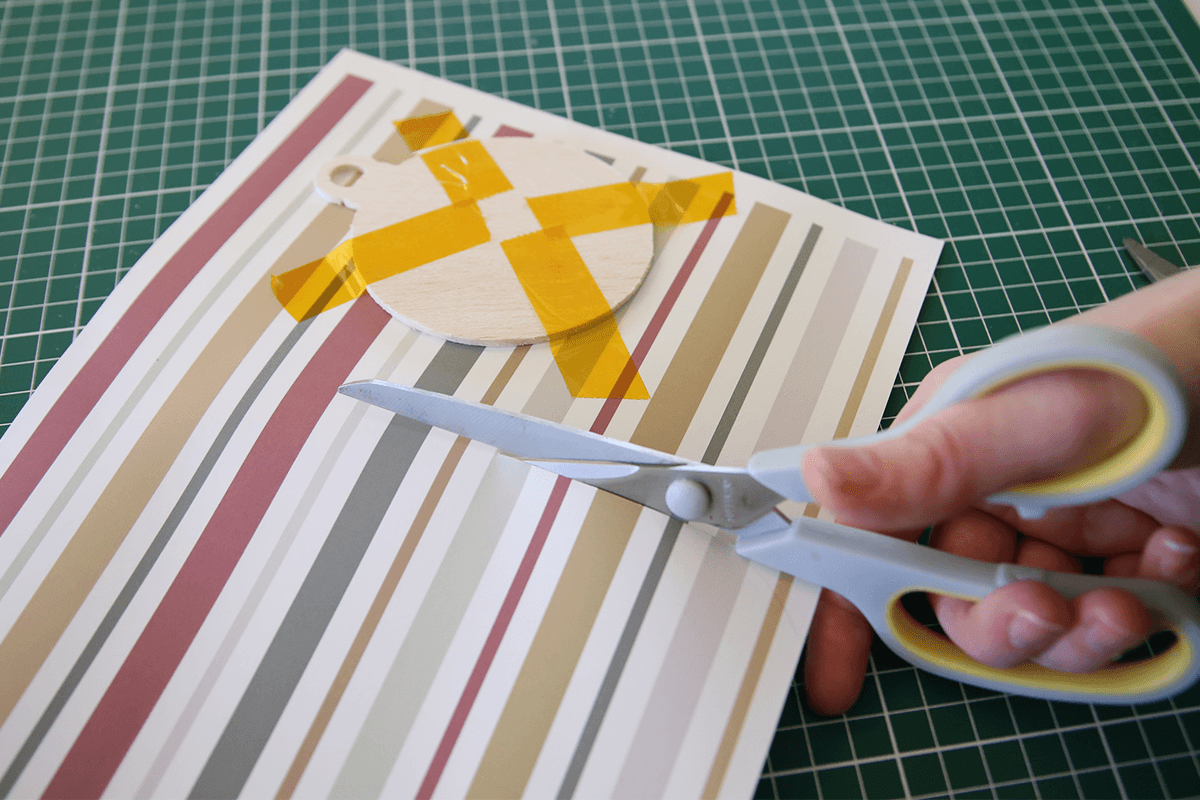
- Place a Protective Heat-Resistant Sheet onto the lower platen of your heat press.
⚠️ Note: This helps protect your heat press from any excess sublimation ink during pressing. - Place a sheet of Plain Copy Paper over the Protective Heat-Resistant Sheet. This disposable layer helps absorb any excess ink and keeps the protective sheet clean.
- Place the taped ornament onto the heat press with the sublimation paper facing up (printed side towards the heating element).
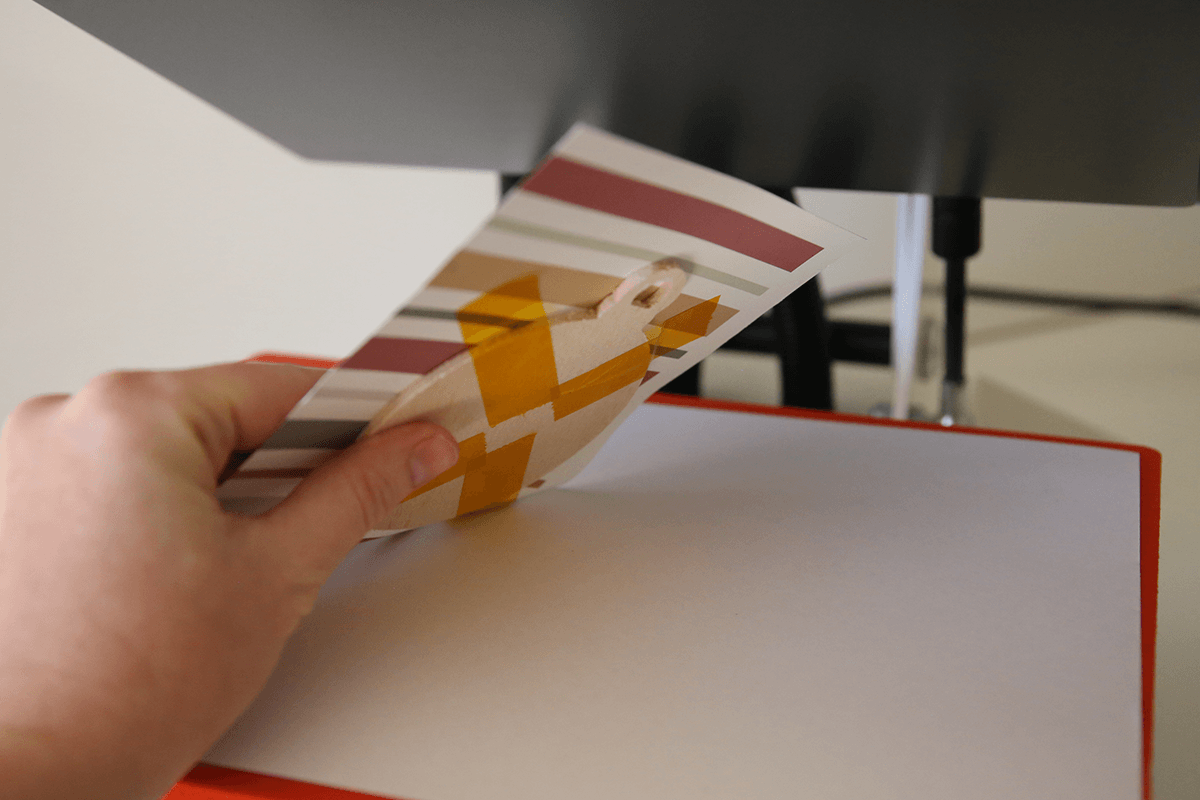
- Place a second Protective Heat-Resistant Sheet over the ornament.
- Press the ornament using the recommended temperature, pressure and time. Refer to our Dye-Sub Heat Press Times Guide for more information. For this project, we followed the recommended settings for Cardboard.
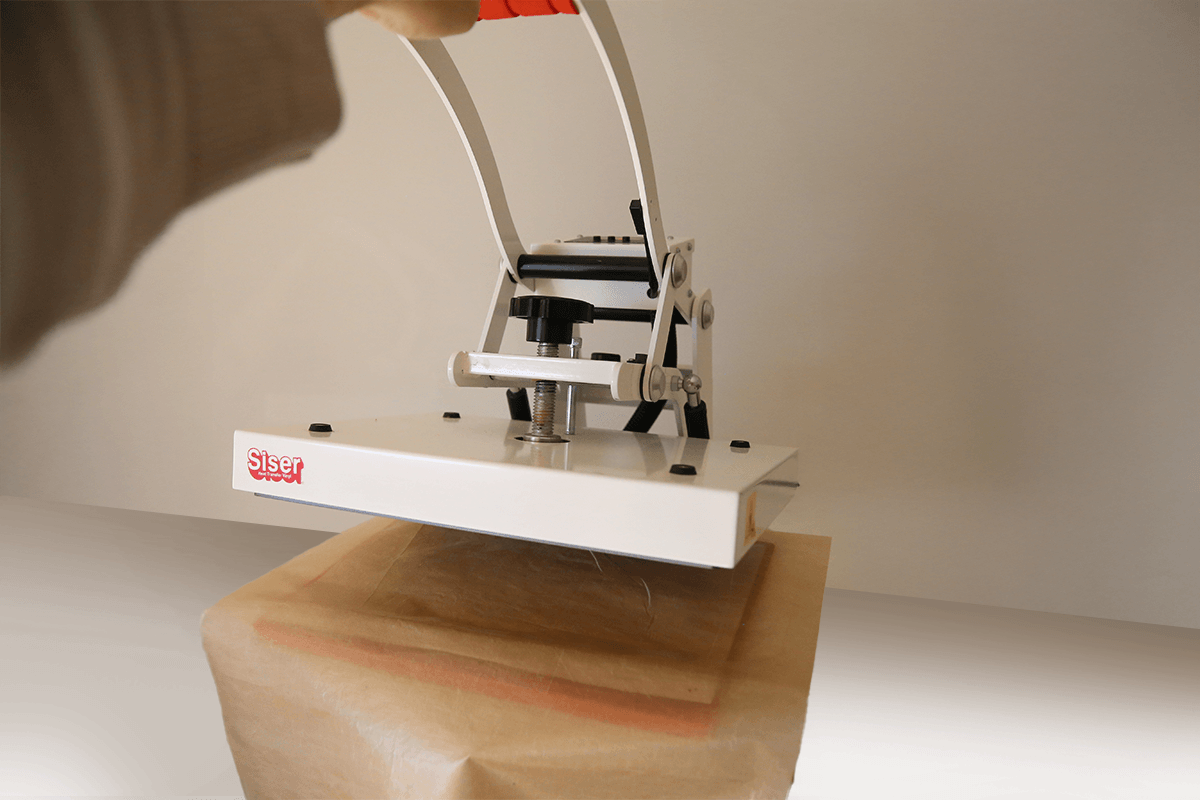
- Carefully remove the ornament from the heat press and allow it to cool slightly before removing the Heat Resistant Tape.
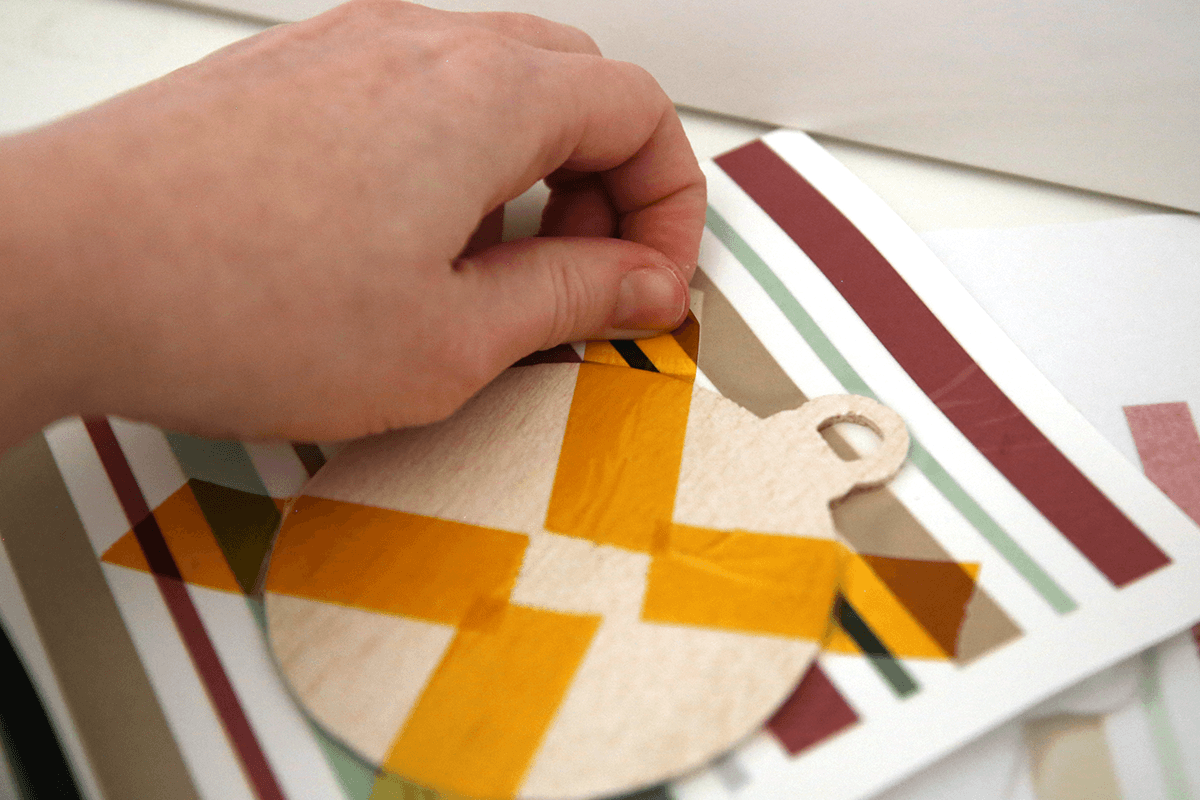
- Lift the ornament away from the sublimation paper to reveal the transferred pattern.
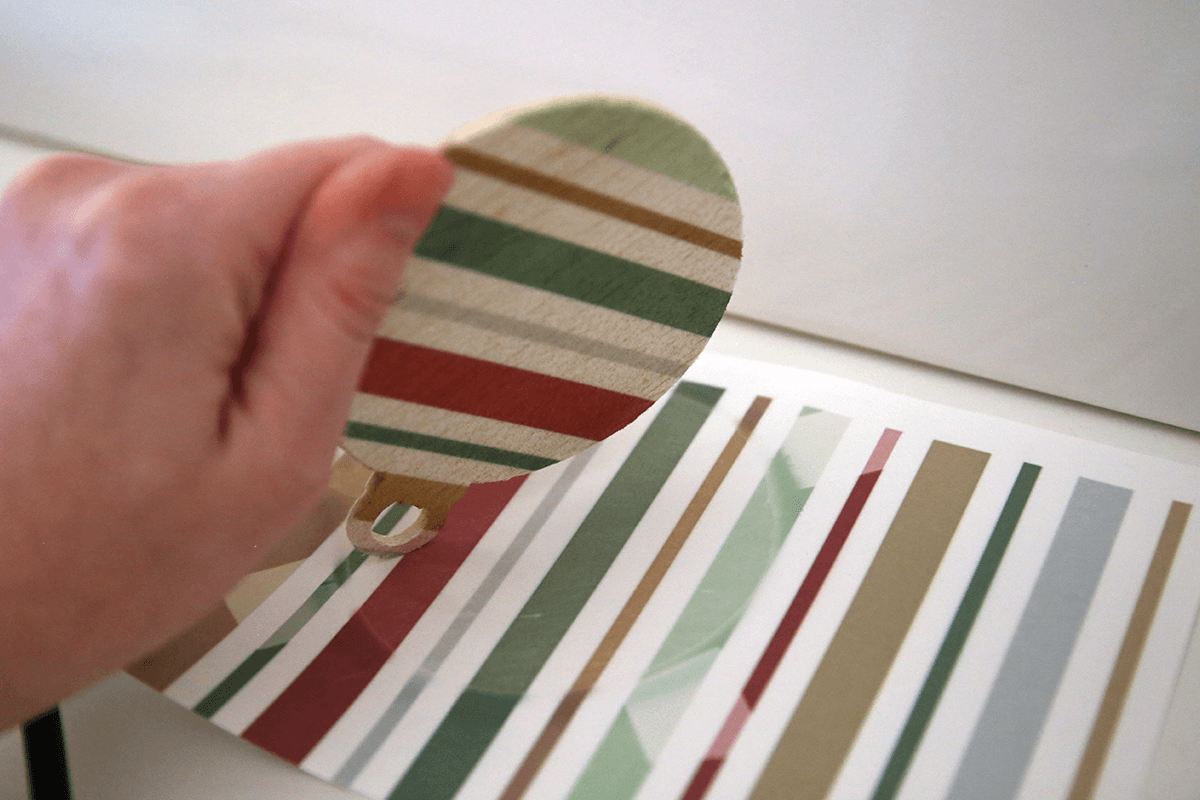
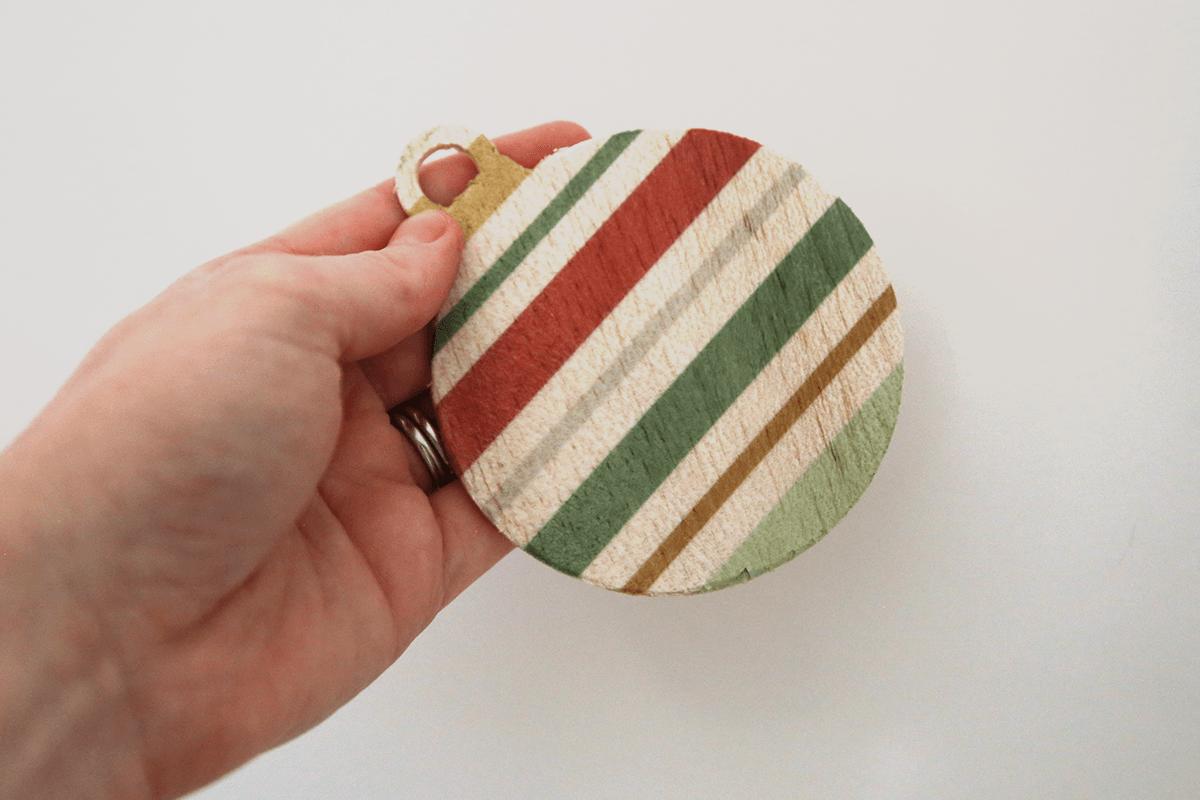
- Repeat Steps 19–28 to decorate the opposite side of the ornament. Feel free to choose a different section of the pattern to create a unique design on each side.
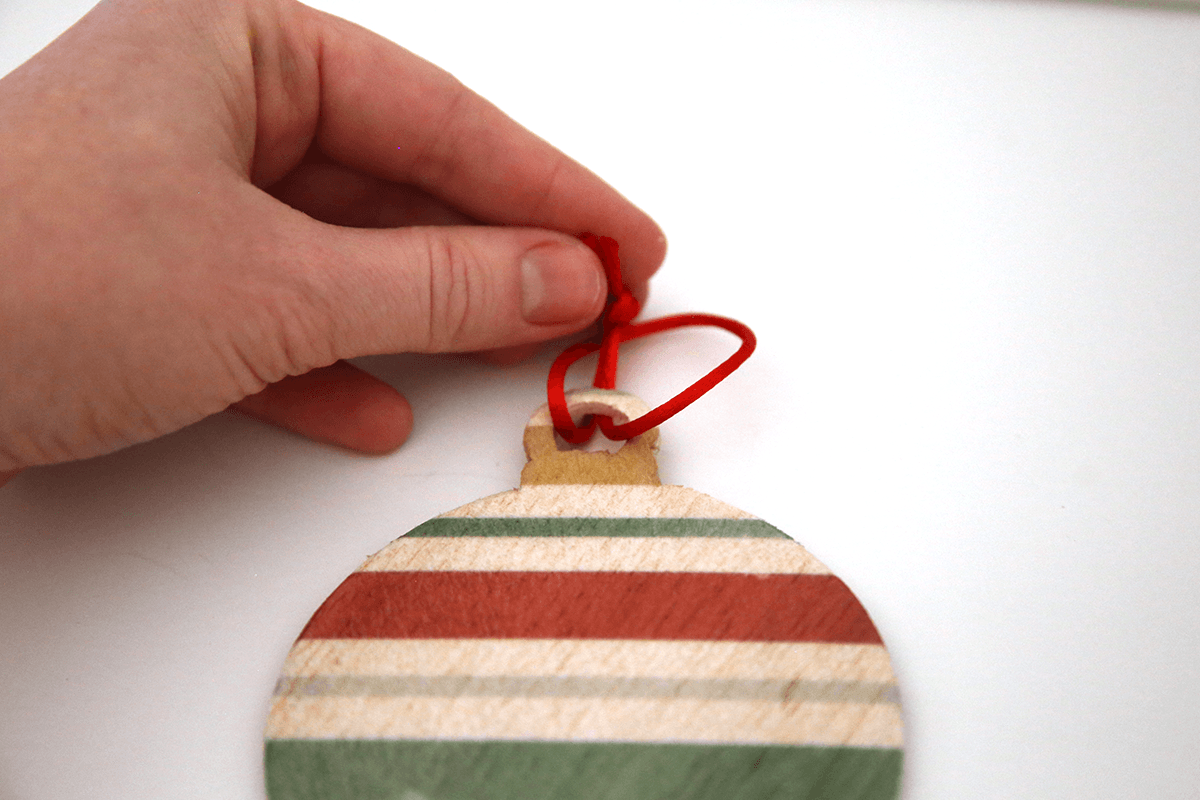
- Thread ribbon, twine, an Ornament Hook or a Handmade Tassel through the hanging hole. Follow our DIY Tassel Embellishment Tutorial to learn how to make your own.
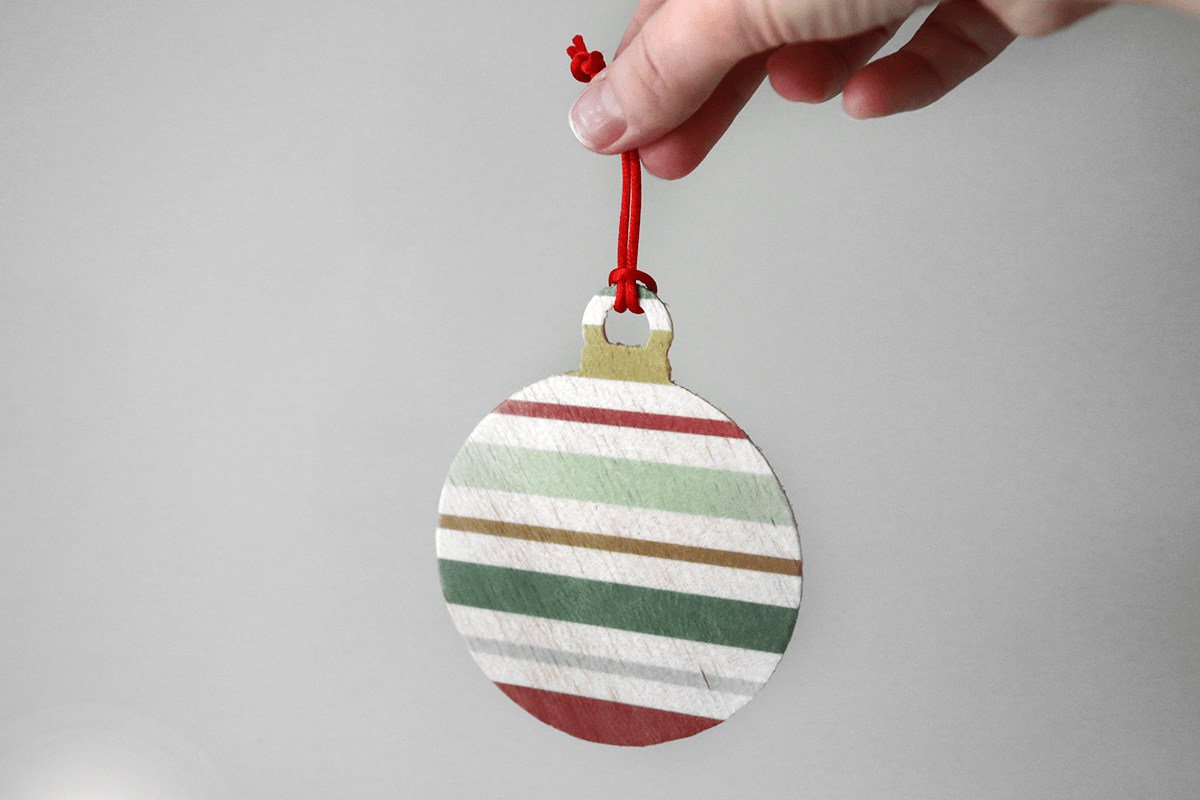
- Your personalised wooden Christmas ornament is now ready to hang on your Christmas tree, decorate your home, or give as a thoughtful handmade gift.
Free Embroidery Designs
We're excited to offer our free Echidna designs available for download. These free designs are perfect for those at a beginner or an advanced level. Add these designs to your stash and create incredible embroidery!
View all free designs >
Sewing, Quilting and Embroidery Machines
Interested in learning how to sew, quilt or embroider? Take a look at the innovative Brother machines available for purchase at Echidna Sewing. Wherever possible we will beat any deal and you will always receive ongoing service and support!
Find out more >
Learn to Sew or Embroider with Echidna Sewing
Come along to our fun-filled classes to learn more about sewing, embroidery and crafting. Classes cater for all skill levels, whether you're just starting out or already have advanced knowledge.
Find out more >
Echidna project material/ fabric requirements are an indication only and can seem to be generous. This has been intentional. Should you make a cutting or embroidery mistake you will have sufficient fabric to rectify your error.