All Articles
How to Sew Fusible Appliqué
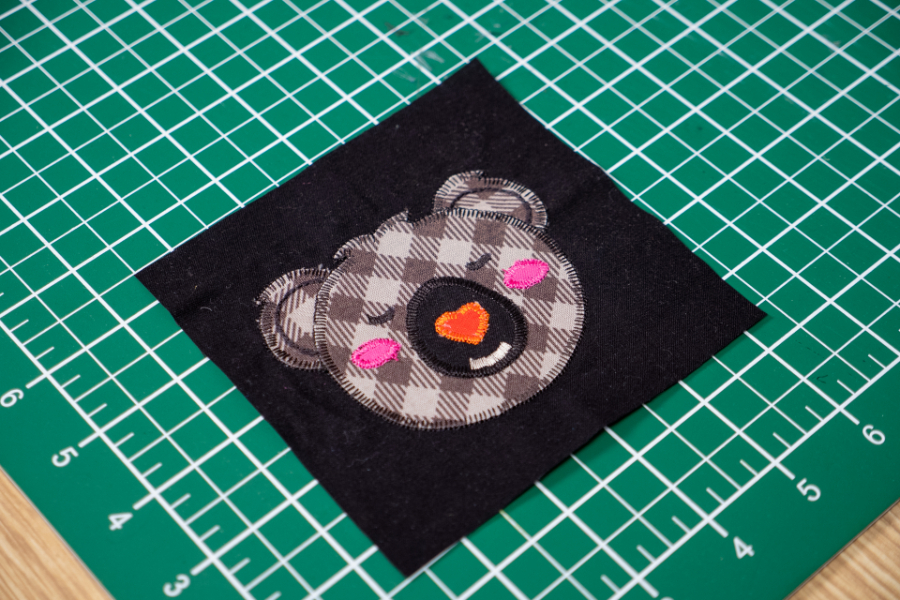
Fusible appliqué is a simple way to add fabric shapes, lettering and decorative details to your sewing projects. Fusible web holds the shapes in place, then your sewing machine secures the edges with stitching. Follow the steps below to create your own.
If you'd like to find out more about the different types of applique, check out our Sewing Machine Appliqué Techniques article →
What you will need
- Appliqué template
- Background fabric
- Fabric scraps or felt for your appliqué shapes
- Echidna Hot Melt Web (fusible web)
- Softaway tear-away Stabilizer
- Sewing machine and a suitable machine needle
- Thread, such as Hemingworth embroidery thread, and a compatible bobbin
- Pencil and a small ruler
- Paper scissors and fabric scissors
- Iron and pressing mat
- Fabric scraps for testing stitches
- Lightbox and appliqué pressing sheet (optional)
Detailed steps
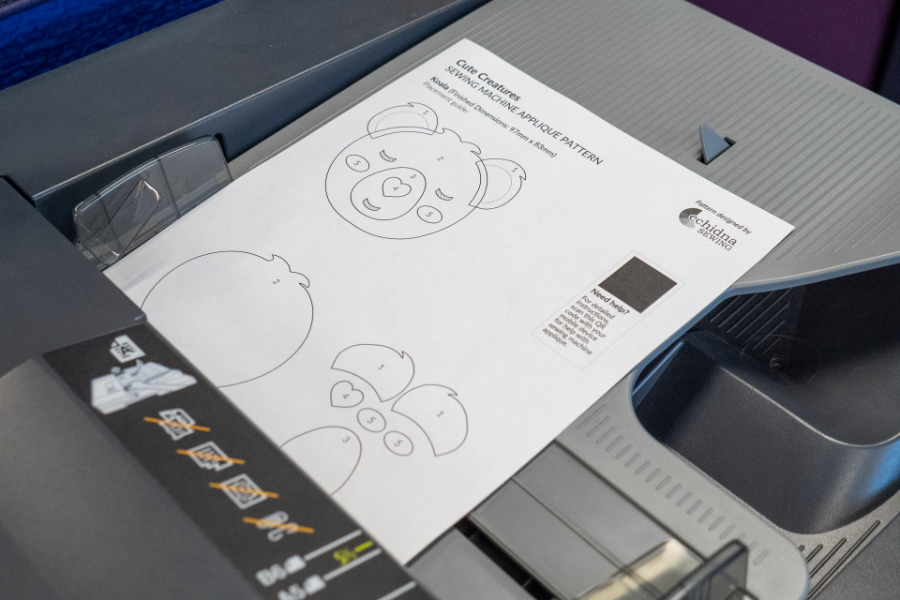
- Print your chosen appliqué template at the required size. Check whether it has already been reversed for tracing, particularly if it includes lettering.
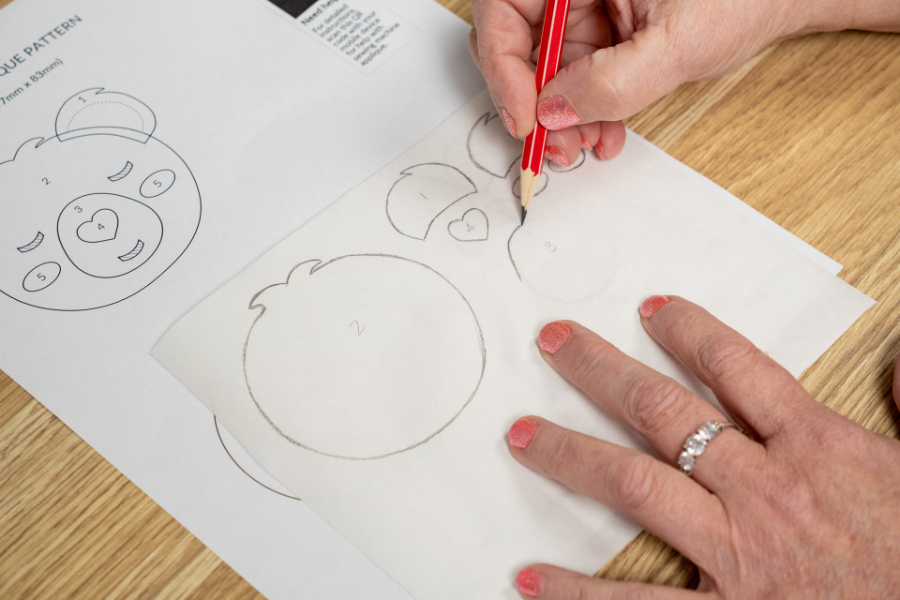
- Place the Hot Melt Web paper side up over the template and trace each piece. Copy any markings that indicate where shapes overlap.
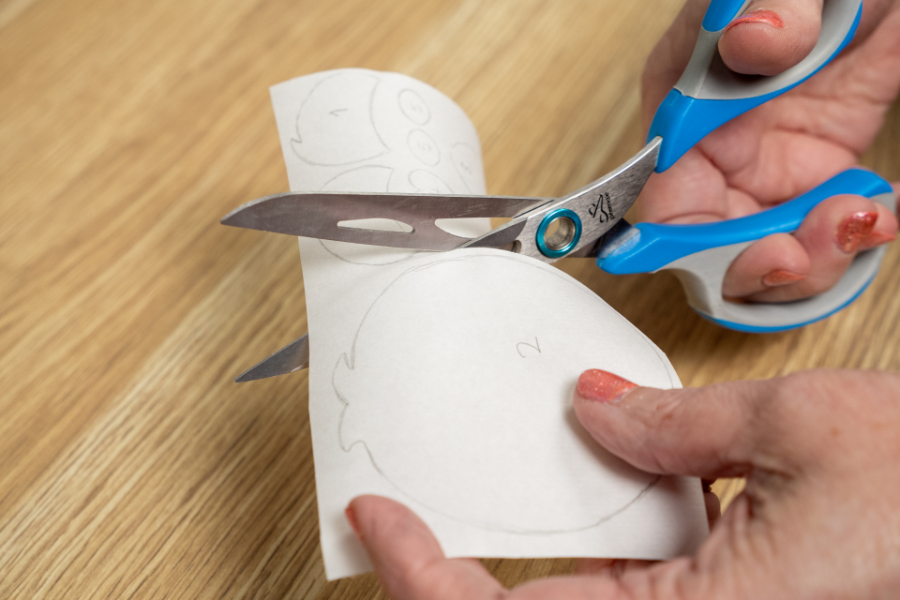
- Roughly cut out each piece, leaving approximately 3mm outside the traced lines. Don’t cut directly on the lines yet.
- Place the adhesive side against the wrong side of your chosen fabric. Press according to the Hot Melt Web instructions. Peel the fusible web paper off of your fabric. If the glue lifts up, just iron again until it comes away cleanly.
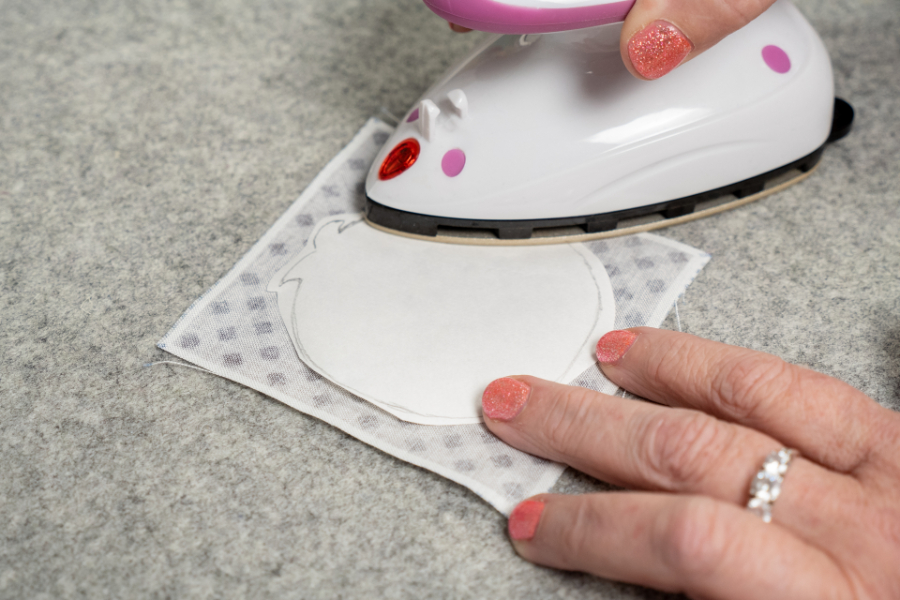
- Once cool, cut accurately along the traced lines, then peel away the paper backing.
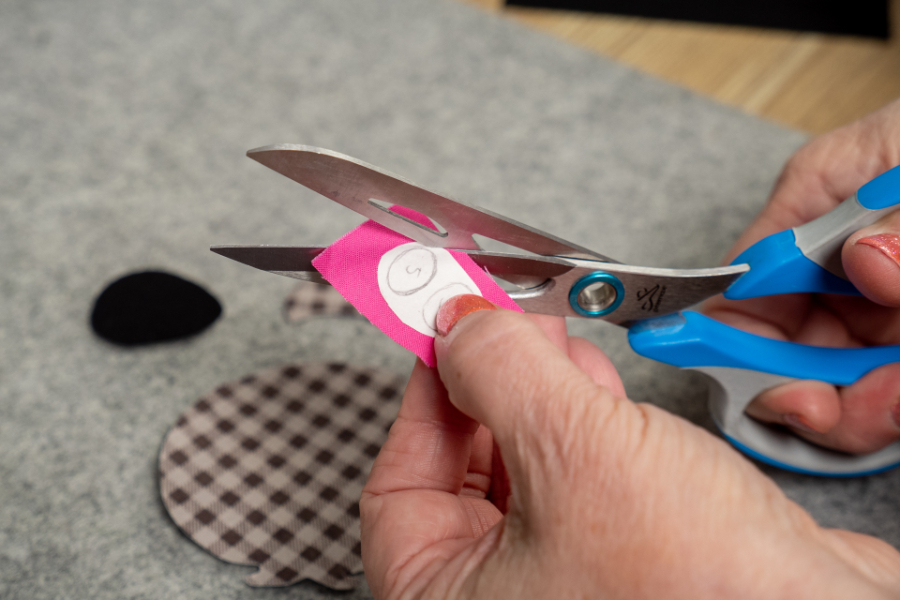
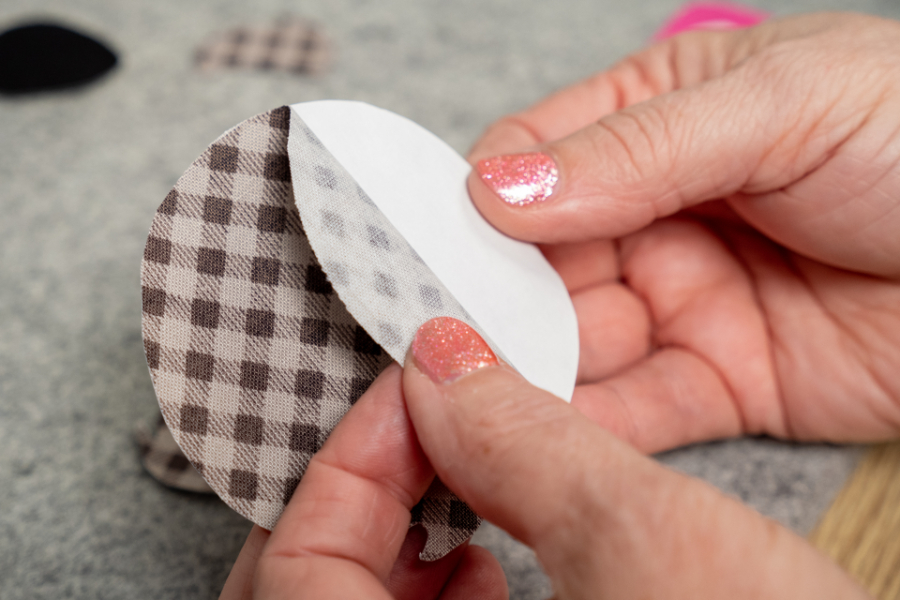
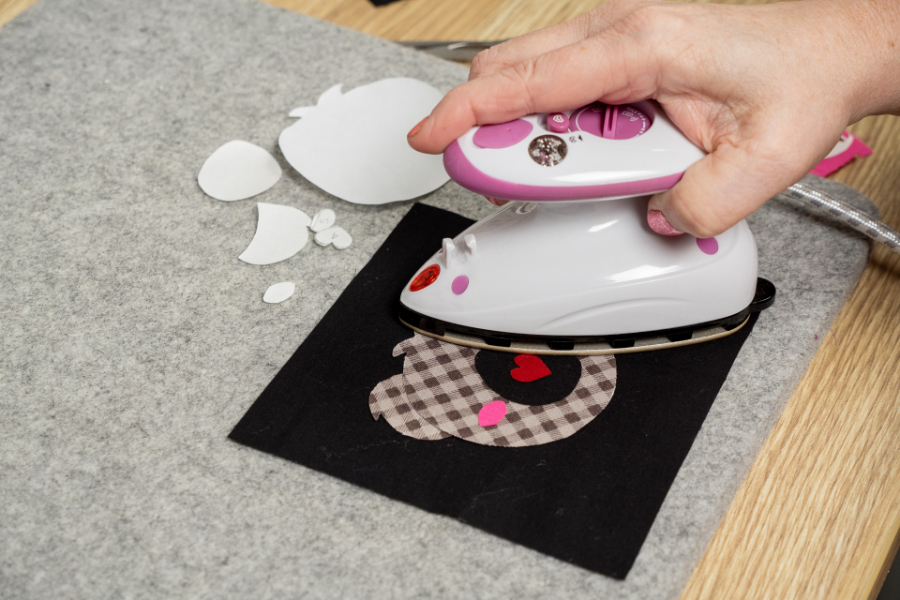
- Arrange the shapes on your background fabric using the template as a guide. Place overlapping pieces in the correct order and leave room for any details added later. Press to secure.
- Place Softaway tear-away Stabilizer beneath your background fabric to support the stitching.
- Prepare a test sample using fabric scraps, Hot Melt Web and the same Stabilizer. Try your chosen stitch and adjust the width and length before sewing your project.
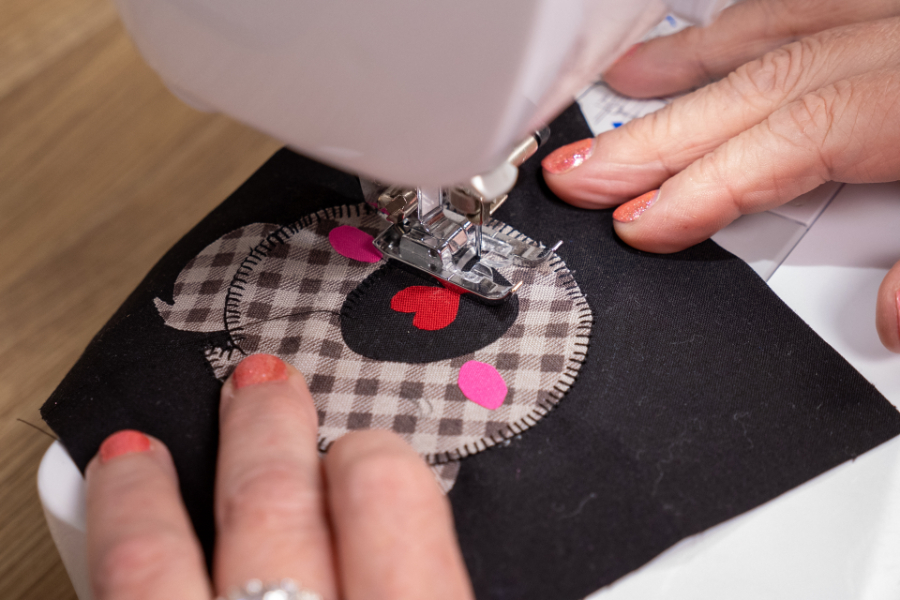
- Stitch around your shapes using matching thread for a subtle finish or contrasting thread for a defined outline. Blanket, satin and suitable decorative stitches can finish the edges, while straight or triple stitching just inside the edge creates a raw-edge effect. Sew slowly, stopping with the needle down when pivoting.
- Secure the thread ends and gently remove the tear-away Stabilizer, supporting the stitches as you work. Add any optional embellishments.