All Articles
Heat Transfer Markers: A Quick Guide
Kearing Heat Transfer Markers are a fun and creative way to personalise fabrics, mugs, wood, and other decorative surfaces. These markers allow you to draw your own designs onto paper, then transfer them using heat.
They’re ideal for DIY craft projects, personalised gifts, home décor, and custom apparel.
What Are Kearing Heat Transfer Markers?
Kearing Heat Transfer Markers contain heat-activated ink designed to transfer onto compatible surfaces when pressure and heat are applied. They are commonly used for creating custom fabric designs, decorative drinkware, wooden signs, and other personalised craft projects.
For best results, they work particularly well on polyester fabrics and polymer-coated blanks commonly used for heat transfer crafting.
Materials Needed
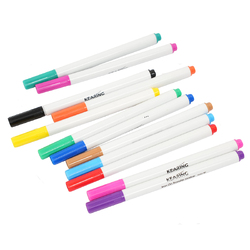
- Kearing Heat Transfer Markers
- Plain paper (standard printer paper works well)
- Iron, heat press, or mug press
- Target surface (fabric, mug, wood, etc.)
- Heat-resistant tape (optional)
Shop Online:


Step-by-Step Instructions
Fabric Transfers
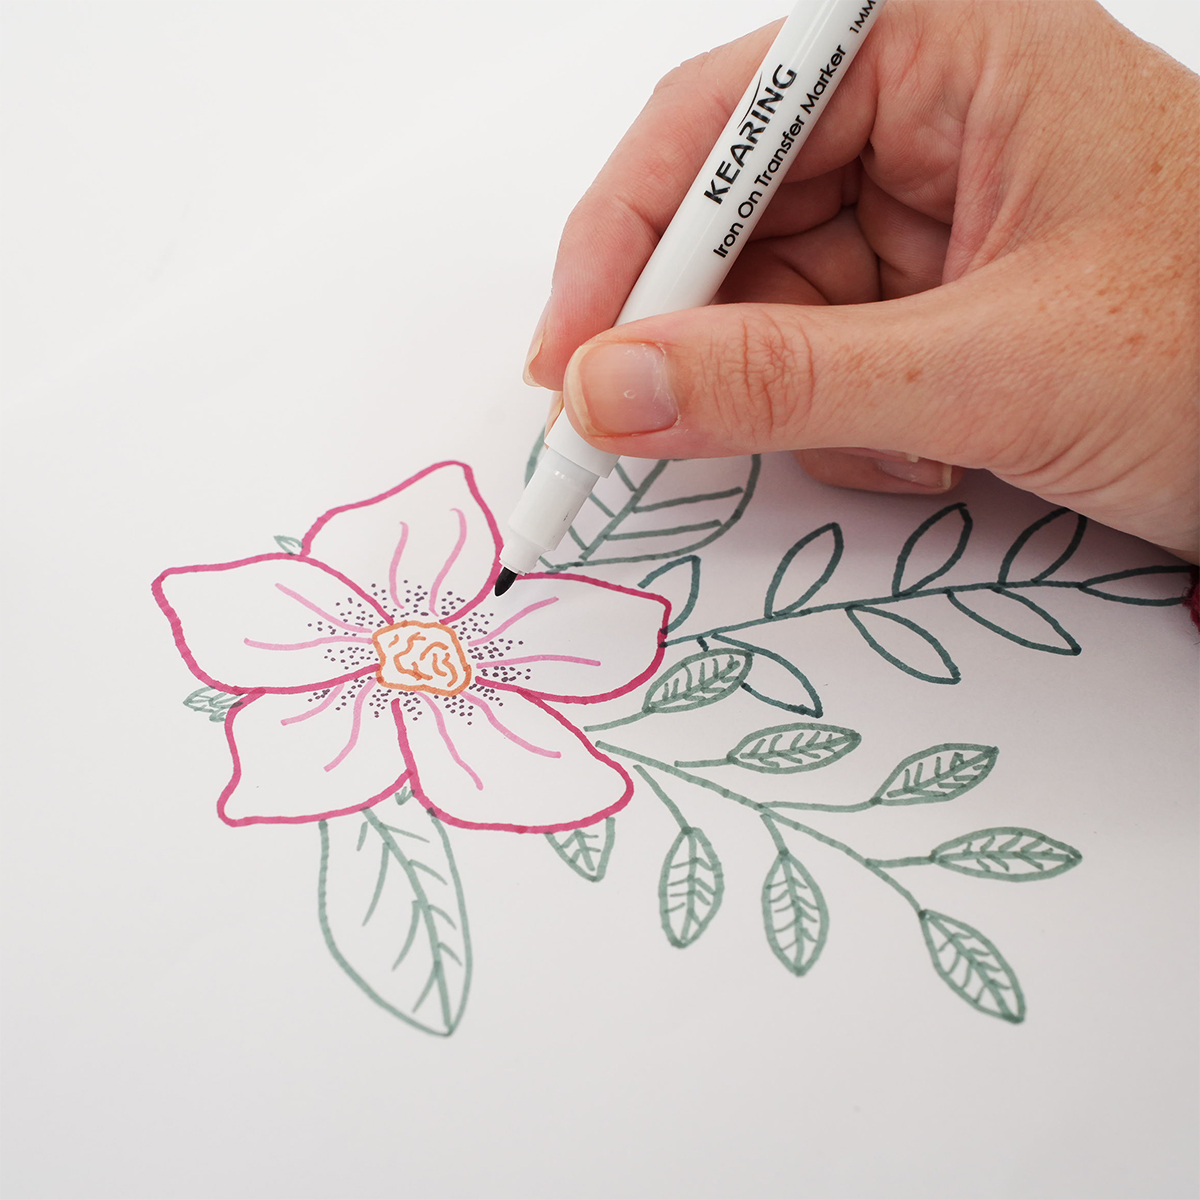
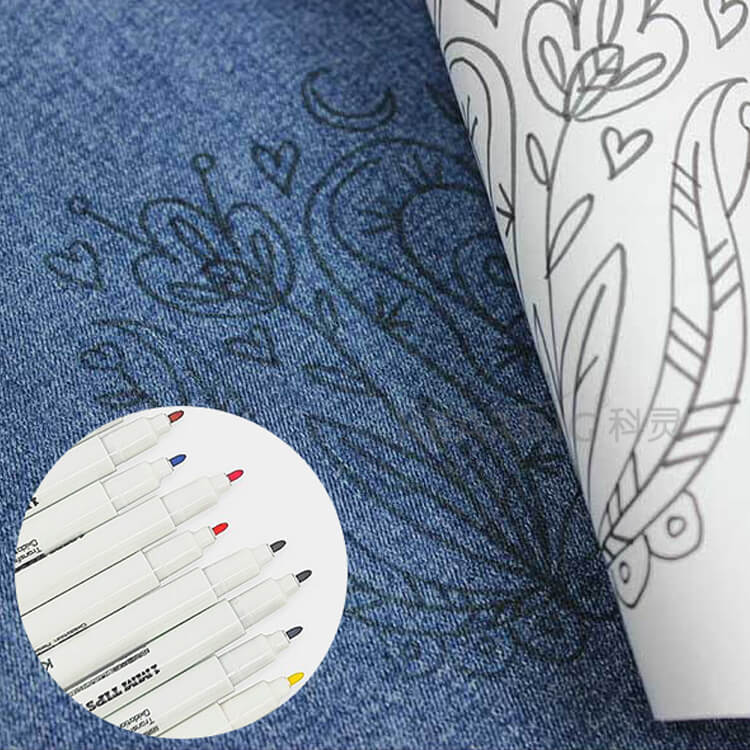
1. Draw Your Design
Draw or trace your design onto plain paper using the heat transfer markers.
Keep in mind that the design transfers in reverse, so mirror any text or directional artwork before transferring.
2. Prepare the Fabric
For best results, use light-coloured polyester or polyester-blend fabrics. Preheat the fabric briefly with an iron or heat press to remove moisture and wrinkles.
3. Position the Design
Place the paper face-down onto the fabric and secure it with heat-resistant tape if required.
4. Apply Heat
Set your iron or heat press to approximately 180°C with no steam.
Apply firm, even pressure for around 20–30 seconds without moving the paper to avoid smudging.
5. Remove the Paper
Carefully peel the paper away while still warm and allow the fabric to cool completely before handling.
Transfers onto Mugs, Glass, and Wood
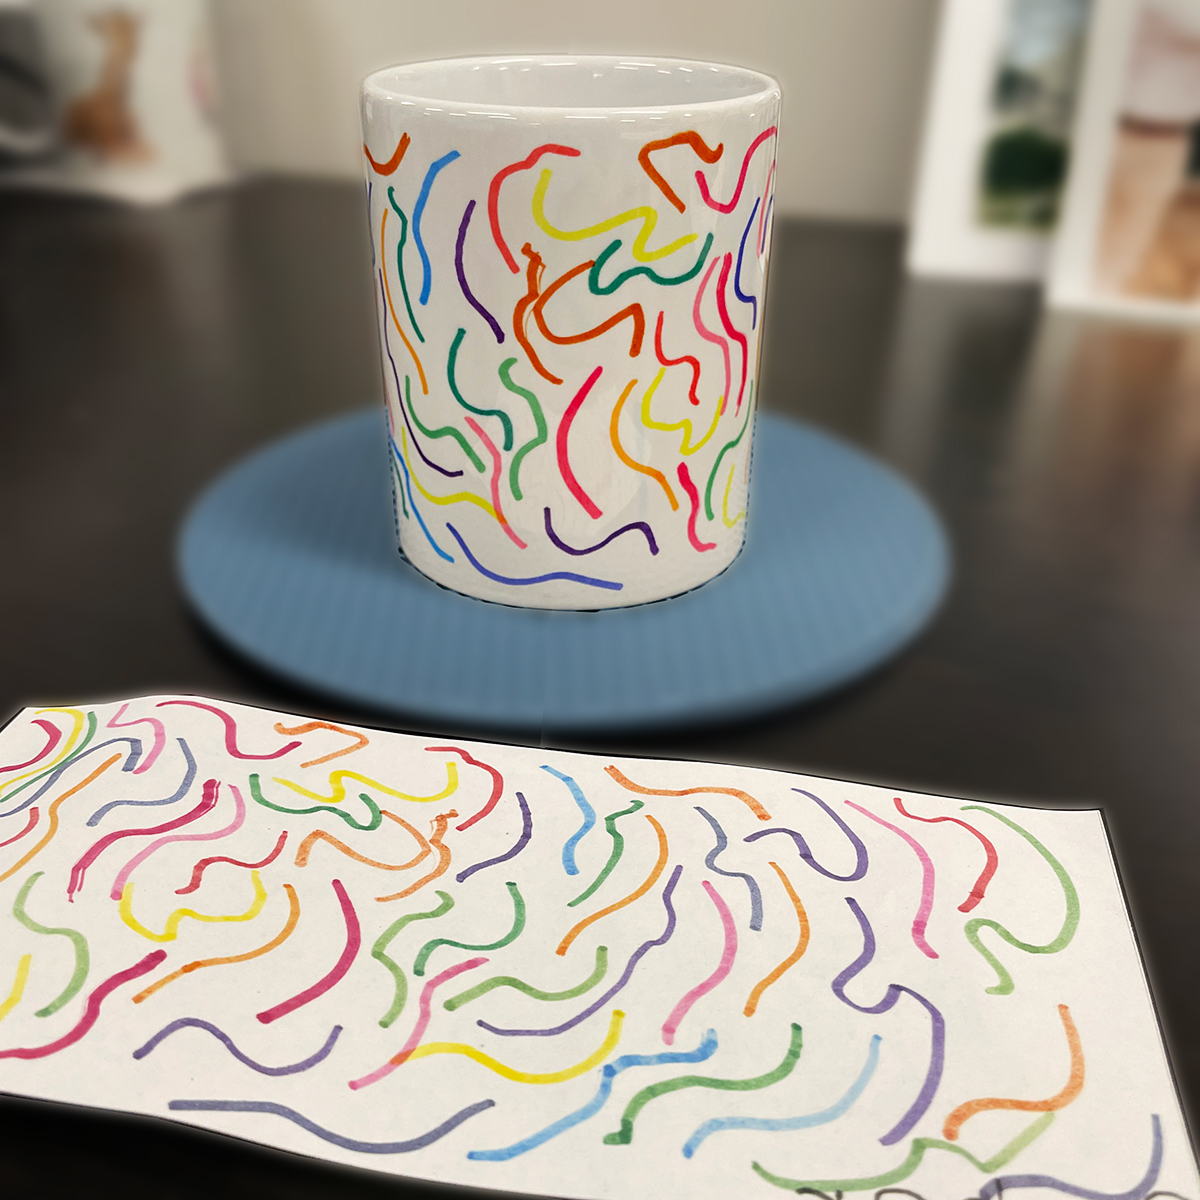
1. Draw Your Design
Create your design on plain paper using bold lines and solid colouring for the best transfer results.
Remember to reverse any text.
2. Prepare the Surface
Clean the surface thoroughly to remove dust, oils, or fingerprints.
For wood surfaces, lightly preheating the area can help improve transfer quality.
3. Secure the Design
Place the design face-down onto the surface and secure it firmly using heat-resistant tape.
This is especially important for curved surfaces such as mugs.
4. Apply Heat and Pressure
Mugs
Use a mug press at approximately 180°C for 90–120 seconds.
For best results, use polymer-coated sublimation mugs.
Glass
Heat transfer results on glass can vary depending on the coating and finish of the glassware. Always test first on a spare item.
Wood
Apply medium-high heat using an iron or heat press for approximately 30–60 seconds with firm pressure.
5. Remove the Paper
Peel away the transfer paper carefully while still warm and allow the item to cool fully.
Tips for Best Results
- Always test on a spare piece first.
- Use smooth, even pressure during transfer.
- Avoid moving the paper during pressing.
- Light-coloured surfaces generally produce the most vibrant results.
- Polyester fabrics and sublimation-compatible blanks provide the strongest transfers.
Caring for Finished Projects
Fabric Items
Wash garments inside out in cold water using a gentle cycle. Avoid bleach and high heat drying where possible.
Mugs and Decorative Items
Hand washing is recommended to help preserve the transferred design.
Kearing Heat Transfer Markers are an easy and creative way to personalise a wide range of projects using your own hand-drawn designs. Whether you’re decorating fabric, creating custom gifts, or experimenting with mixed-media crafts, these markers open up plenty of creative possibilities.


