All Projects

Acrylic Table Numbers
Author: Nicole H
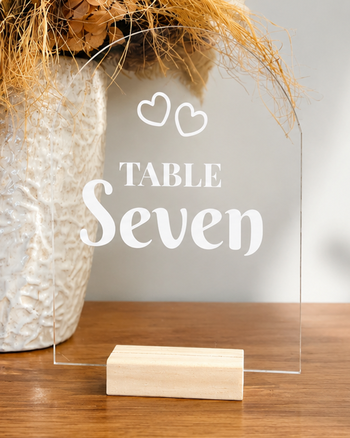
Create elegant acrylic table numbers using adhesive vinyl and your cutting machine. This beginner-friendly project will teach you how to create text in CanvasWorkspace, combine multiple fonts, cut adhesive vinyl and apply it neatly to an acrylic plaque.
Whether you're making table numbers for a wedding, engagement party, birthday or special event, this simple project can easily be customised with different fonts, colours and decorative elements to suit your style.
Free design files:
We've included three decorative embellishment designs completely FREE with this project:
- Floral Spray (.svg)
- Flower (.svg)
- Hearts (.svg)
We'll also show you how to create your own table numbers in CanvasWorkspace using two beautiful free Google Fonts:
- Playfair Display Bold Italic
- Berkshire Swash Regular
If you don't already have these fonts installed on your computer, you can download them free from Google Fonts. If you're new to installing fonts for CanvasWorkspace, we've also created a step-by-step guide: How to Add Google Fonts to Brother CanvasWorkspace.
What you will need:
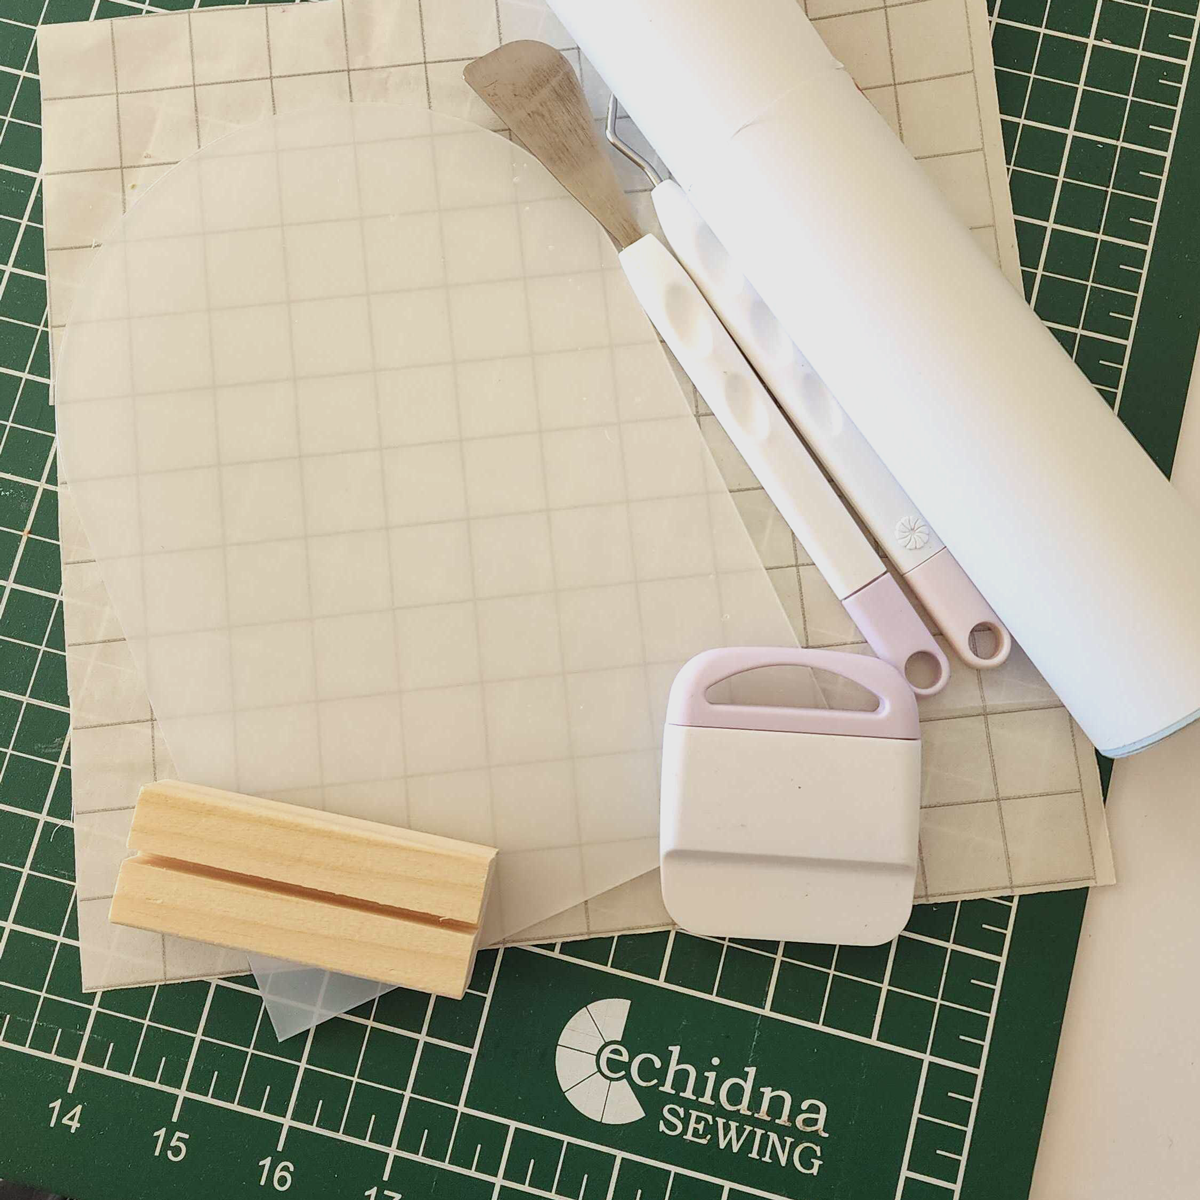
- Cutting machine (Brother ScanNCut, Cricut, Silhouette etc)
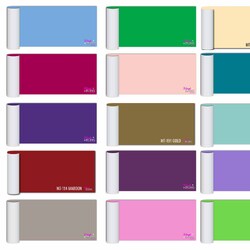
- Adhesive Vinyl
- Rounded Acrylic Plaque with Stand
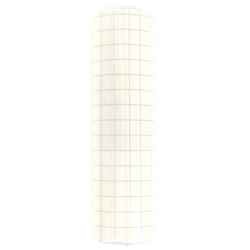
- Transfer tape
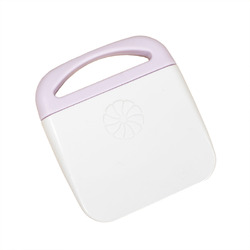
- Scraper
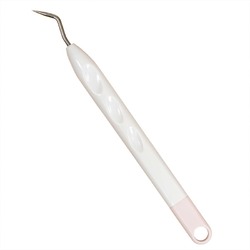
- Weeding Tools
- Cutting Mat or Measuring Tool
- Free Design Files Download now →
Shop Online:
Detailed instructions:
Before jumping into the design, work out how big you would like the design on the plaque and measure where you plan to place the design. This will help you decide the maximum size your vinyl sticker should be. We found the easiest way to do this is on your cutting mat. 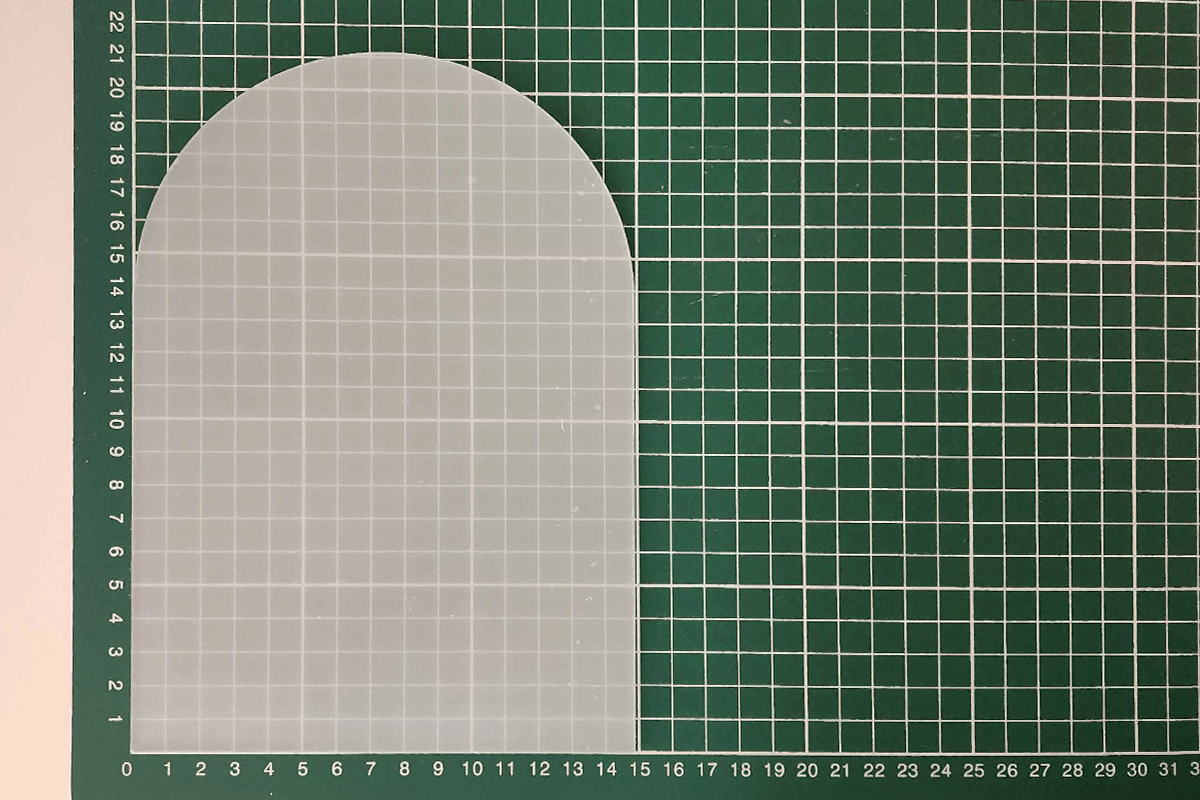
Combine design in CanvasWorkspace:
- Download the free embellishment SVG files and install the two Google Fonts if you haven't already done so.
- Open the desktop version of CanvasWorkspace and login to your account.
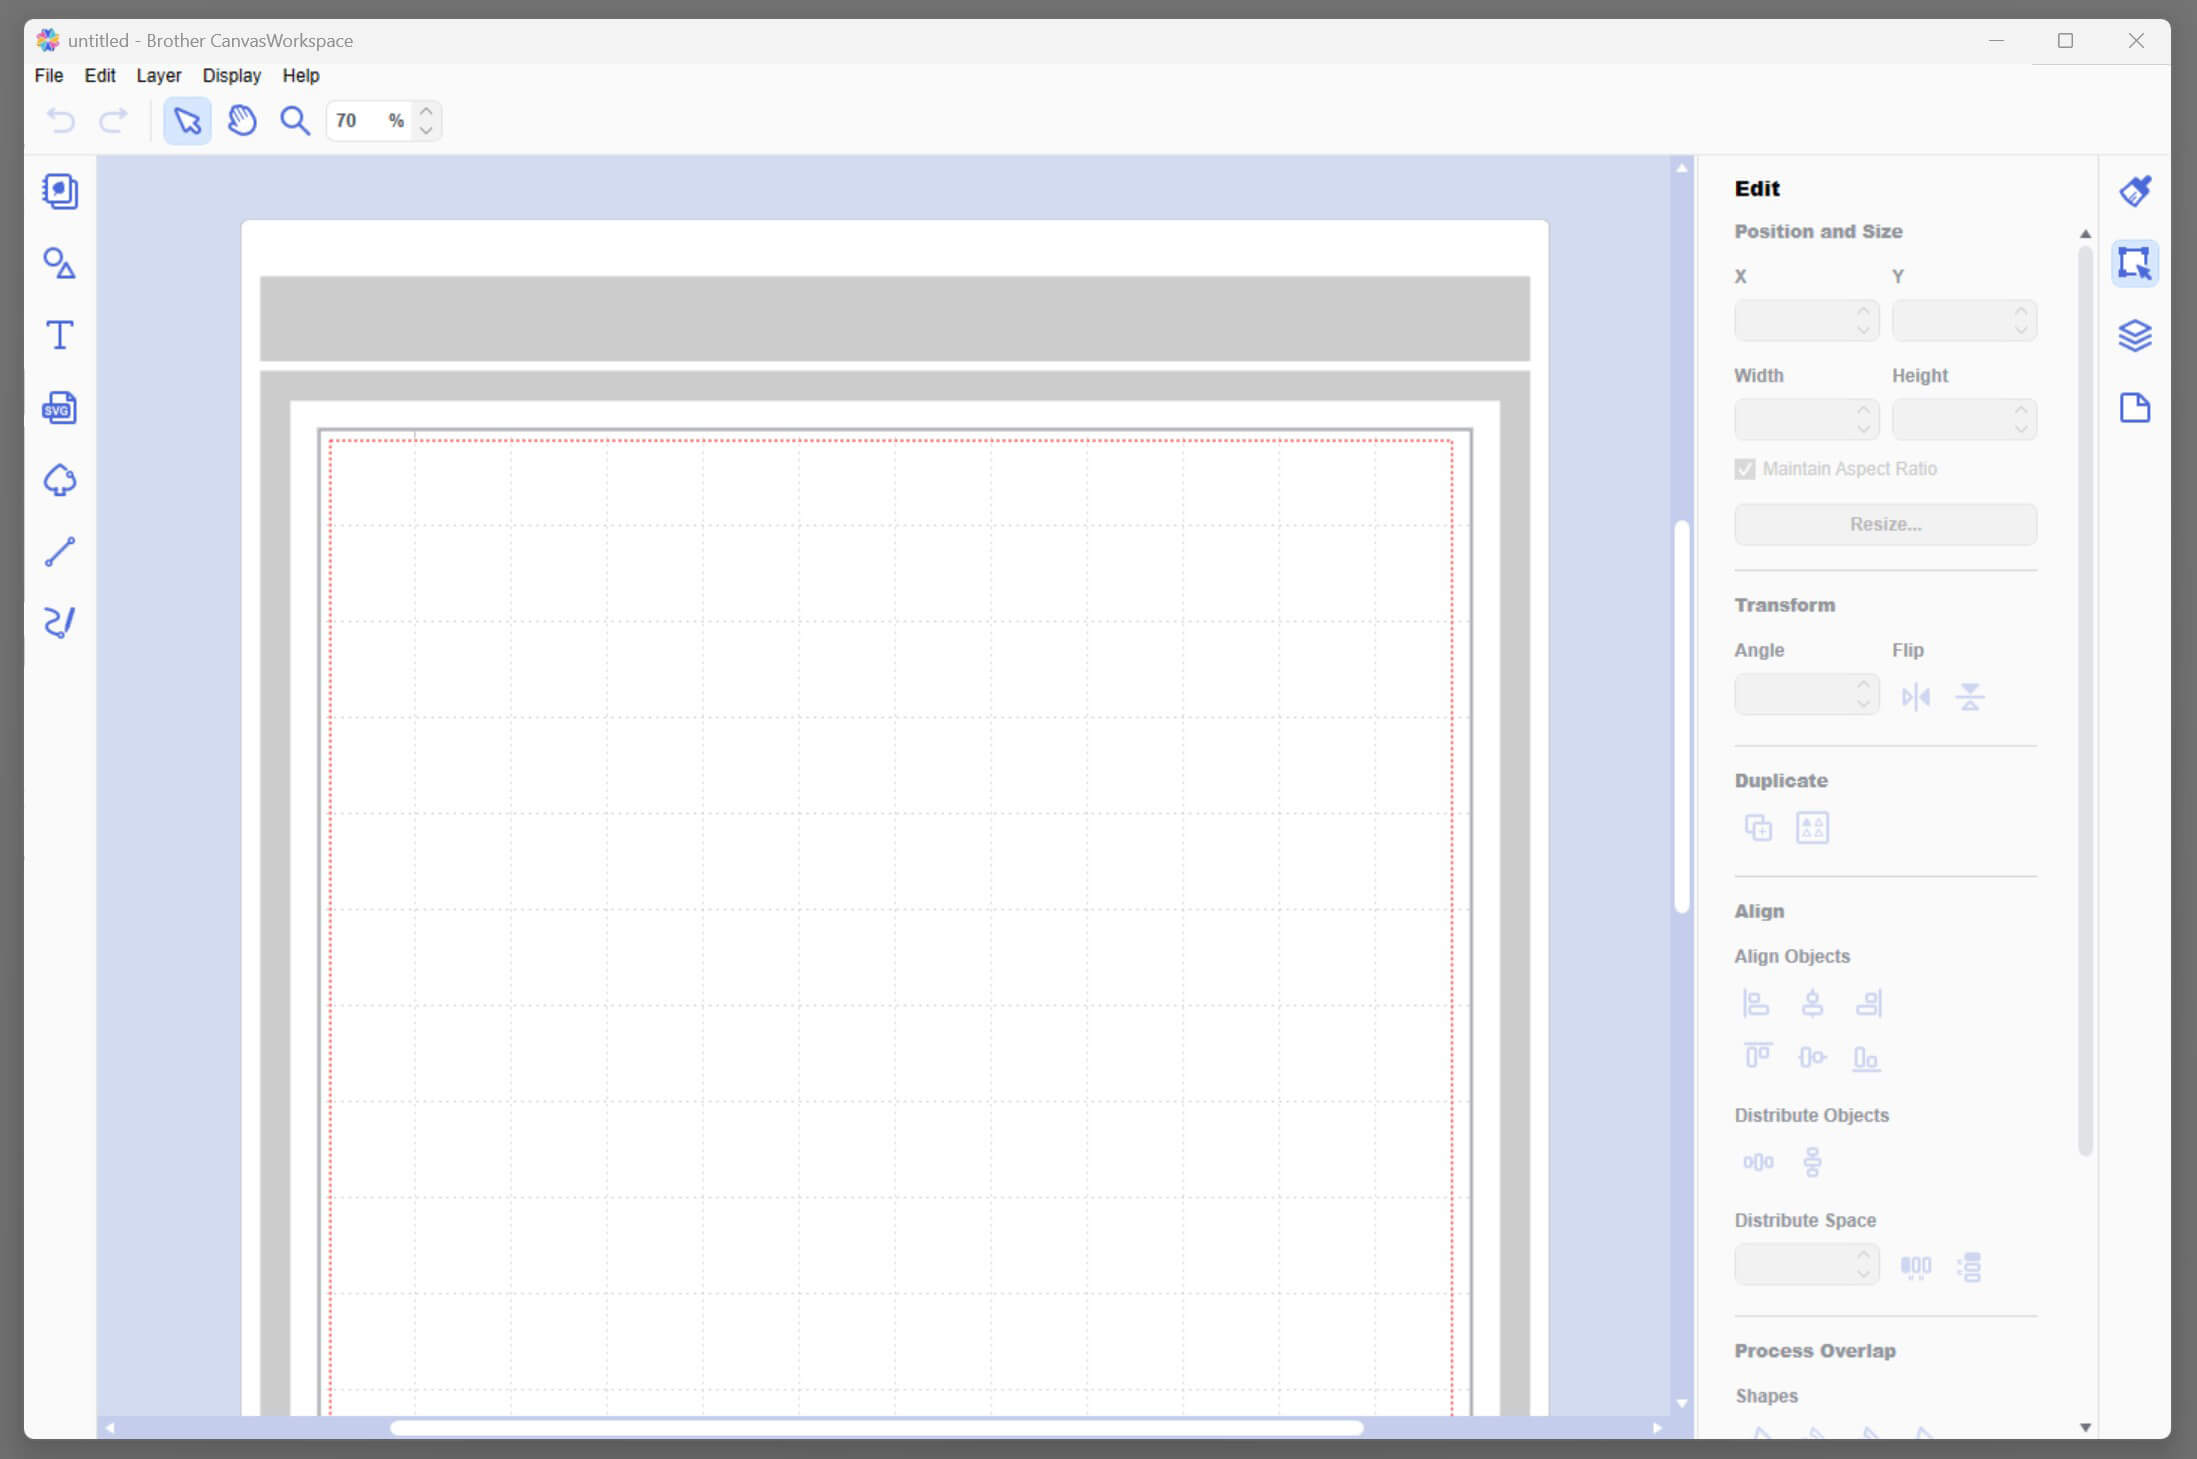
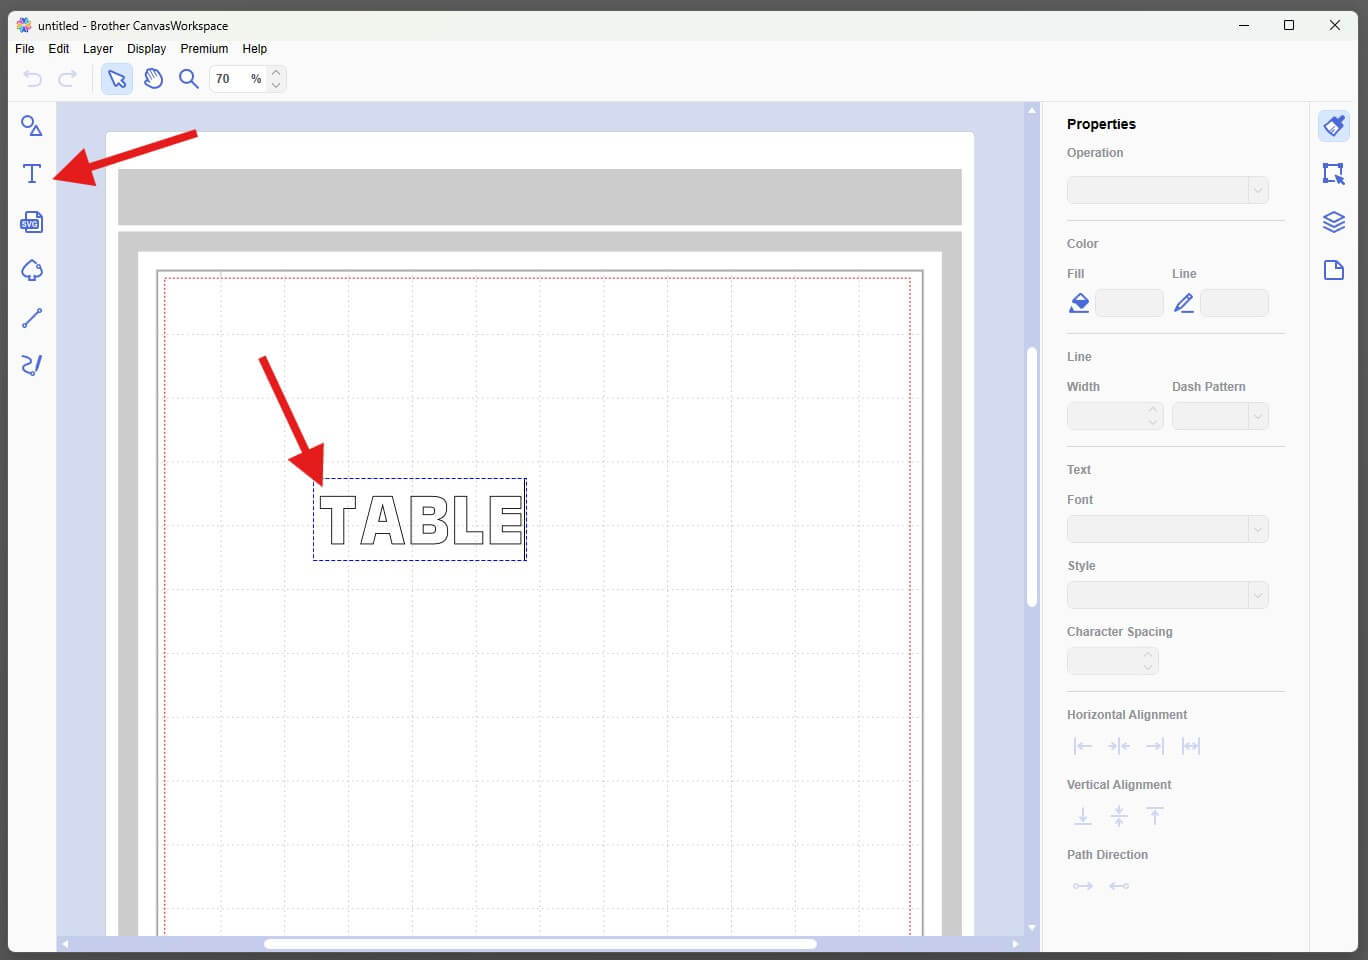
- Select the Text Tool and Type TABLE.
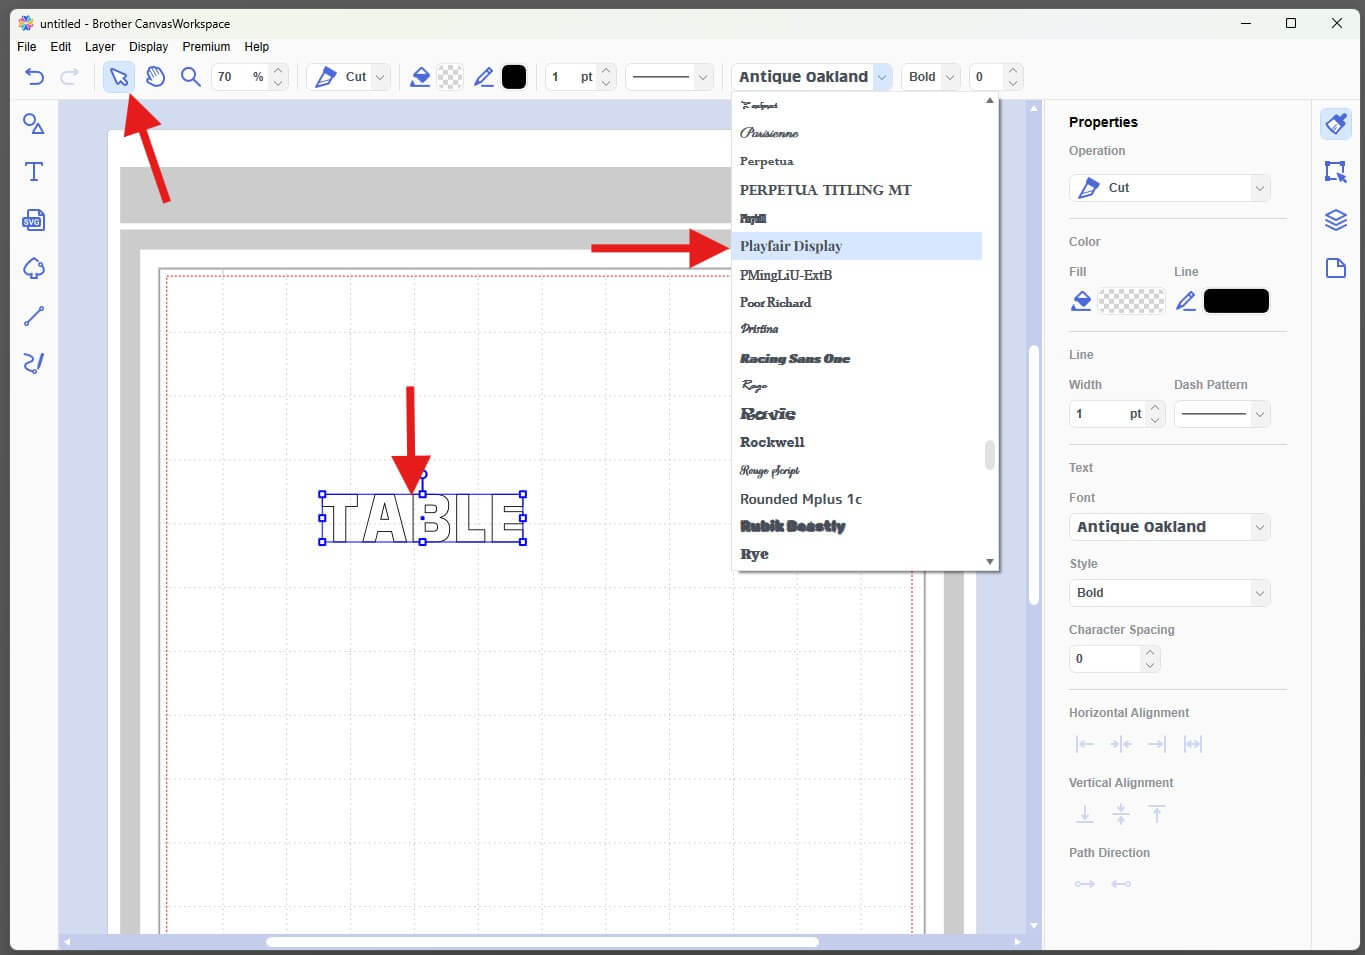
- Change the font to Playfair Display Bold Italic.
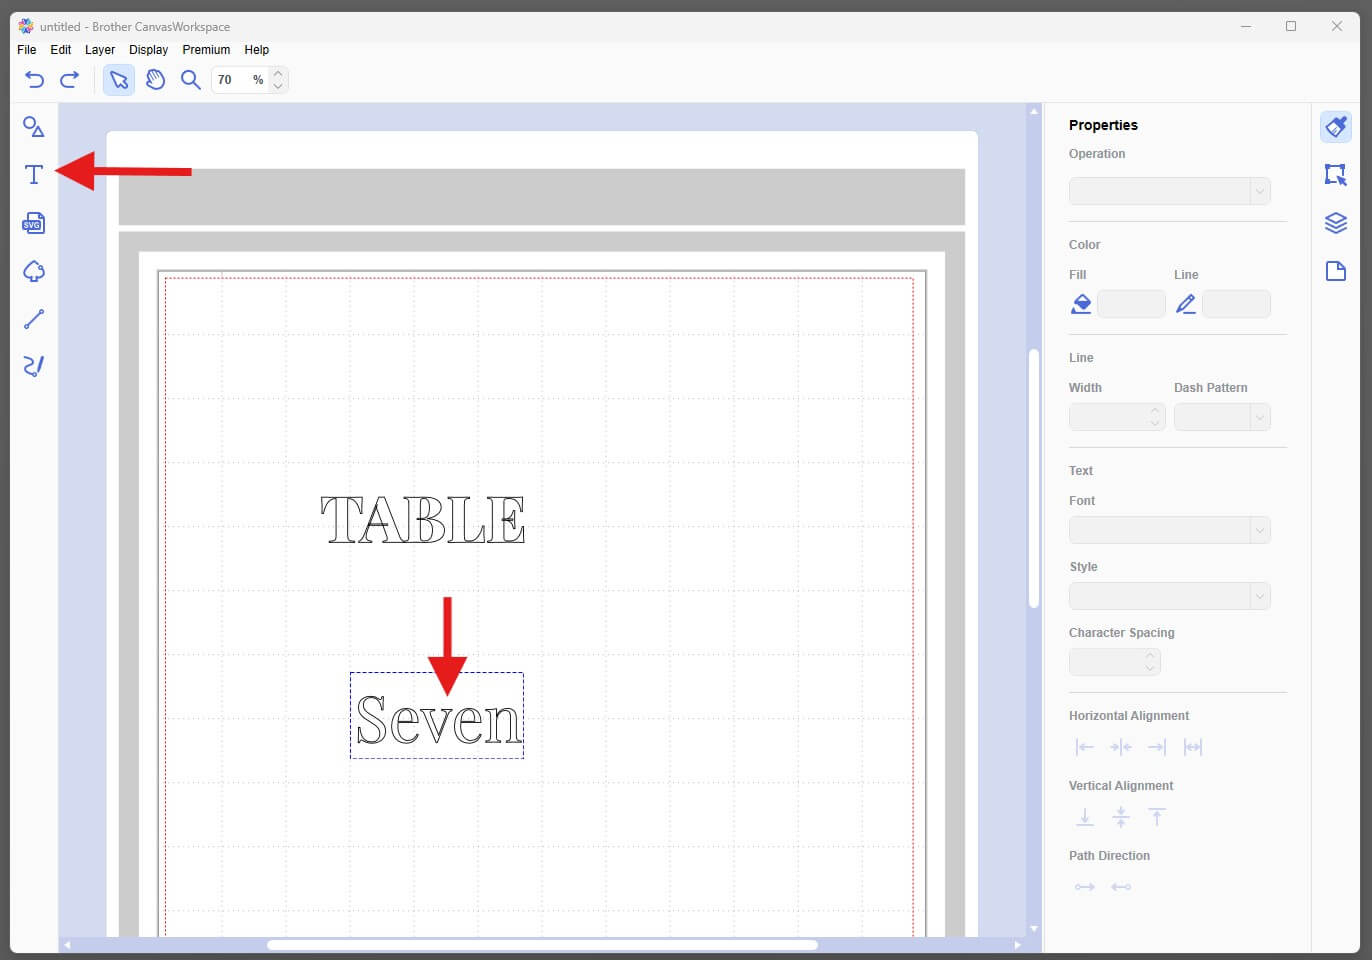
- Create another text box. Type your table number (or wording). If using words we suggest doing the longest word first to make sure it will fit in the width of your plaque. This will ensure you have the right font size for all the other numbers.
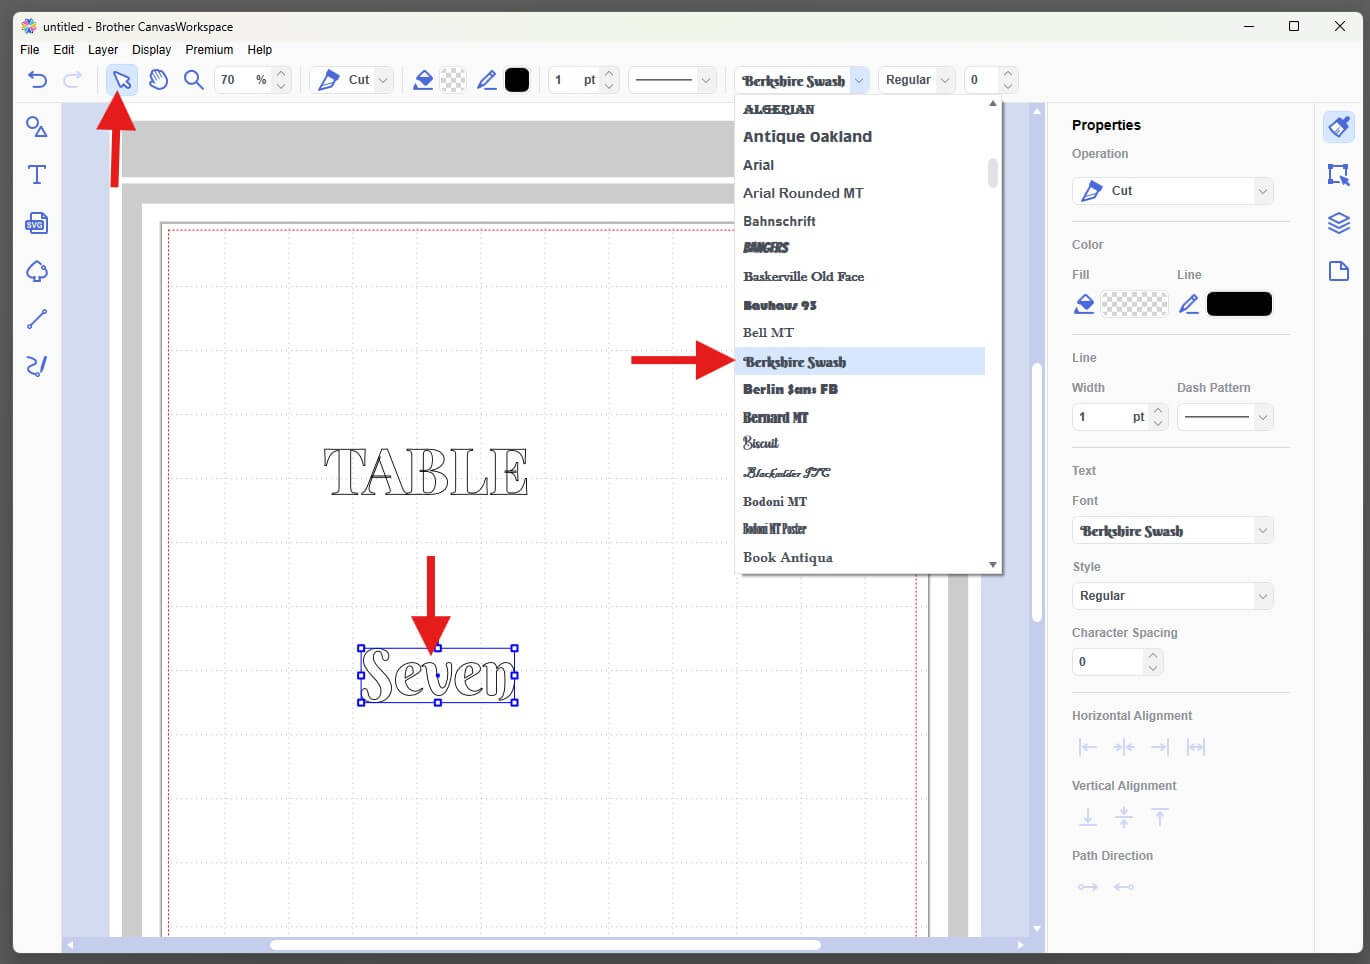
- Change the font to Berkshire Swash Regular.
- Resize until both pieces balance nicely.
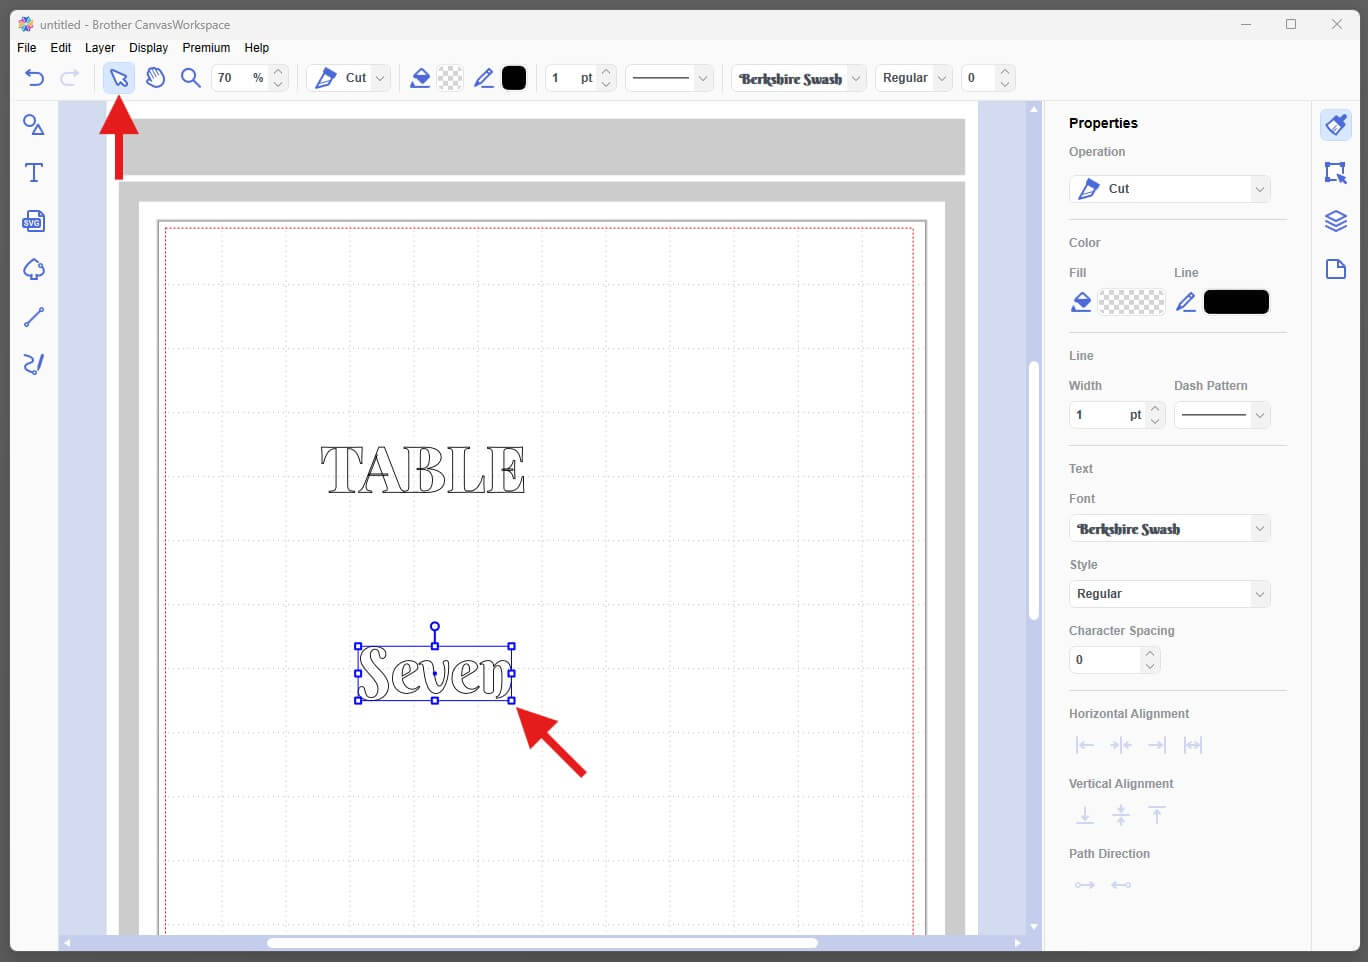
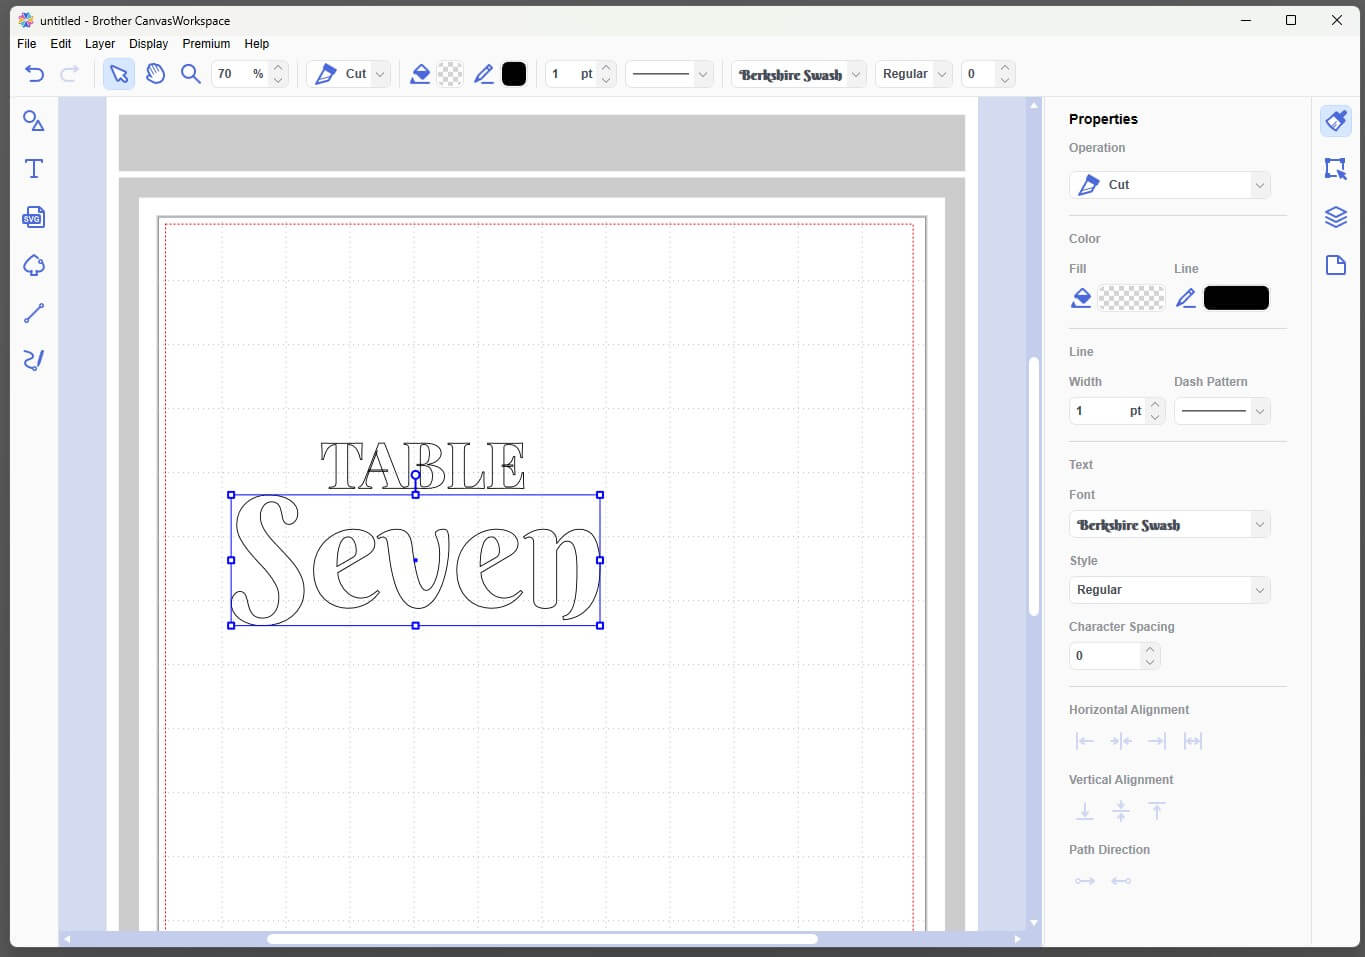
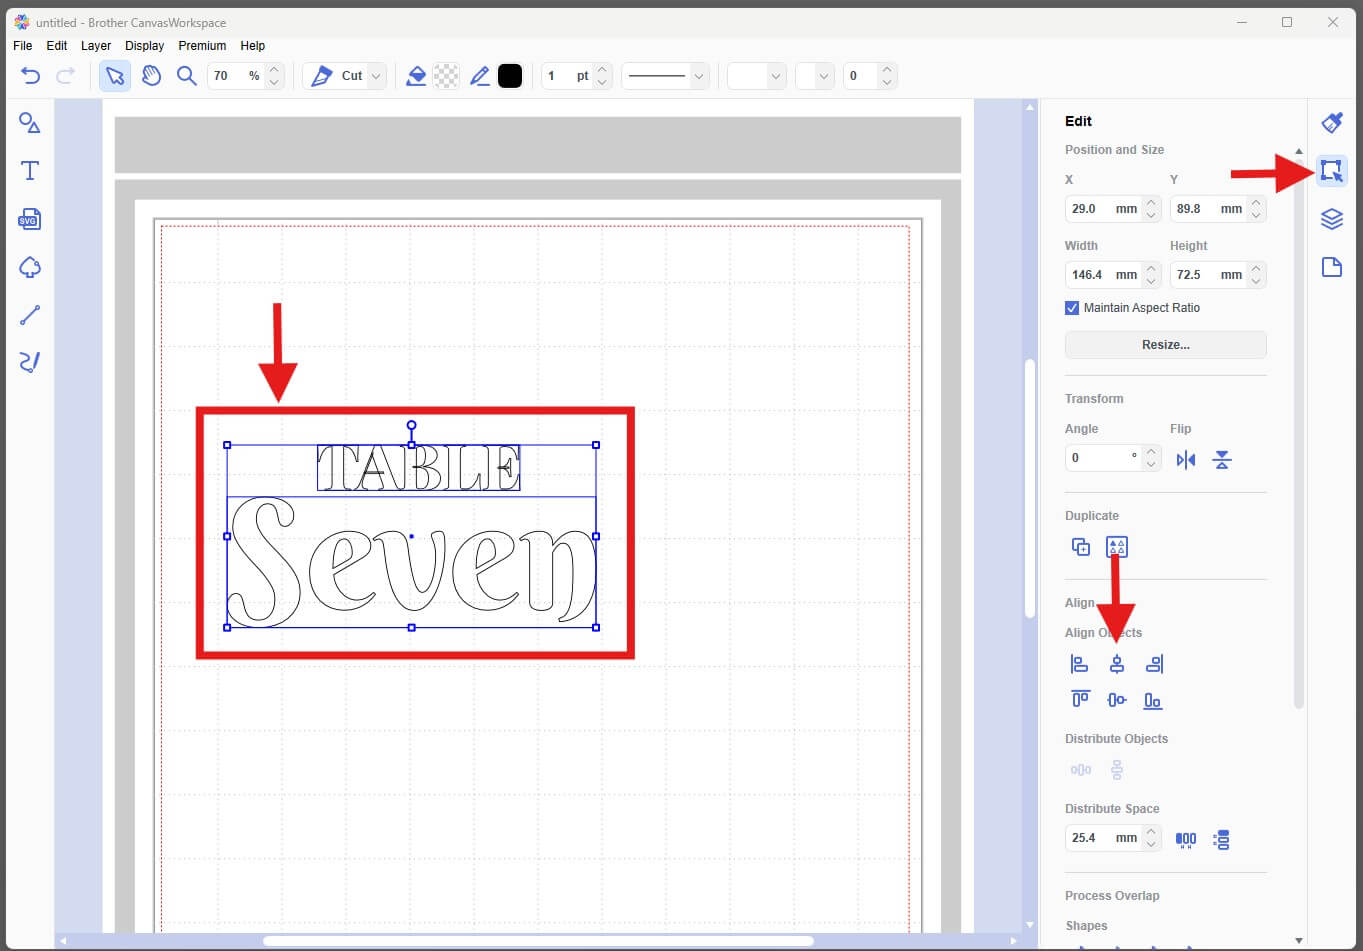
- Centre-align both text boxes.
- Import your chosen embellishment design.
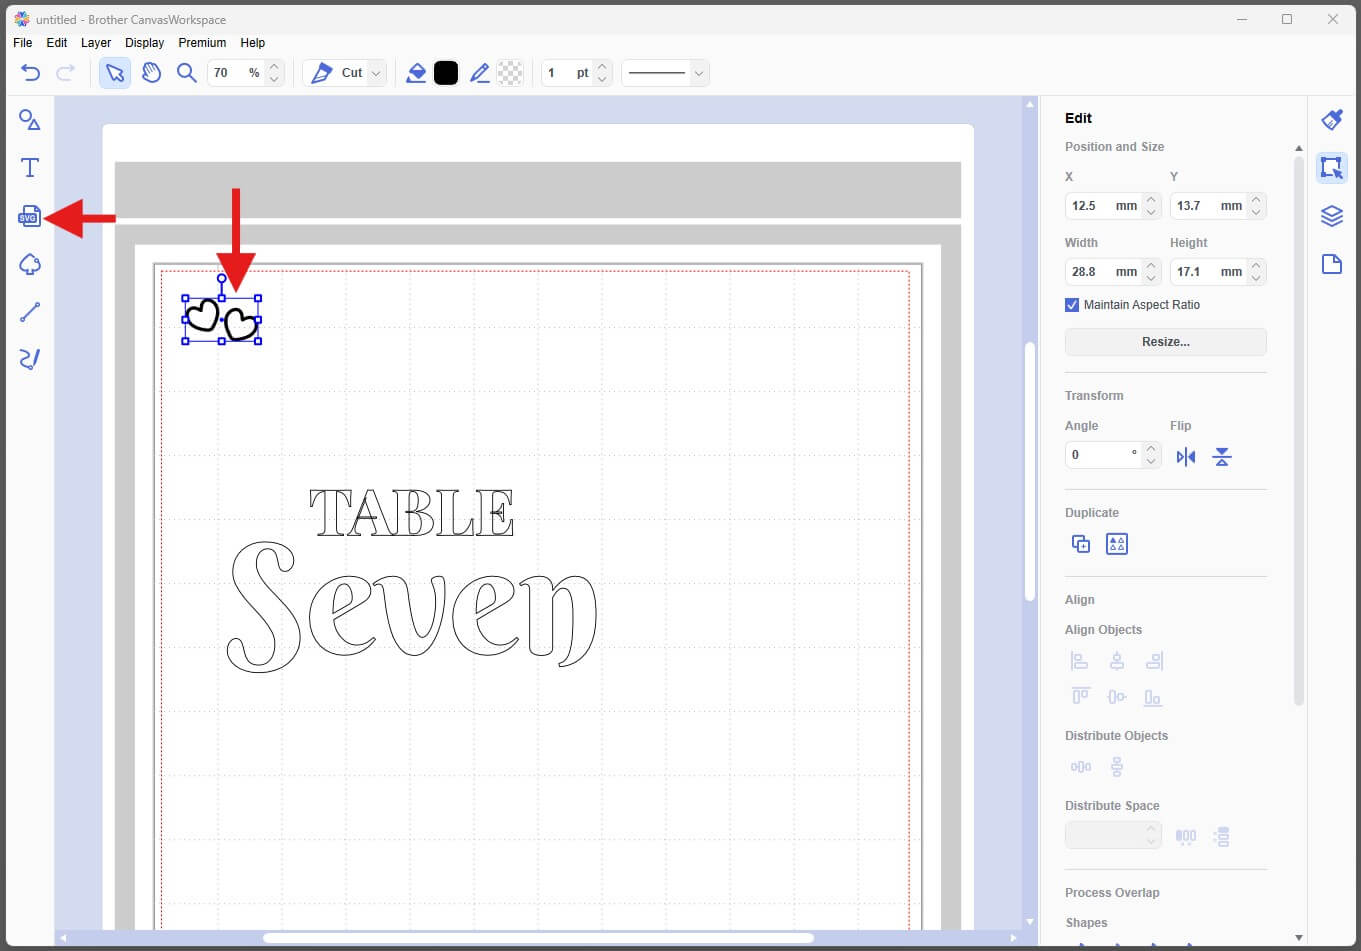
- Resize and position the embellishments above the wording.
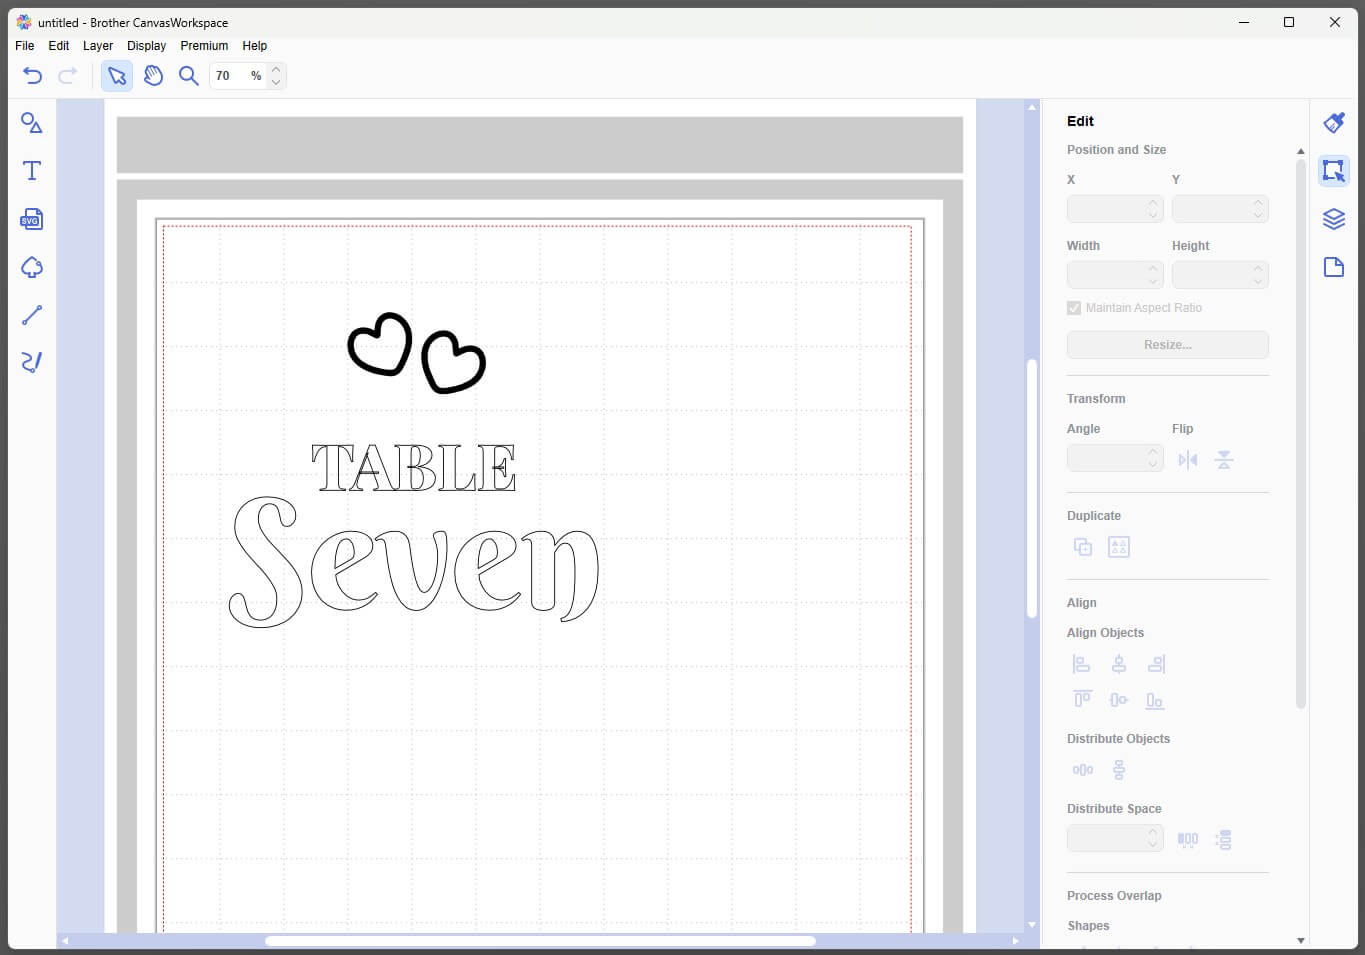
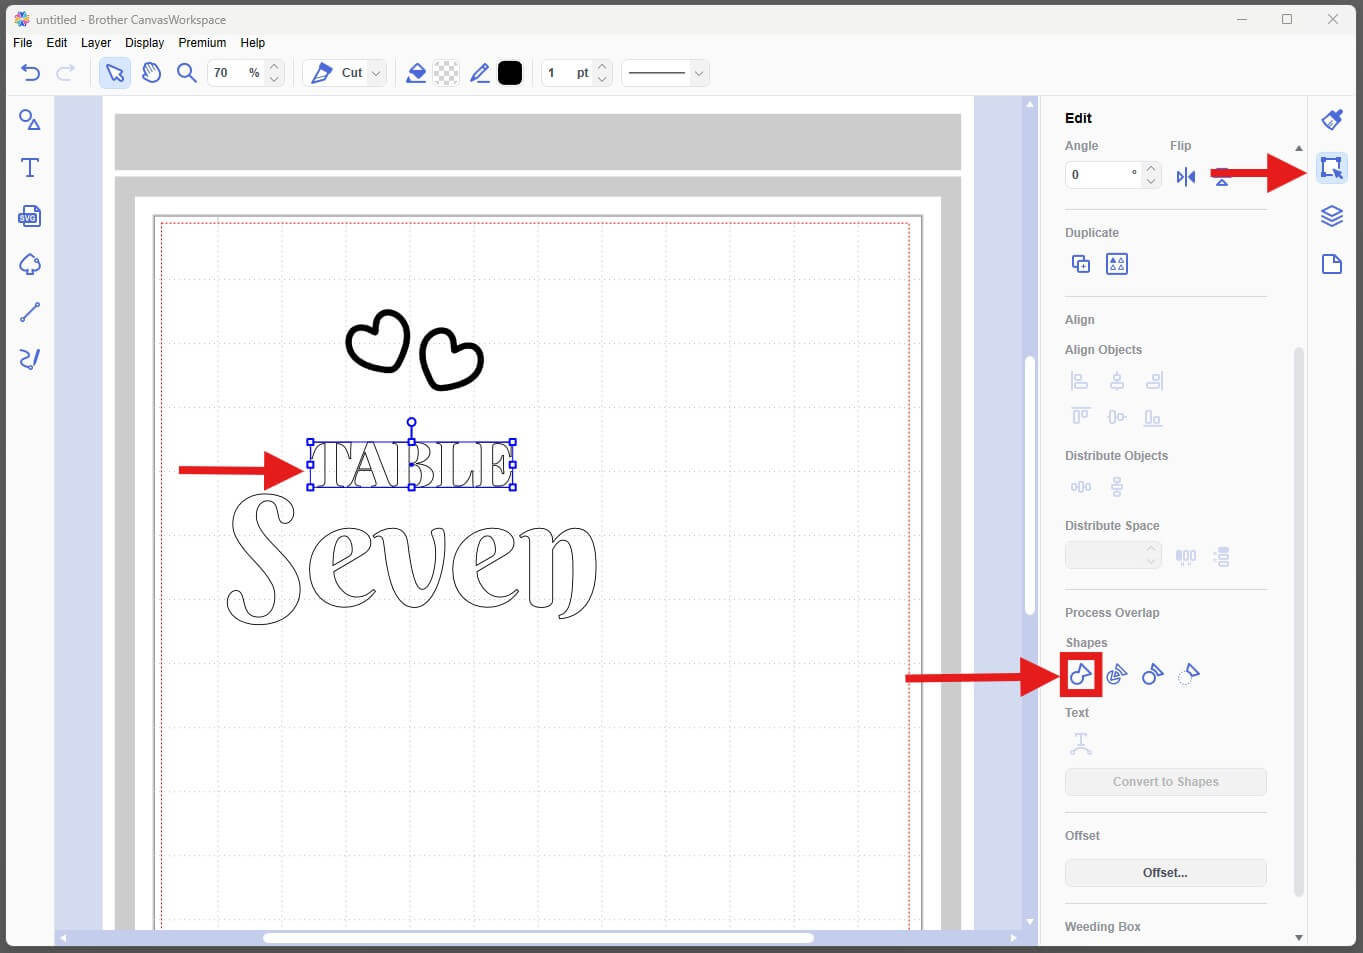
- You will notice there are some extra lines in the font we have chosen, we need to group overlaps to remove these otherwise the machine will put little cuts here which will break our vinyl. Under Properties > Process Overlaps select the first icon Weld.
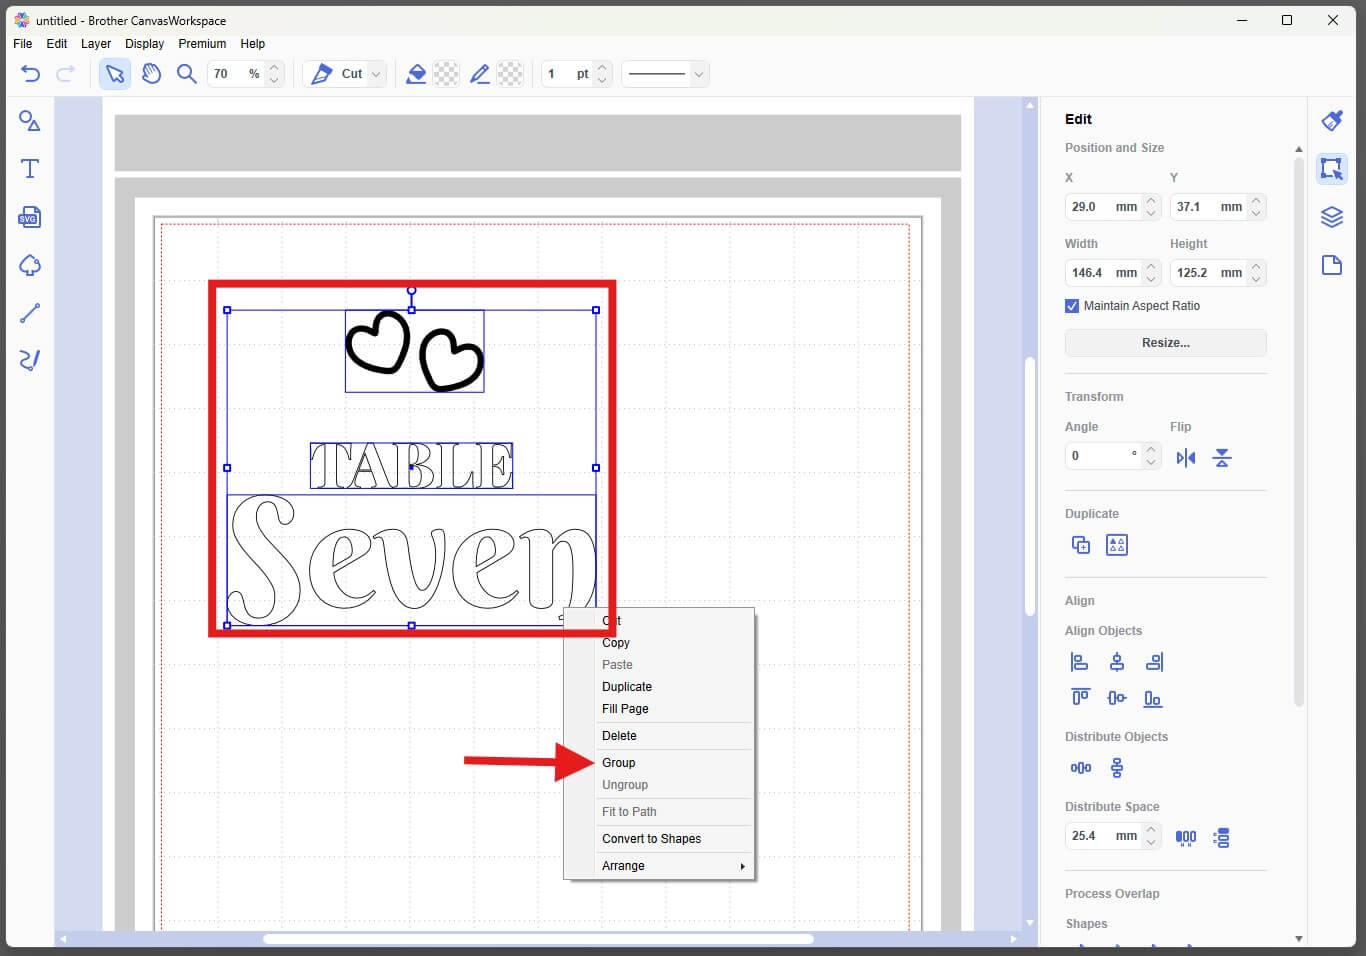
- Select all of the design elements, right-click and choose Group. This allows you to resize and move the entire design as one object.
- Reposition and resize the designs to fit your plaque measurements.
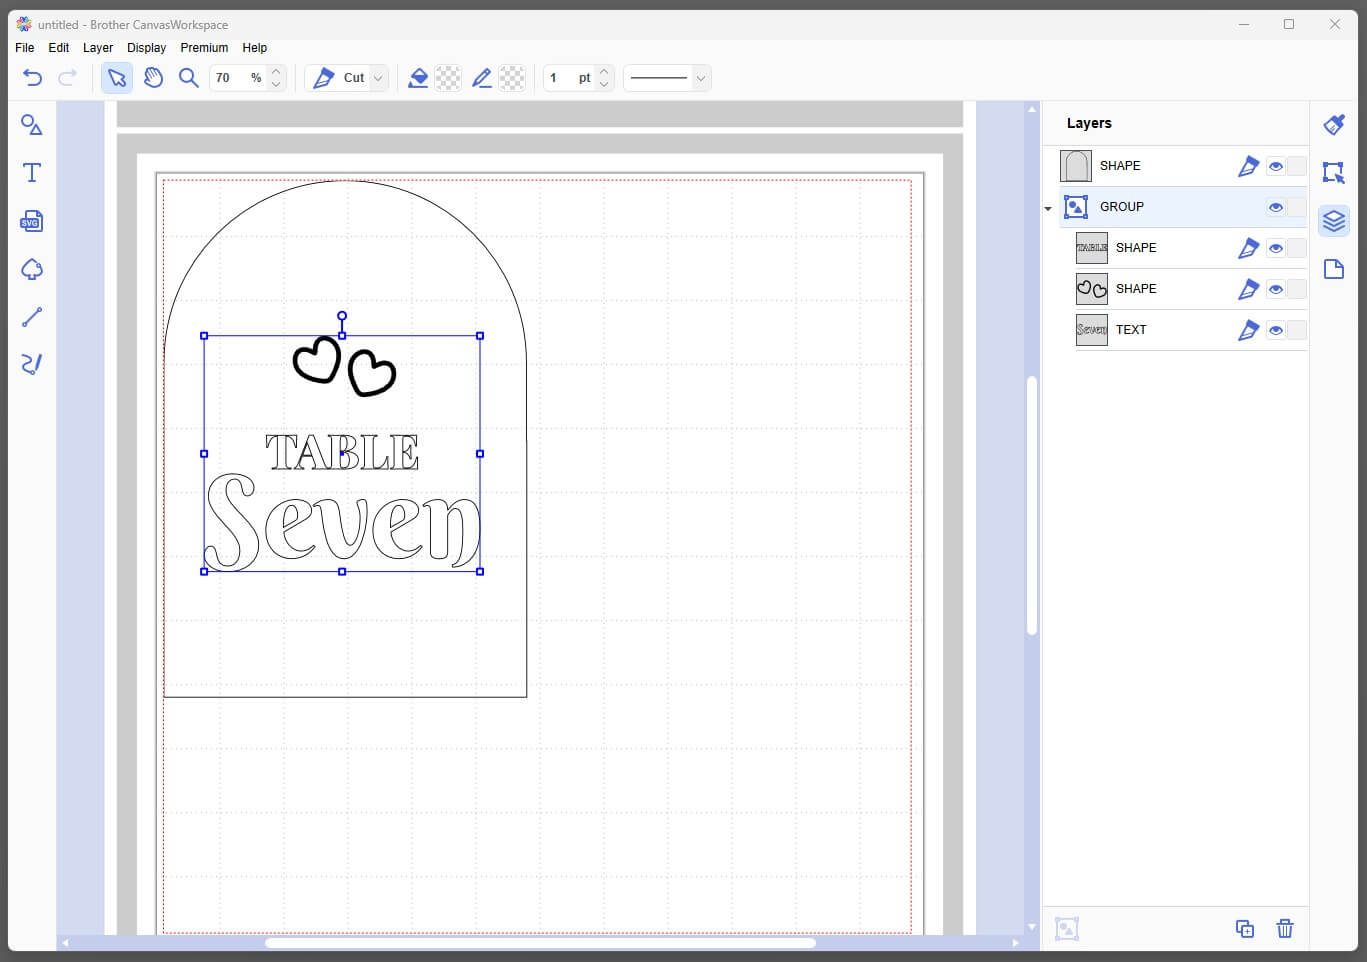
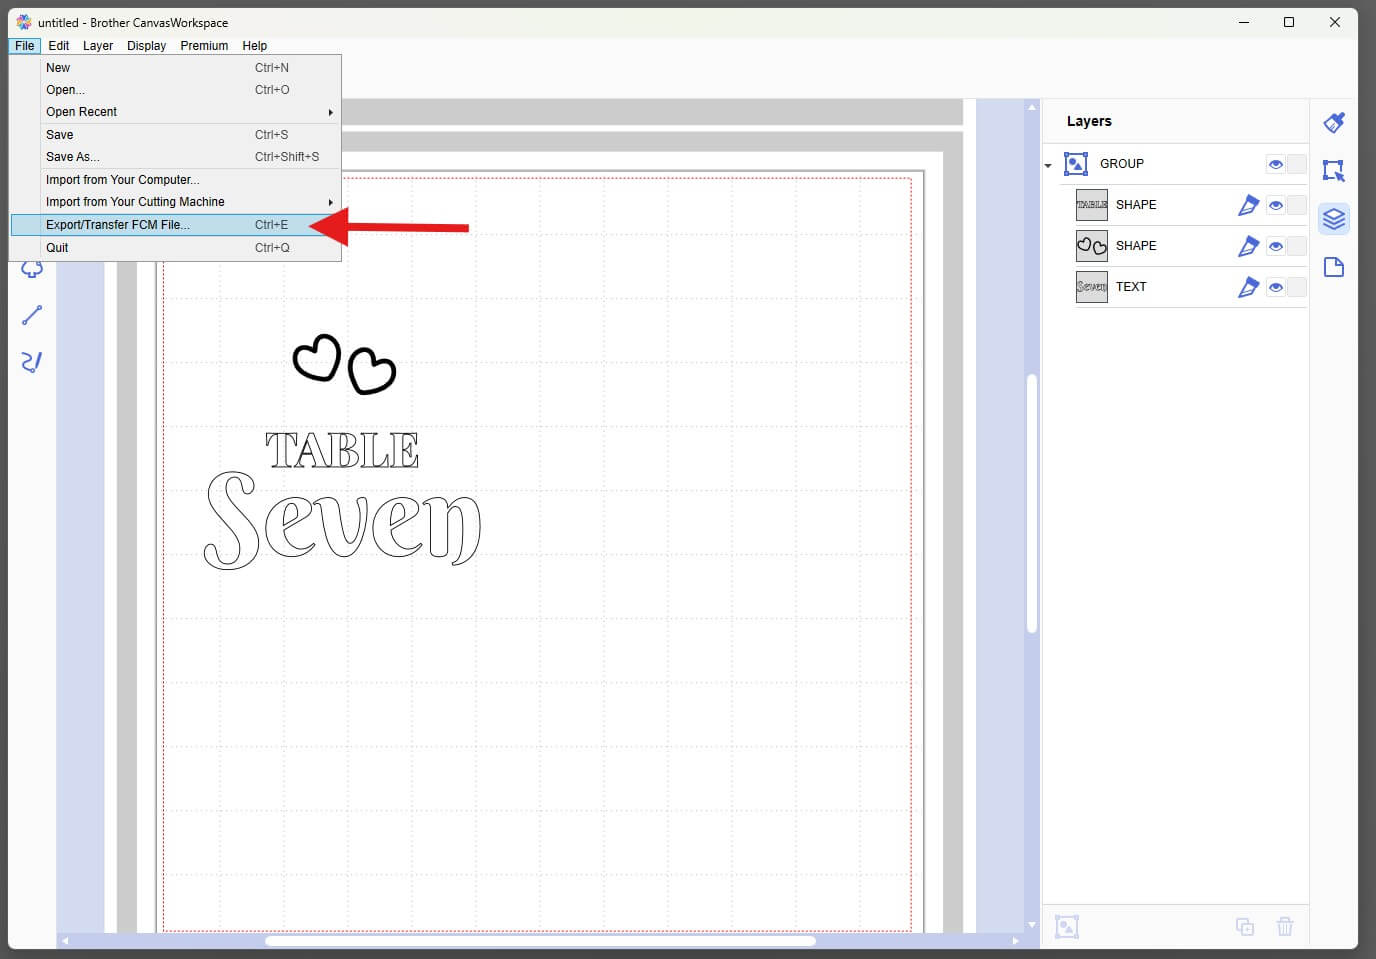
Tip: If you are having issues visualising this you can try recreating the shape of the plaque using shapes. Just remember to leave space at the bottom for the stand/holder. Remember to delete this shape after. - Now we simply need to export the design. To do this select File > Export/Transfer FCM File from the top menu.
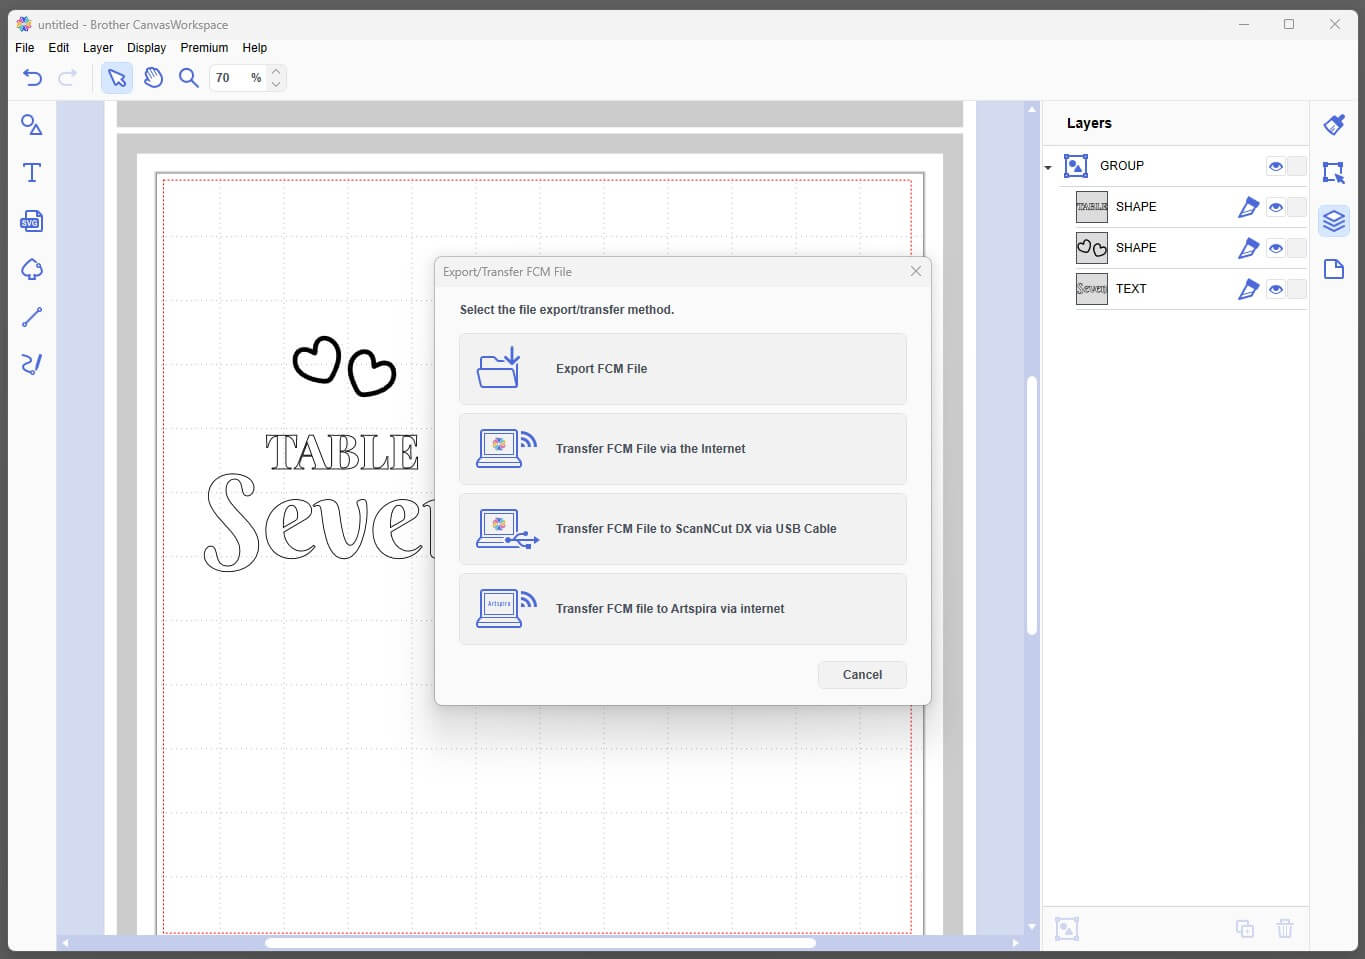
- Choose to send the file to your ScanNCut using one of the methods or save the file to your computer. We will be sending the FCM File via the Internet.
- Continue making the remaining numbers by simply editing the text field for the number.
Prepare Your Design:
- Place a piece of vinyl in your chosen colour onto your machine mat, making sure it is large enough for the required design. Ensure the media is stuck to the mat the correct way up, using a brayer/roller may be helpful. Masking tape can help tape it down if your mat is starting to lose its tack.
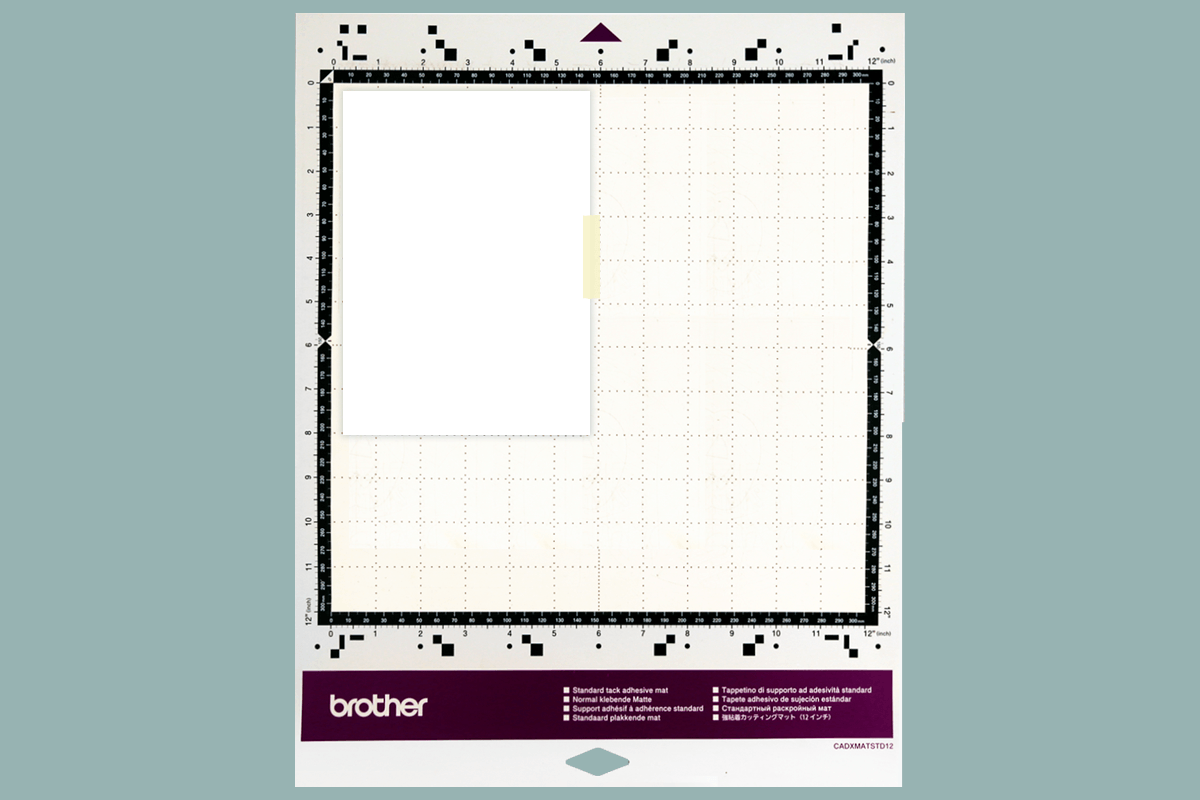
- Load the mat into your machine, holding it level as it feeds in.
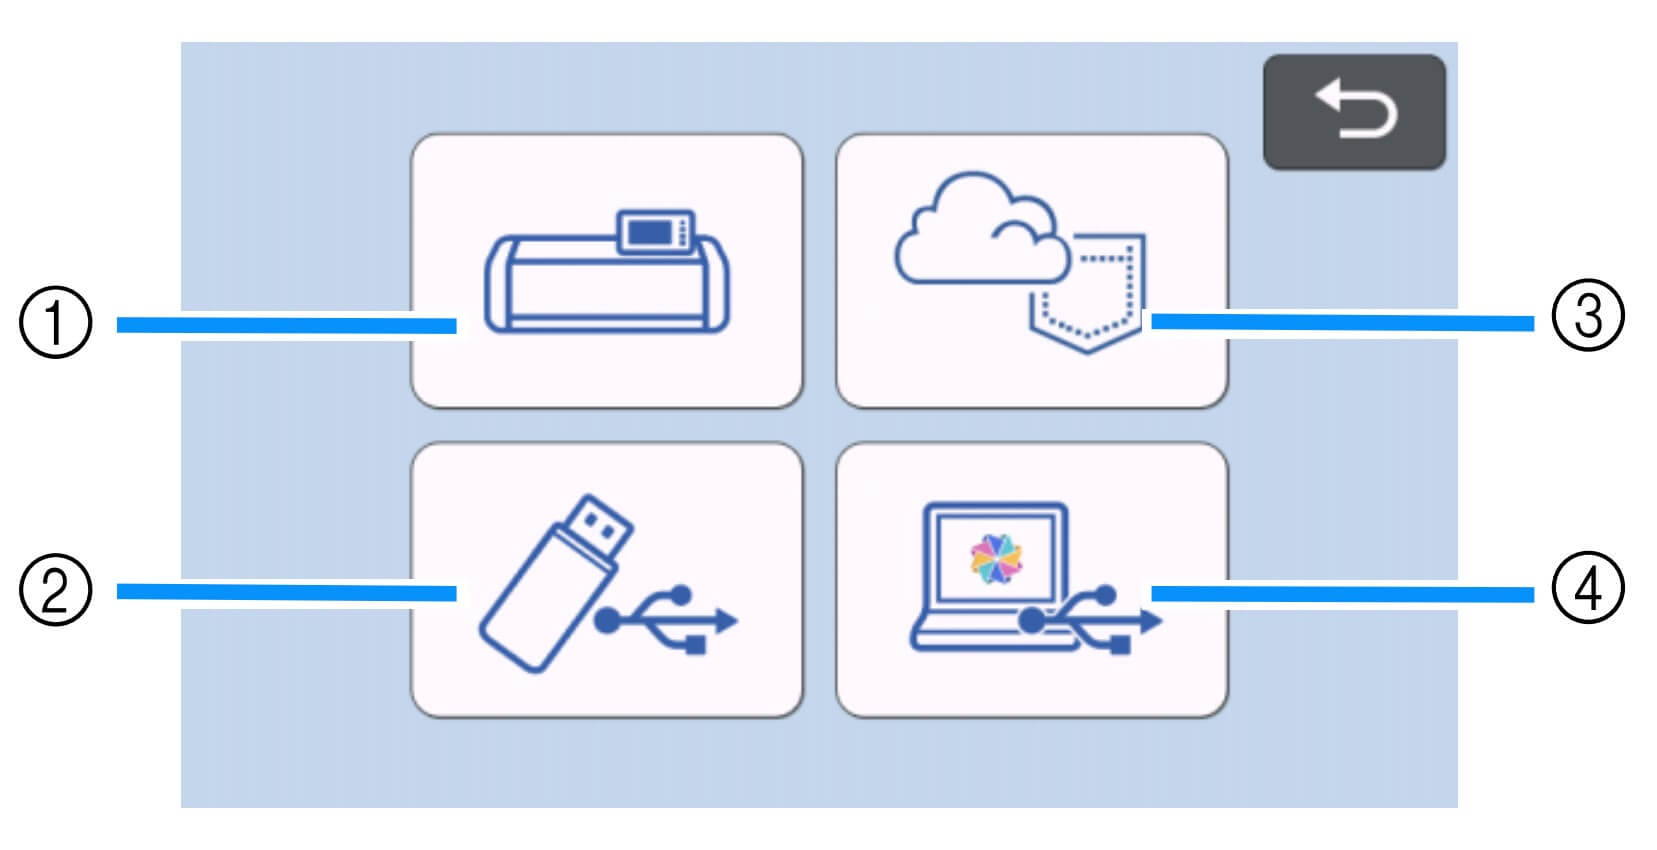
- Load the design from CanvasWorkspace via Wi-Fi by selecting the Wireless option (3). Alternatively, if you have saved the design to a USB drive, select USB (2) on your machine’s screen.
- Scan the mat to check placement and adjust if needed.
- Adjust your machine settings to be suitable for cutting vinyl. For ScanNCut users you will need to enable the half cut option.
Tip: We suggest doing a test cut to ensure you have your settings correct for the medium you are using. Cutting a small hole in the corner of your mat is a lot less upsetting than cutting a large design straight through your mat. - Proceed with cutting the design.
- Once the cutting is complete, unload the mat from the machine and gently peel the vinyl sheet off as a whole.
- Starting from one corner of the media, peel the coloured layer away from the backing (also known as ‘weeding’). Using a weeding tool may be helpful to get you started.
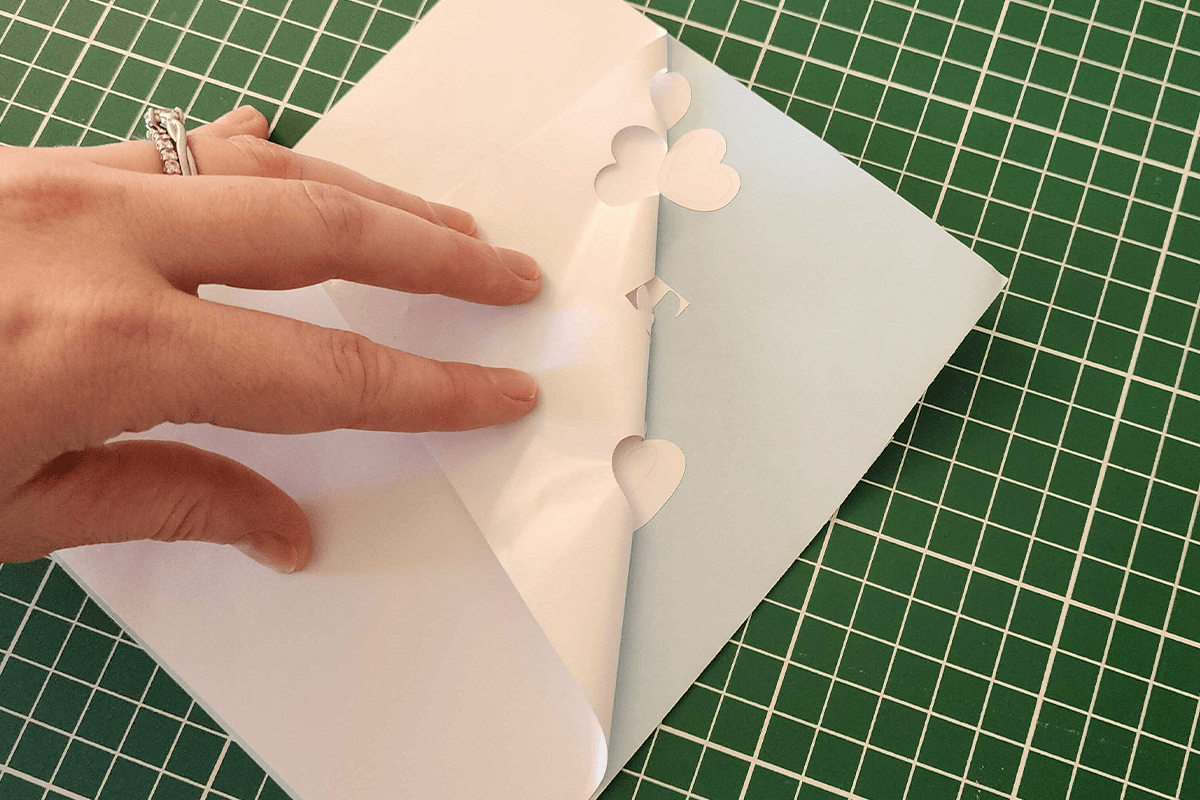
- Use a Vinyl Weeding Tool to remove the more intricate pieces if needed.
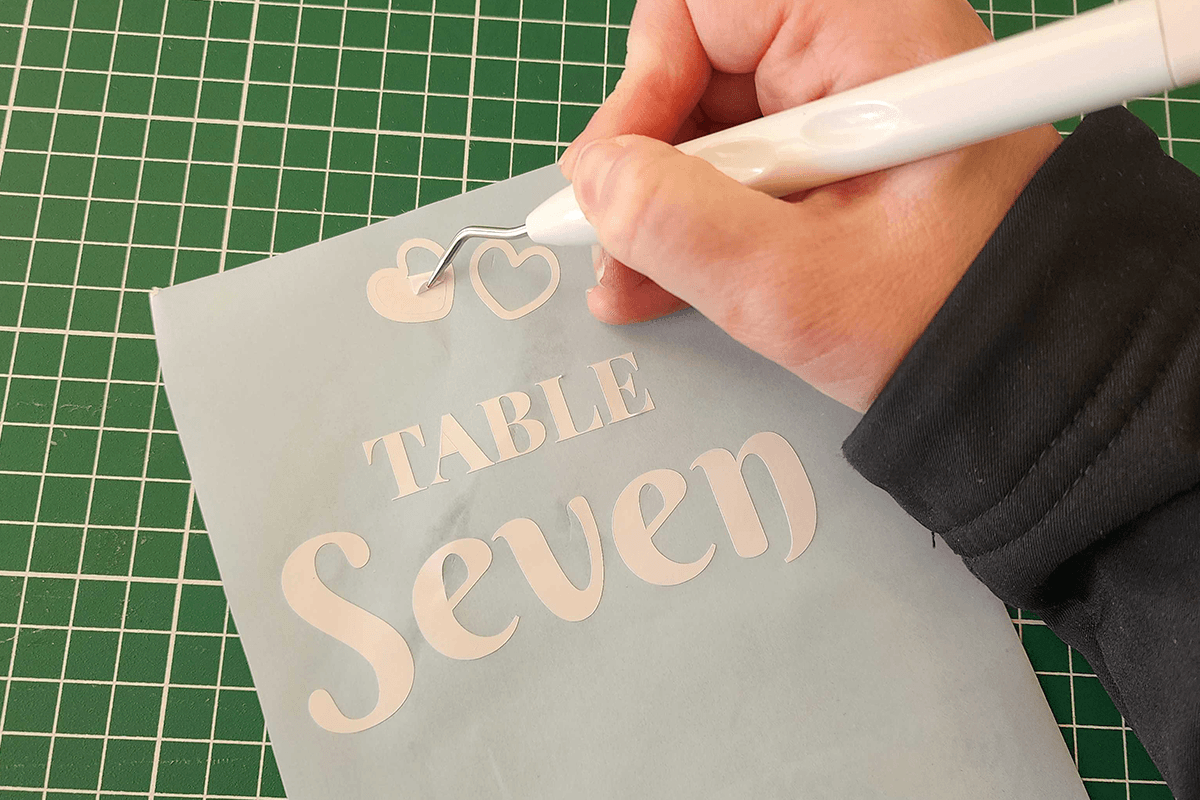
- You should be left with your design on the backing.
- To remove the sticker from its backing, cut a piece of Transfer Tape large enough to cover your design.
- Place the Transfer Tape over the cut-out vinyl ensuring all the vinyl is covered.
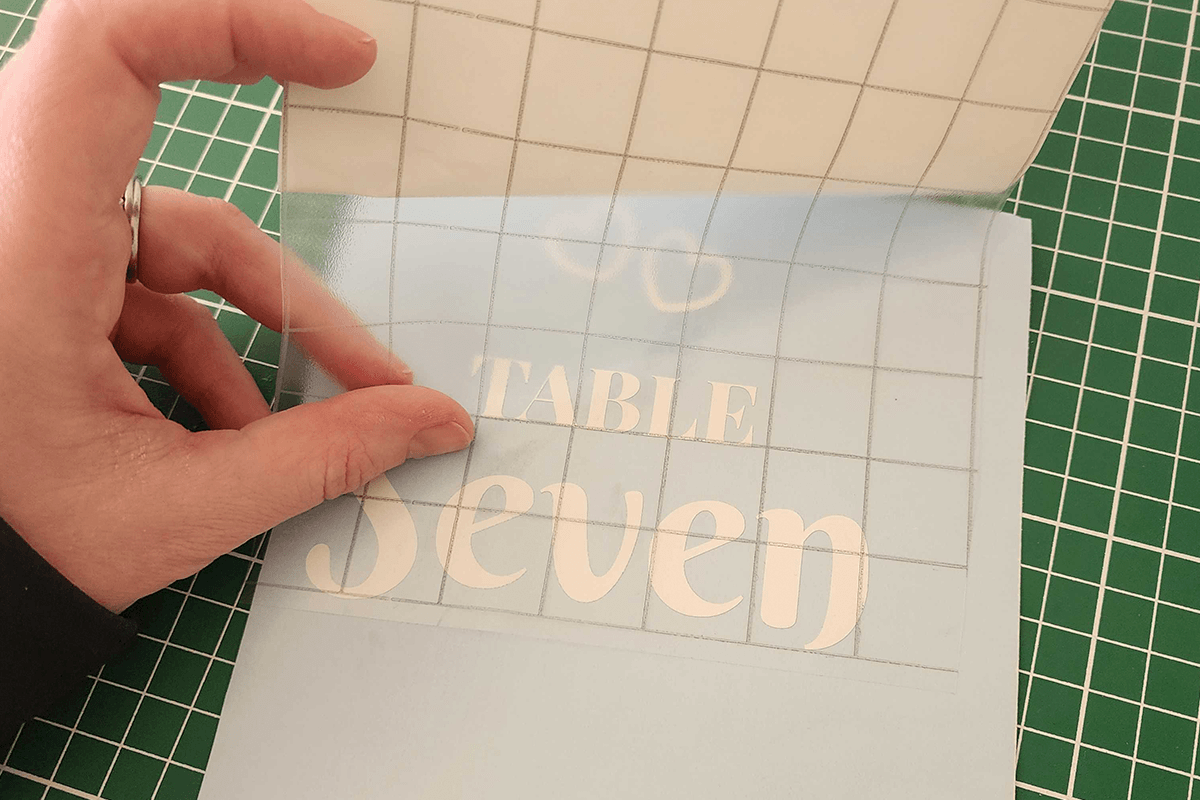
- Gently rub the Transfer Tape whilst on the vinyl.
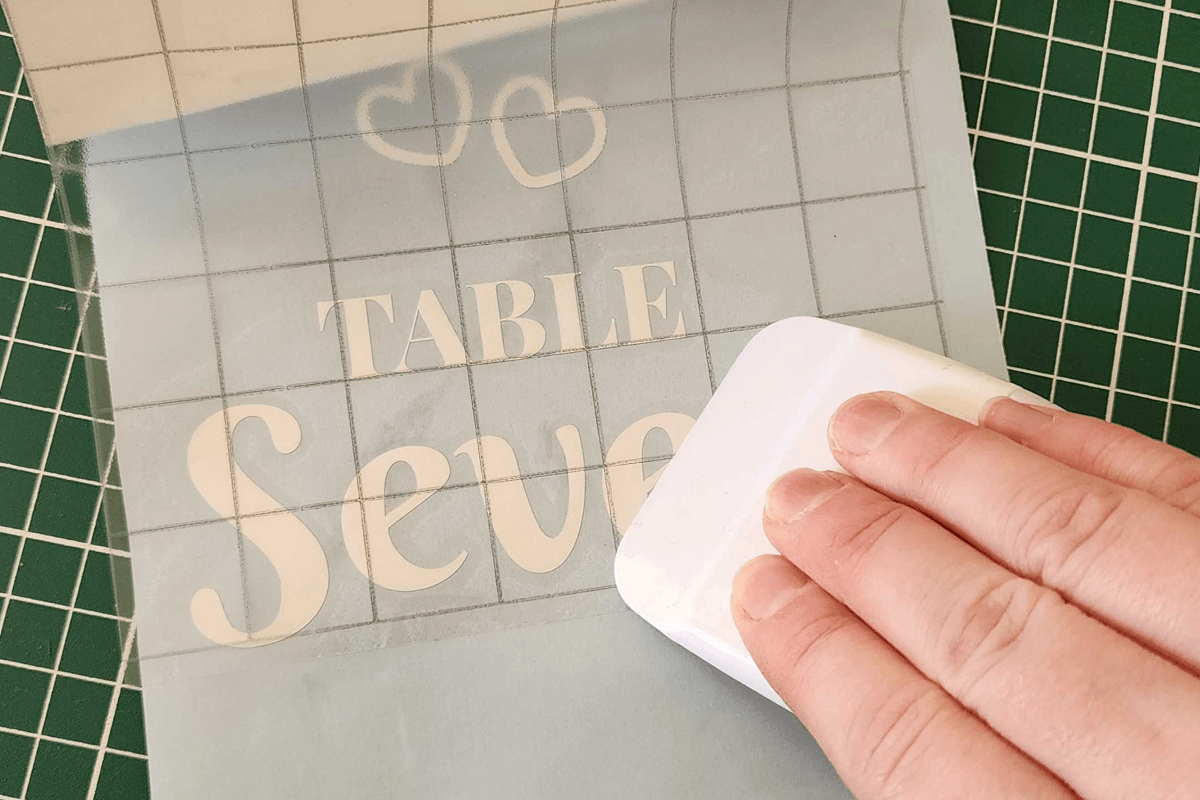
- Gently start peeling off the sticker backing. The vinyl should remain stuck to the tape. If not, lay the tape back down and press firmly again.
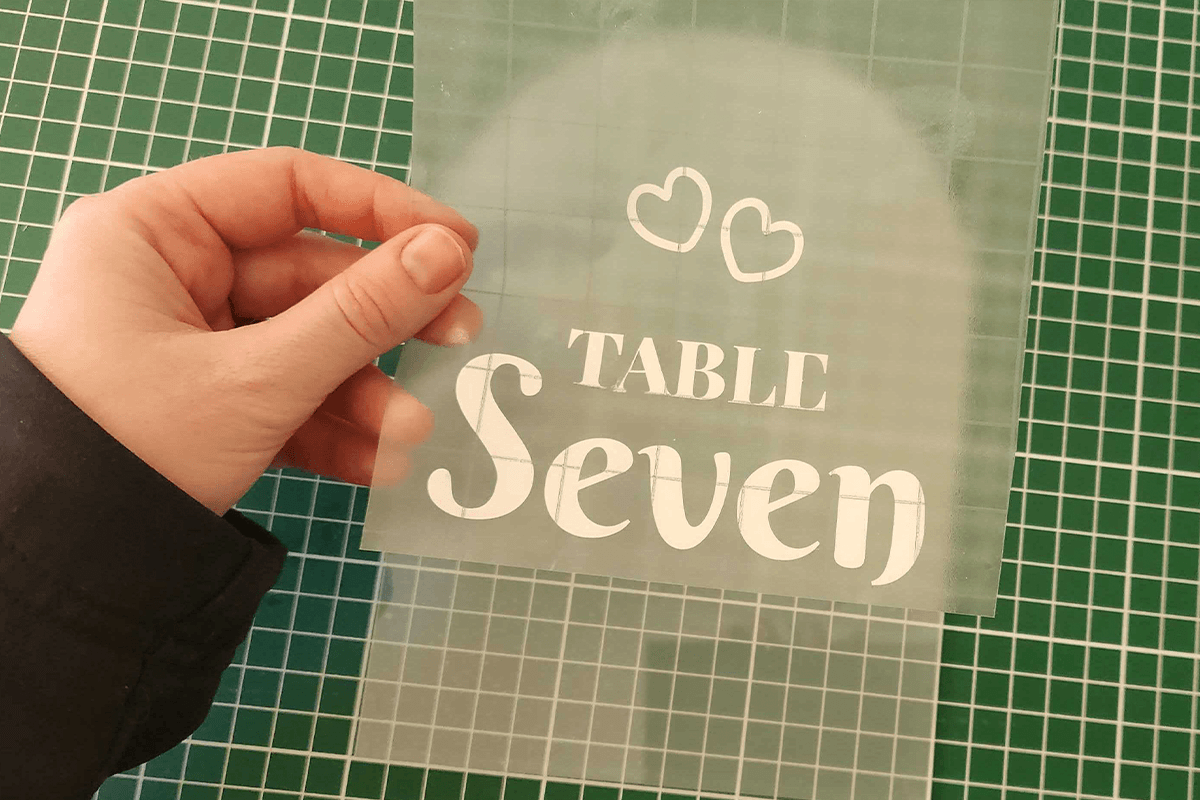
- This then exposes the adhesive side of the vinyl.
- Remove the protective sheet from the acrylic. If your acrylic does not have a protective sheet, thoroughly clean the surface with isopropyl alcohol and a lint-free cloth to remove dust, fingerprints and oils before applying your design. This helps ensure the adhesive vinyl bonds properly.
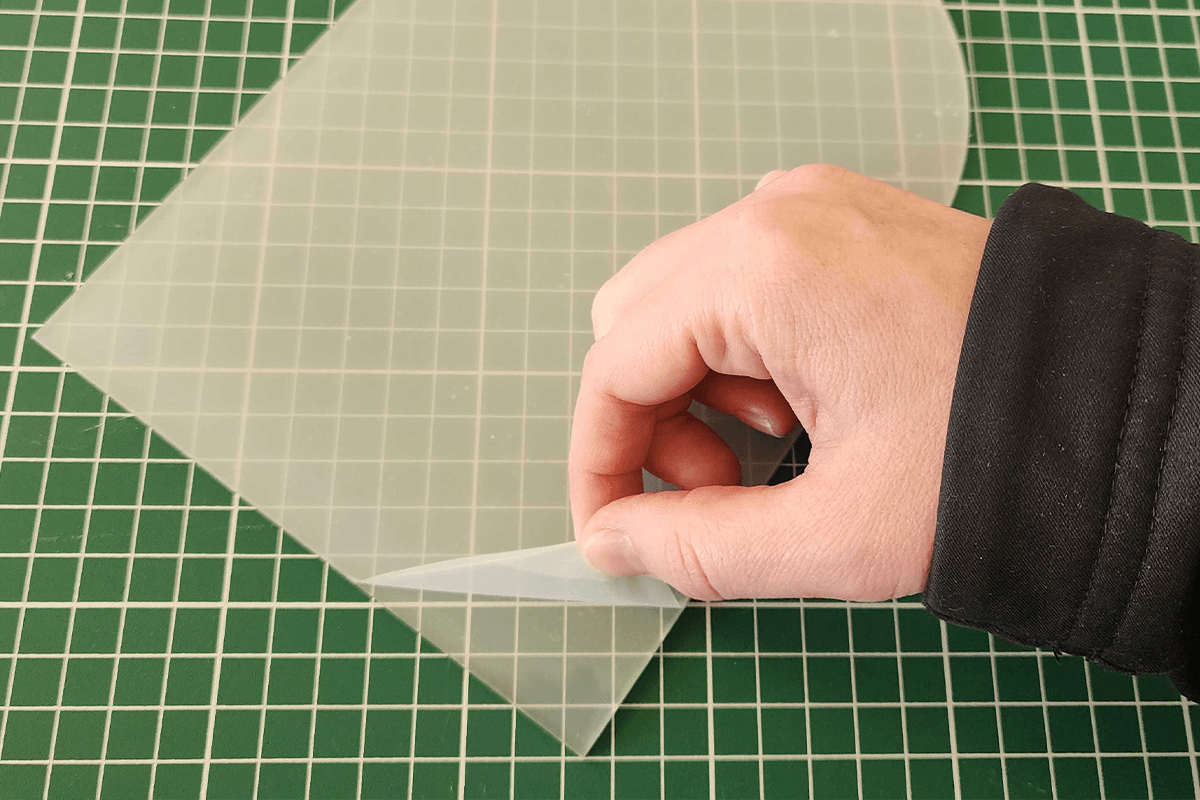
- Quickly move the vinyl sticker to the desired surface and place the design in the desired location.
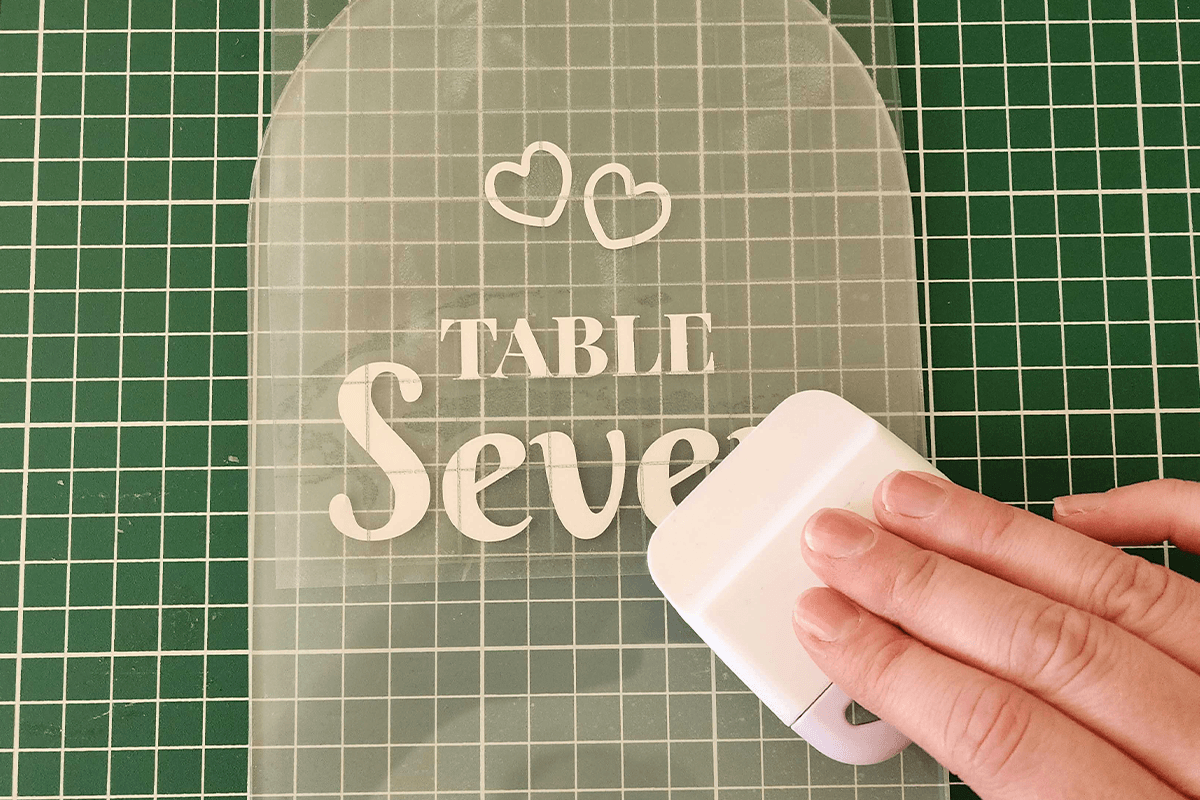
- Press down over the vinyl sticker very firmly to force the adhesive to tack.
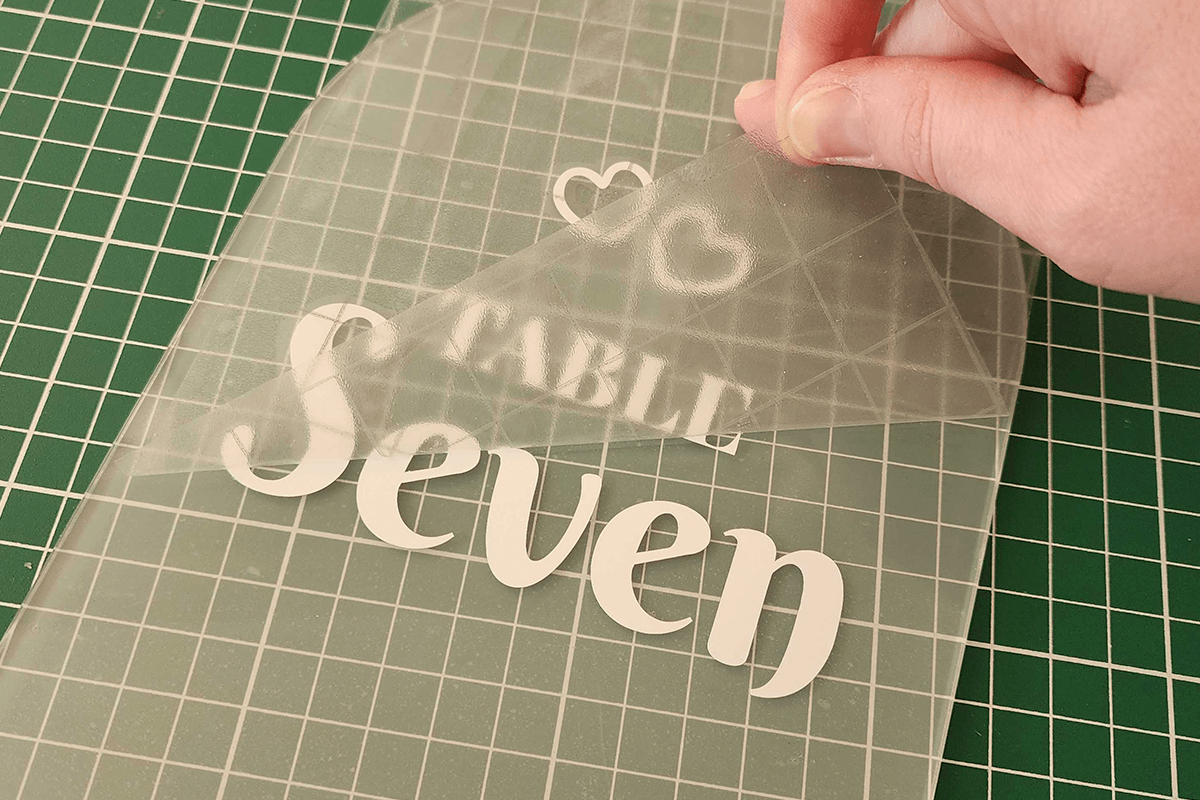
- The vinyl sticker’s adhesive is much stronger than masking or transfer tape, so once the sticker is applied, the tape can be peeled away to reveal the sticker.
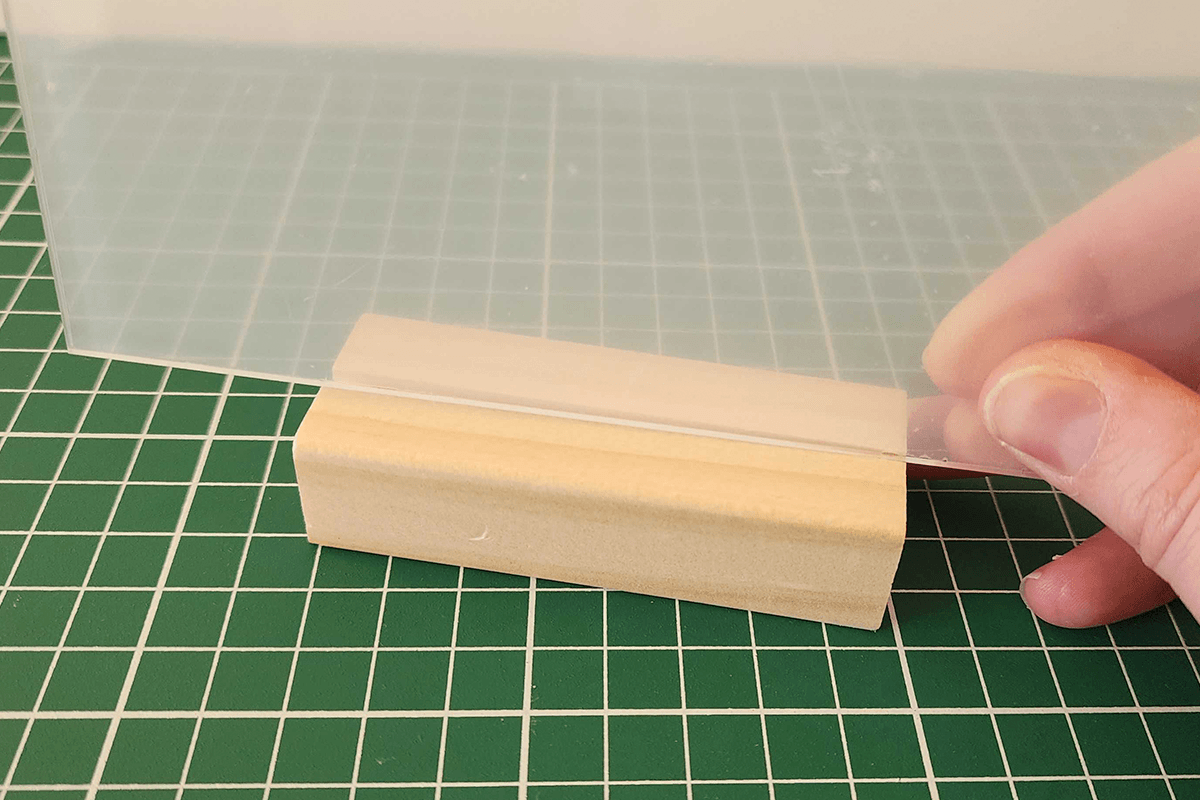
- Fit the plaque base (yours may differ from what we have pictured).
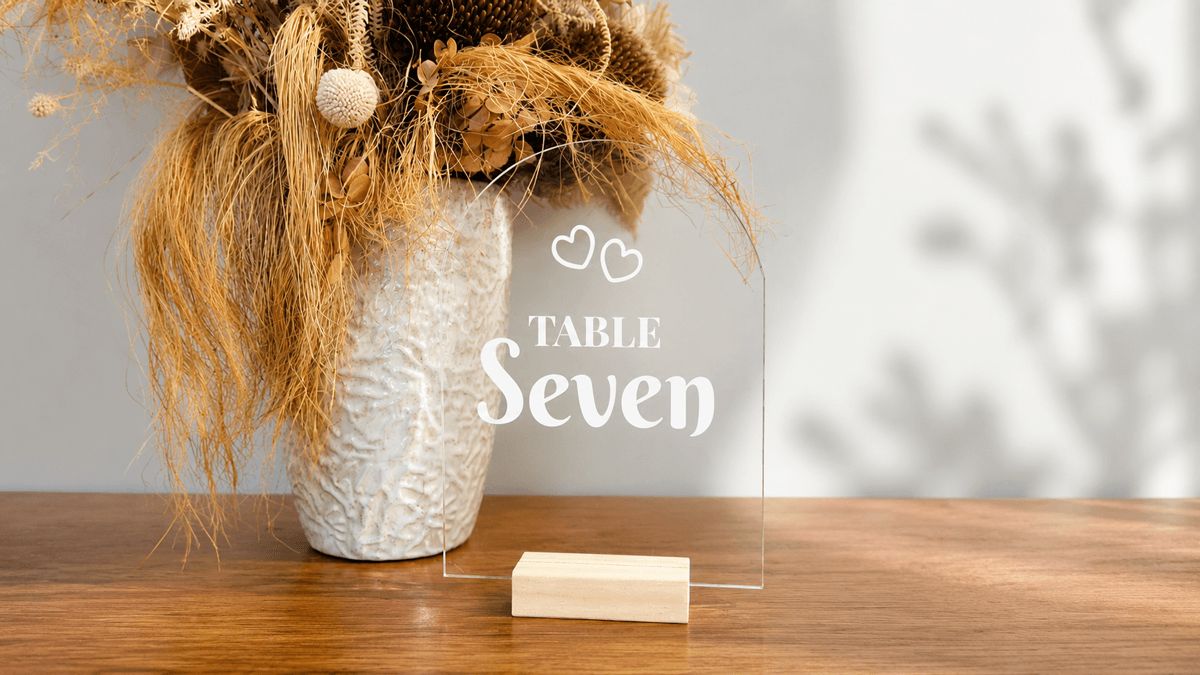
- Your personalised acrylic table number is now ready to display. Once you've mastered this technique, you can use the same process to create welcome signs, reserved signs, menus, seating charts and countless other acrylic projects.
Free Embroidery Designs
We're excited to offer our free Echidna designs available for download. These free designs are perfect for those at a beginner or an advanced level. Add these designs to your stash and create incredible embroidery!
View all free designs >
Sewing, Quilting and Embroidery Machines
Interested in learning how to sew, quilt or embroider? Take a look at the innovative Brother machines available for purchase at Echidna Sewing. Wherever possible we will beat any deal and you will always receive ongoing service and support!
Find out more >
Learn to Sew or Embroider with Echidna Sewing
Come along to our fun-filled classes to learn more about sewing, embroidery and crafting. Classes cater for all skill levels, whether you're just starting out or already have advanced knowledge.
Find out more >
Echidna project material/ fabric requirements are an indication only and can seem to be generous. This has been intentional. Should you make a cutting or embroidery mistake you will have sufficient fabric to rectify your error.