All Projects
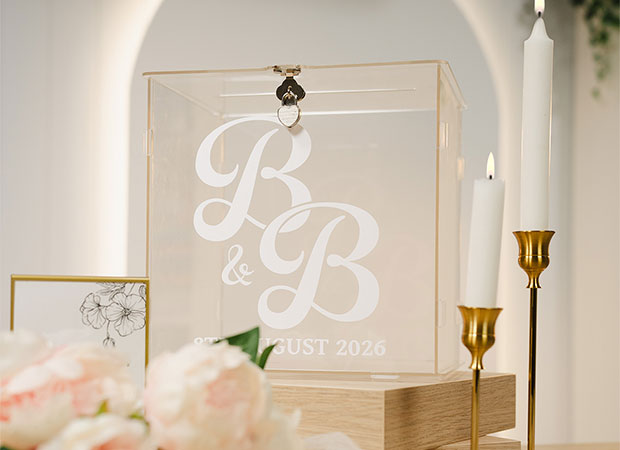
Personalised Wishing Well Card Box
Date Posted:1 September 2026
Personalise a wishing well card box, perfect for weddings, baby showers, birthdays and more with this easy step-by-step tutorial!
In this video, we'll show you how to design, cut and apply adhesive vinyl using a Brother ScanNCut, from creating your artwork in CanvasWorkspace to weeding, transferring and applying your finished design to an acrylic card box. Whether you're new to vinyl crafting or looking for your next personalised project, this tutorial is great for all skill levels!
Materials Needed
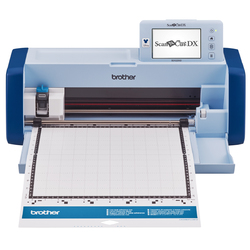
- Cutting Machine
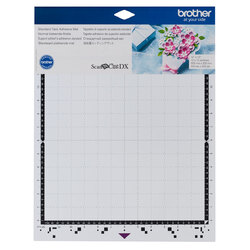
- Standard Mat
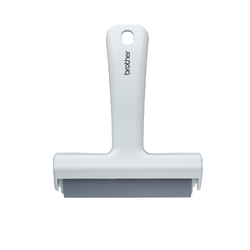
- Roller/Brayer
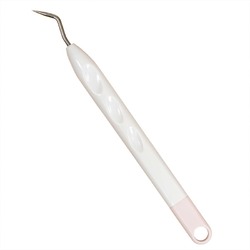
- Weeding Tool
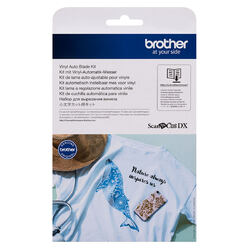
- Vinyl Auto Blade
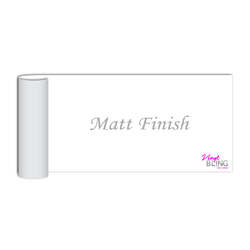
- Adhesive Vinyl
- Transfer Tape
- Acrylic Card Box
- Device for design software/design editing
- USB
- Cloth for cleaning + mild soapy water
- Optional: Scissors, scraper, ruler
Shop Online:
Step Overview
The steps below are just an overview of the project instructions and must be used in conjunction with the tutorial video. Print these steps out to have beside you when watching the video as a reminder.
- Launch the Brother CanvasWorkspace app and log in.
- To create designs with text in CanvasWorkspace, you have two options.
Option 1: In-built Text Function- Click on the 'T' icon (Text) on the toolbar on the left hand side of the screen.
- Click anywhere within the design workspace to create a text box.
- Type in the text you need. Eg: a date, names, initials. Then, tape 'Enter' on your keyboard to confirm.
- Move your text onto the cutting area and be sure to stay within the dashed red lines.
- On the right hand side of the screen will be a selection of settings under the heading 'Properties'. Make sure the Operation is set to Cut. You can leave the line settings as they are. Adjust the Text settings (font, style, character spacing) as you desire.
- Size the text to the scale you choose for your project. Note: The dotted grey squares correlate with the ones on your cutting mat.
- Click on the ‘SVG’ icon on the toolbar on the left hand side of the screen.
- On the proceeding pop-up window, navigate to where you have saved your SVG file and double-click it to open it within CanvasWorkspace.
- Select all elements of your design by clicking and dragging your mouse over the whole design.
- Scale the design to the scale you desire for your project. (The dotted grey squares correlate with the ones on your cutting mat)
- To show the cut-lines more effectively - set any element fills to No Fill. To do this - click on the element. Underneath the Properties tab on the right-hand side, click on the coloured rectangle next to the bucket icon under ‘Fill’. Set the fill to ‘No Fill’ - the grey and white square icon on the top left of the colour options. Click on OK.
- Then set the Line colour of the element by clicking the gray and white check pattern underneath ‘Line’ (on the right of the pencil icon) in the Properties tab on the right hand side panel.
- Set the colour to black (Bottom left swatch within the colour options).
- Once you are happy with your design and have scaled it accordingly, plug your USB into your device.
- Click ‘File’ in the top-left of your screen. Click ‘Export/Transfer FCM file’. Click ‘Export FCM file’ in the window that pops up. In the Explorer tab that pops up - navigate to your USB and save the FCM to it. Eject your USB from the device safely.
- Attach your adhesive vinyl to the standard-tack adhesive mat. Ensure that the vinyl covers the whole area of your design and that the good side faces up and the paper side is facing down. Use a roller to adhere the vinyl to the mat.
- Change the blade in your cutting machine to the appropriate vinyl blade. Plug your USB into the machine.
- Switch on your machine and load the mat.
- Load your design into the machine and set your cut settings appropriately. On the Brother SDX1250 the steps are as follows:
- Tap on 'Retrieve Data'.
- Click the USB icon (bottom left icon).
- Click on your design FCM file.
- Select OK.
- Scan the mat to ensure your vinyl is covering the area of your design.
- If the design fits within the vinyl area tap on OK and select the cut function.
- Click on the settings icon. (Spanner)
- In your cut settings, adjust your cut speed and pressures accordingly - if unsure, set to default and do a test cut. Also make sure your Half-cut is set to ON. Click on OK to confirm settings.
- Tap on ‘Test Cut’ and move the triangle test cut away from your design but still within the vinyl.
- If you are happy with the test cut, tap on ‘Start’.
- Once the design has finished cutting, unload the mat from your machine.
- Clean your acrylic card box with warm soapy water and ensure it has dried thoroughly before attaching design.
- Remove your vinyl from the mat.
- Weed your design, ensuring you leave the design ON the backing paper. (So take away any elements that ARE NOT part of your design. Including any holes in letters etc)
- Remove the backing on your transfer paper and place the sticky side atop your design.
- Slowly peel back the backing on your adhesive vinyl leaving the design attached to the transfer tape.
- Attach your design to your acrylic card box in whatever position, orientation you so desire! Push it down firmly ensuring the design has adhered.
- Pull back the transfer tape, leaving the design attached to the box.
- All done!
Free Embroidery Designs
We're excited to offer our free Echidna designs available for download. These free designs are perfect for those at a beginner or an advanced level. Add these designs to your stash and create incredible embroidery!
View all free designs >
Sewing, Quilting and Embroidery Machines
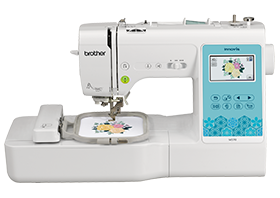
Interested in learning how to sew, quilt or embroider? Take a look at the innovative Brother machines available for purchase at Echidna Sewing. Wherever possible we will beat any deal and you will always receive ongoing service and support!
Find out more >
Learn to Sew or Embroider with Echidna Sewing
Come along to our fun-filled classes to learn more about sewing, embroidery and crafting. Classes cater for all skill levels, whether you're just starting out or already have advanced knowledge.
Find out more >
Echidna project material/ fabric requirements are an indication only and can seem to be generous. This has been intentional. Should you make a cutting or embroidery mistake you will have sufficient fabric to rectify your error.