All Projects


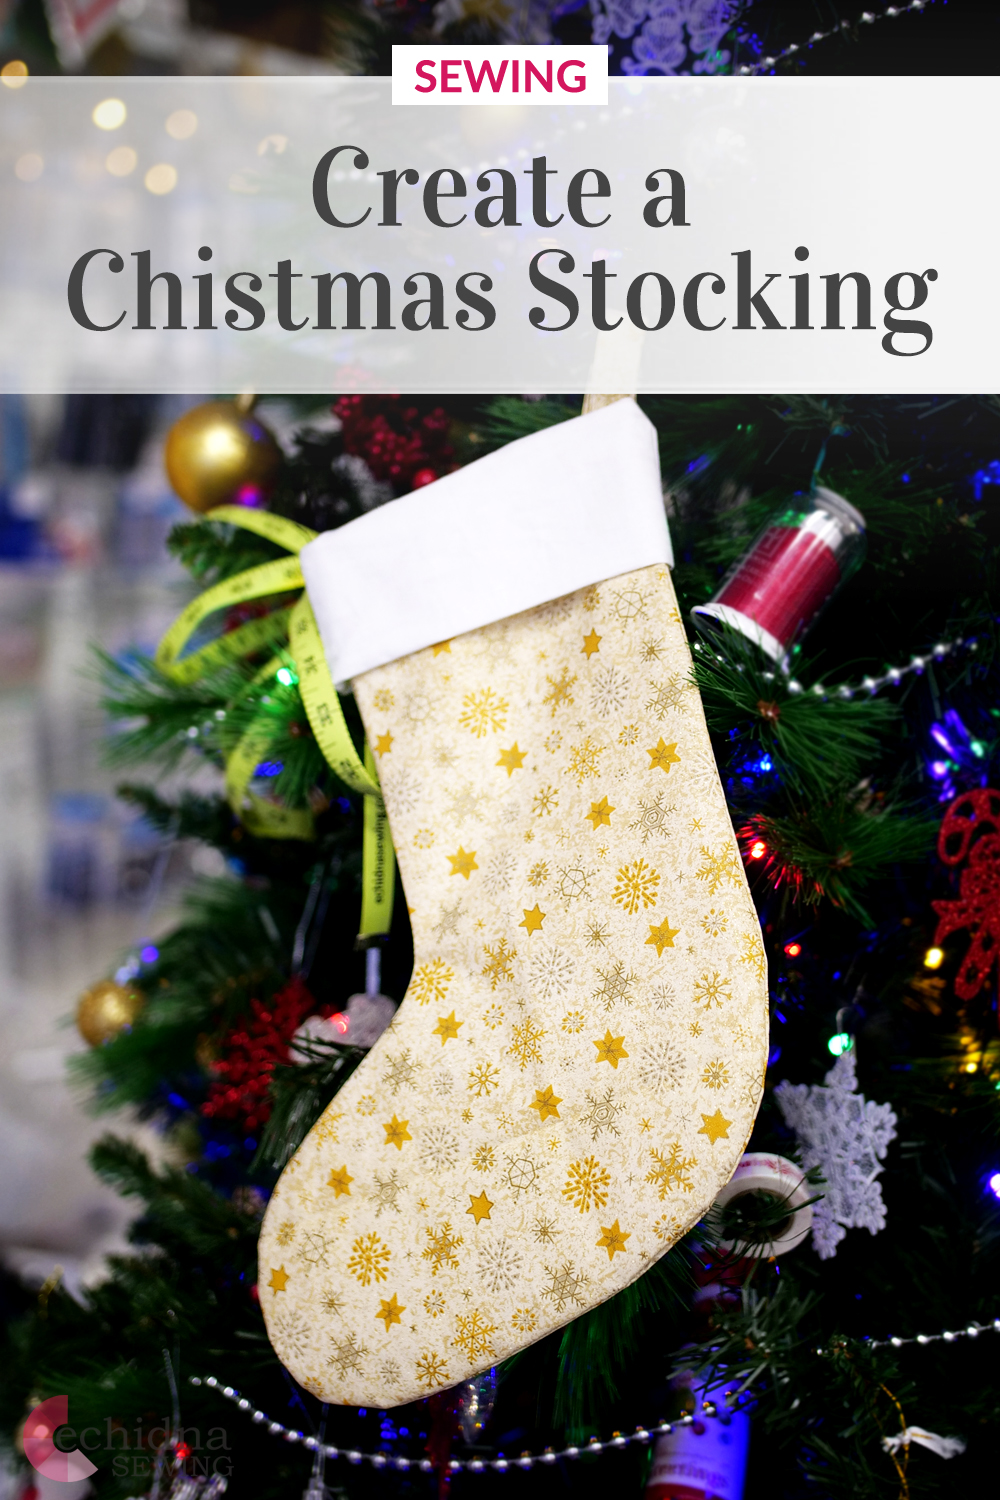
Christmas Stocking
Date Posted:11 December 2021
With Christmas fast approaching, there’s no better time to start decorating with your very own handmade Christmas stockings. These customizable stockings are perfect for kids wanting to add their own flair on their stockings, or you can even make these for your pets. These stockings can be made from pretty much any fabric, especially old textiles from around the house.
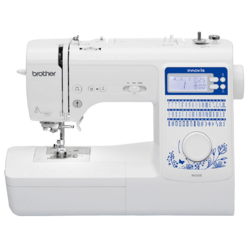
Machines Used
- Brother NV50S Sewing Machine
What you'll need:
- Christmas stocking pattern
- Sewing machine
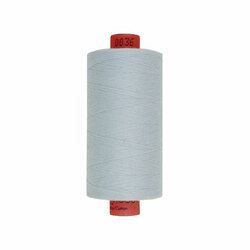
- Rasant thread (in your colour choice)
- 0.5m x Main Fabric (Main fabric for the outside)
- 0.5m x Lining Fabric (For the lining)
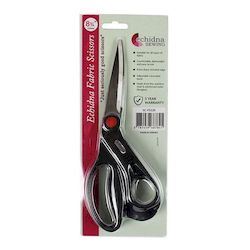
- Sewing scissors
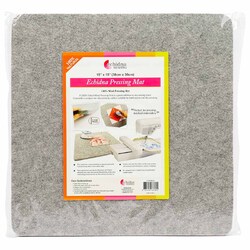
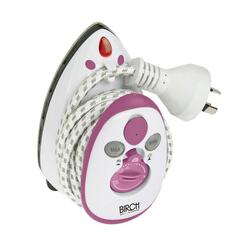
- Mini iron & ironing board/wool pressing mat
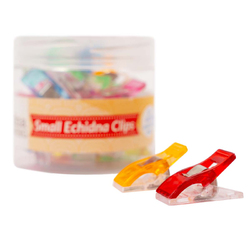
- Small clips or pins
- Overlocker (optional)
Tip:
Don't have an overlocker? Use a built-in zig zag stitch on your machine to finish off the edges to stop the fabric from fraying.
Step Overview
This stocking is made out of two different fabrics, however if you want a different fabric for your stocking cuff that isn’t your main or lining fabric, feel free to do so.
The steps below are just an overview of the project instructions and must be used in conjunction with the tutorial video. Print these steps out to have beside you when watching the video as a reminder.
- Download the pattern here.
- Assemble pattern following the letters.
- Cut 2 stocking pieces from your main and lining fabric.
- Cut 2 cuff pieces from your lining fabric.
- Cut 1 hanger tab from your main fabric.
- Fold the hanger tab in half lengthways, wrong sides together.
- Iron flat and open back out.
- Fold each long edge into the middle fold that was just ironed.
- Press again but do not open flaps.
- Fold the hanger tab in half lengthways again and press flat with your iron.
- Top stitch each long side of the hanger tab.
- Place the short side of the cuff right side down on top of the main stocking piece.
- Sew with a straight stitch and a 0.5” seam allowance.
- Repeat for the other side of stocking.
- Iron seams flat towards stocking piece.
- Pin hanger tab on top right edge of cuff.
- Place stocking liner, right side down, on top of cuff and main stocking.
- Sew with a straight stitch and 0.5” seam allowance.
- Repeat for other half.
- Place both halves together, right sides facing together.
- Sew around the whole stocking, excluding a 3in gap at the bottom of the lining.
- Trim edges and overlock.
- Clip corners and turn right side out.
- Iron flat and then sew the turning hole shut.
- Push lining inside main stocking.
- Fold the cuff down and you're done!
Don’t forget to show us your finished projects on Instagram or Facebook #echidnasewing #madebyme
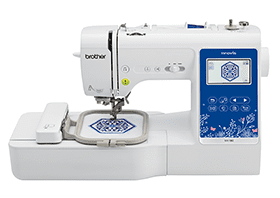
Free Embroidery Designs
We're excited to offer our free Echidna designs available for download. These free designs are perfect for those at a beginner or an advanced level. Add these designs to your stash and create incredible embroidery!
View all free designs >
Sewing, Quilting and Embroidery Machines
Interested in learning how to sew, quilt or embroider? Take a look at the innovative Brother machines available for purchase at Echidna Sewing. Wherever possible we will beat any deal and you will always receive ongoing service and support!
Find out more >
Learn to Sew or Embroider with Echidna Sewing
Come along to our fun-filled classes to learn more about sewing, embroidery and crafting. Classes cater for all skill levels, whether you're just starting out or already have advanced knowledge.
Find out more >
Echidna project material/ fabric requirements are an indication only and can seem to be generous. This has been intentional. Should you make a cutting or embroidery mistake you will have sufficient fabric to rectify your error.