All Projects


Cat & Dog Sleeping Mats
Create a dog or cat sleeping mat for your furry friend! These handmade mats will be a comfort for your pet, and are great for resting and sleeping. You can take them on adventures, like to the park or beach, so they always have that comforting aid when they need a rest.
We have created one cat sleeping mat and one dog sleeping mat. We've provided you with quilting designs for this project so you can try in-the-hoop quilting! If you don't have an embroidery machine you can quilt your mat with a walking foot - just follow these instructions →
Download quilting designs for this project →
Quick tip: Don't forget to adjust the presser foot height when working with embroidery designs on a quilt sandwich. Remember, the embroidery foot should skim the top of the fabric.
Instructions
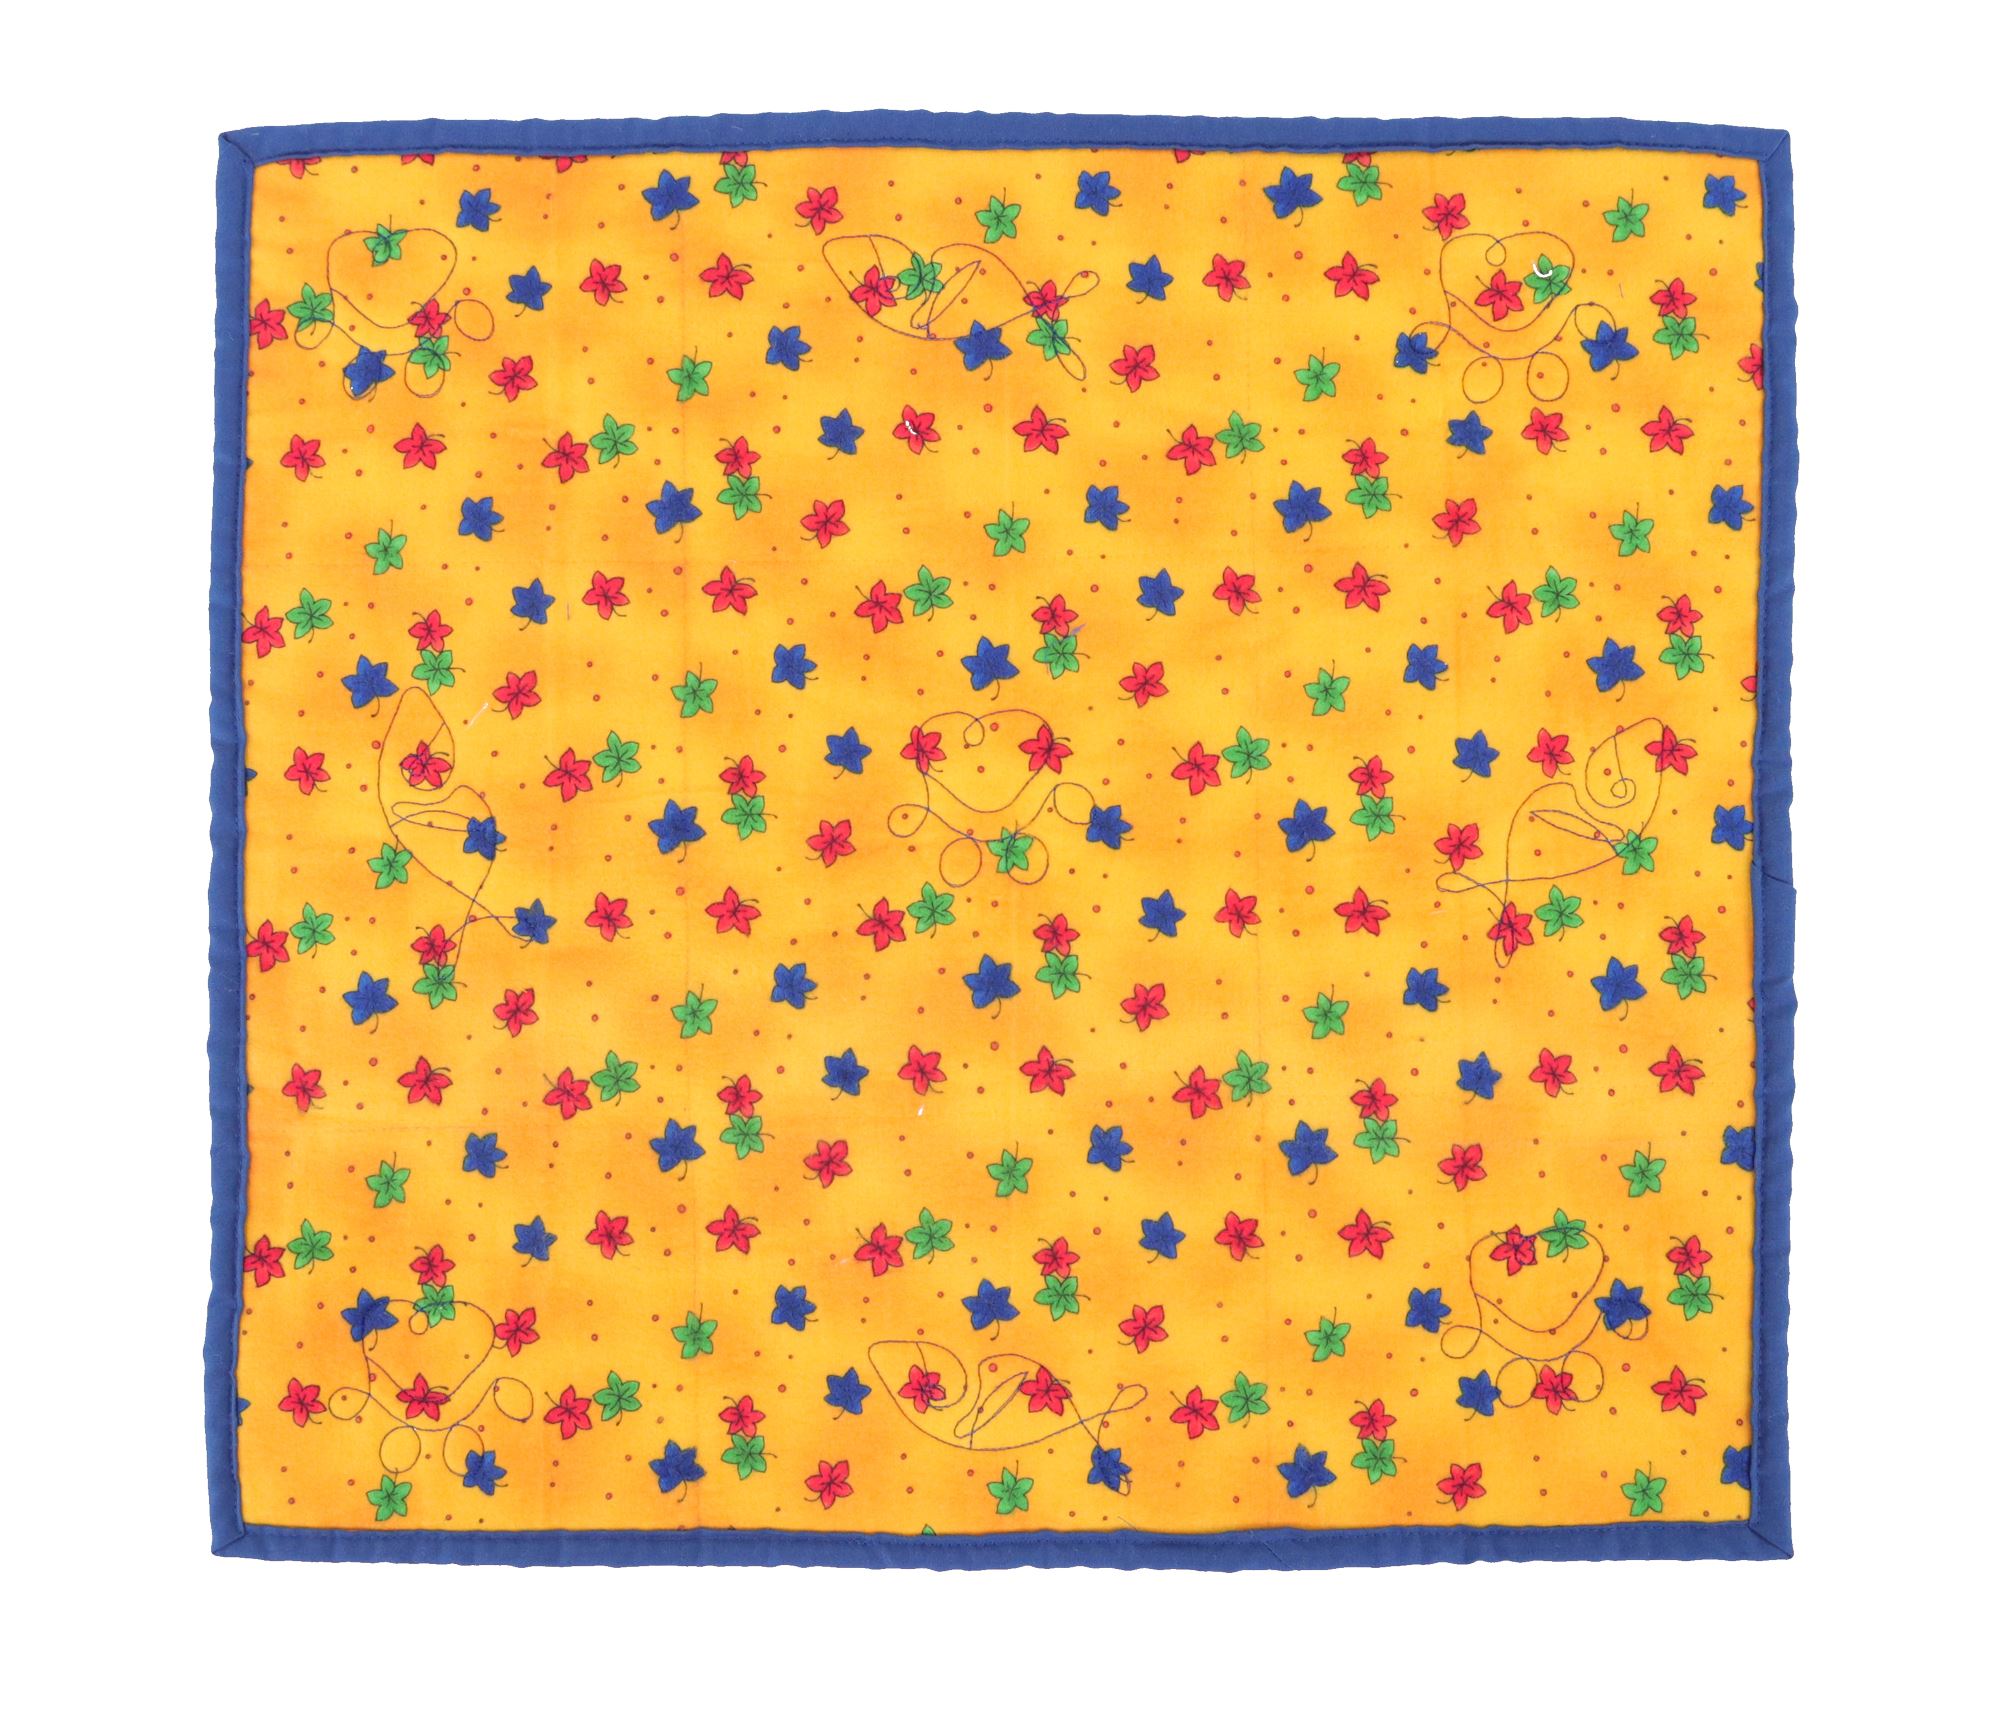
Cat Sleeping Mat - Finished size 18" x 19.5"
The paw and fish designs for the cat sleeping mat have been designed to fit a 4" x 4" hoop. Please ensure that you use the single file not the continuous file for these designs.
Materials required:
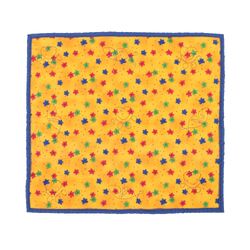
- 2 x different fat quarters (we used flannel fabric because it is so snuggly)
- 1 x piece of batting 2" bigger than the fat quarters (or batting scraps joined together)
- 3 x strips of contrasting fabrics 2½" x width of fabric (this is for the binding)
- Thread for quilting (we used Hemingworth Brilliant Blue 1204)
- Bobbin - wind with the same colour as top thread
- Rasant thread
- Frixion pen
- Batting joiner
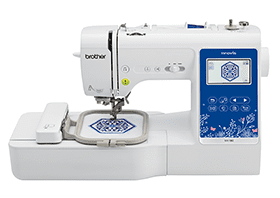
- Sewing & embroidery machine
- Dynamic walking foot, walking foot or even feed foot
- Quilt guide
- Quilting designs (cat paw and fish)
Method:
- Iron fat quarters to remove any wrinkles.
- Create a quilt sandwich by inserting the batting between both fat quarters. You can pin or spray baste the three layers to secure together in preparation for quilting. This is a great project to use up batting leftovers. Simply iron the batting joiner on the smaller pieces and continue to join the pieces together until you have the desired size.

- Using a Frixion pen, draw a grid onto the fabric, dividing the square into 9 blocks.
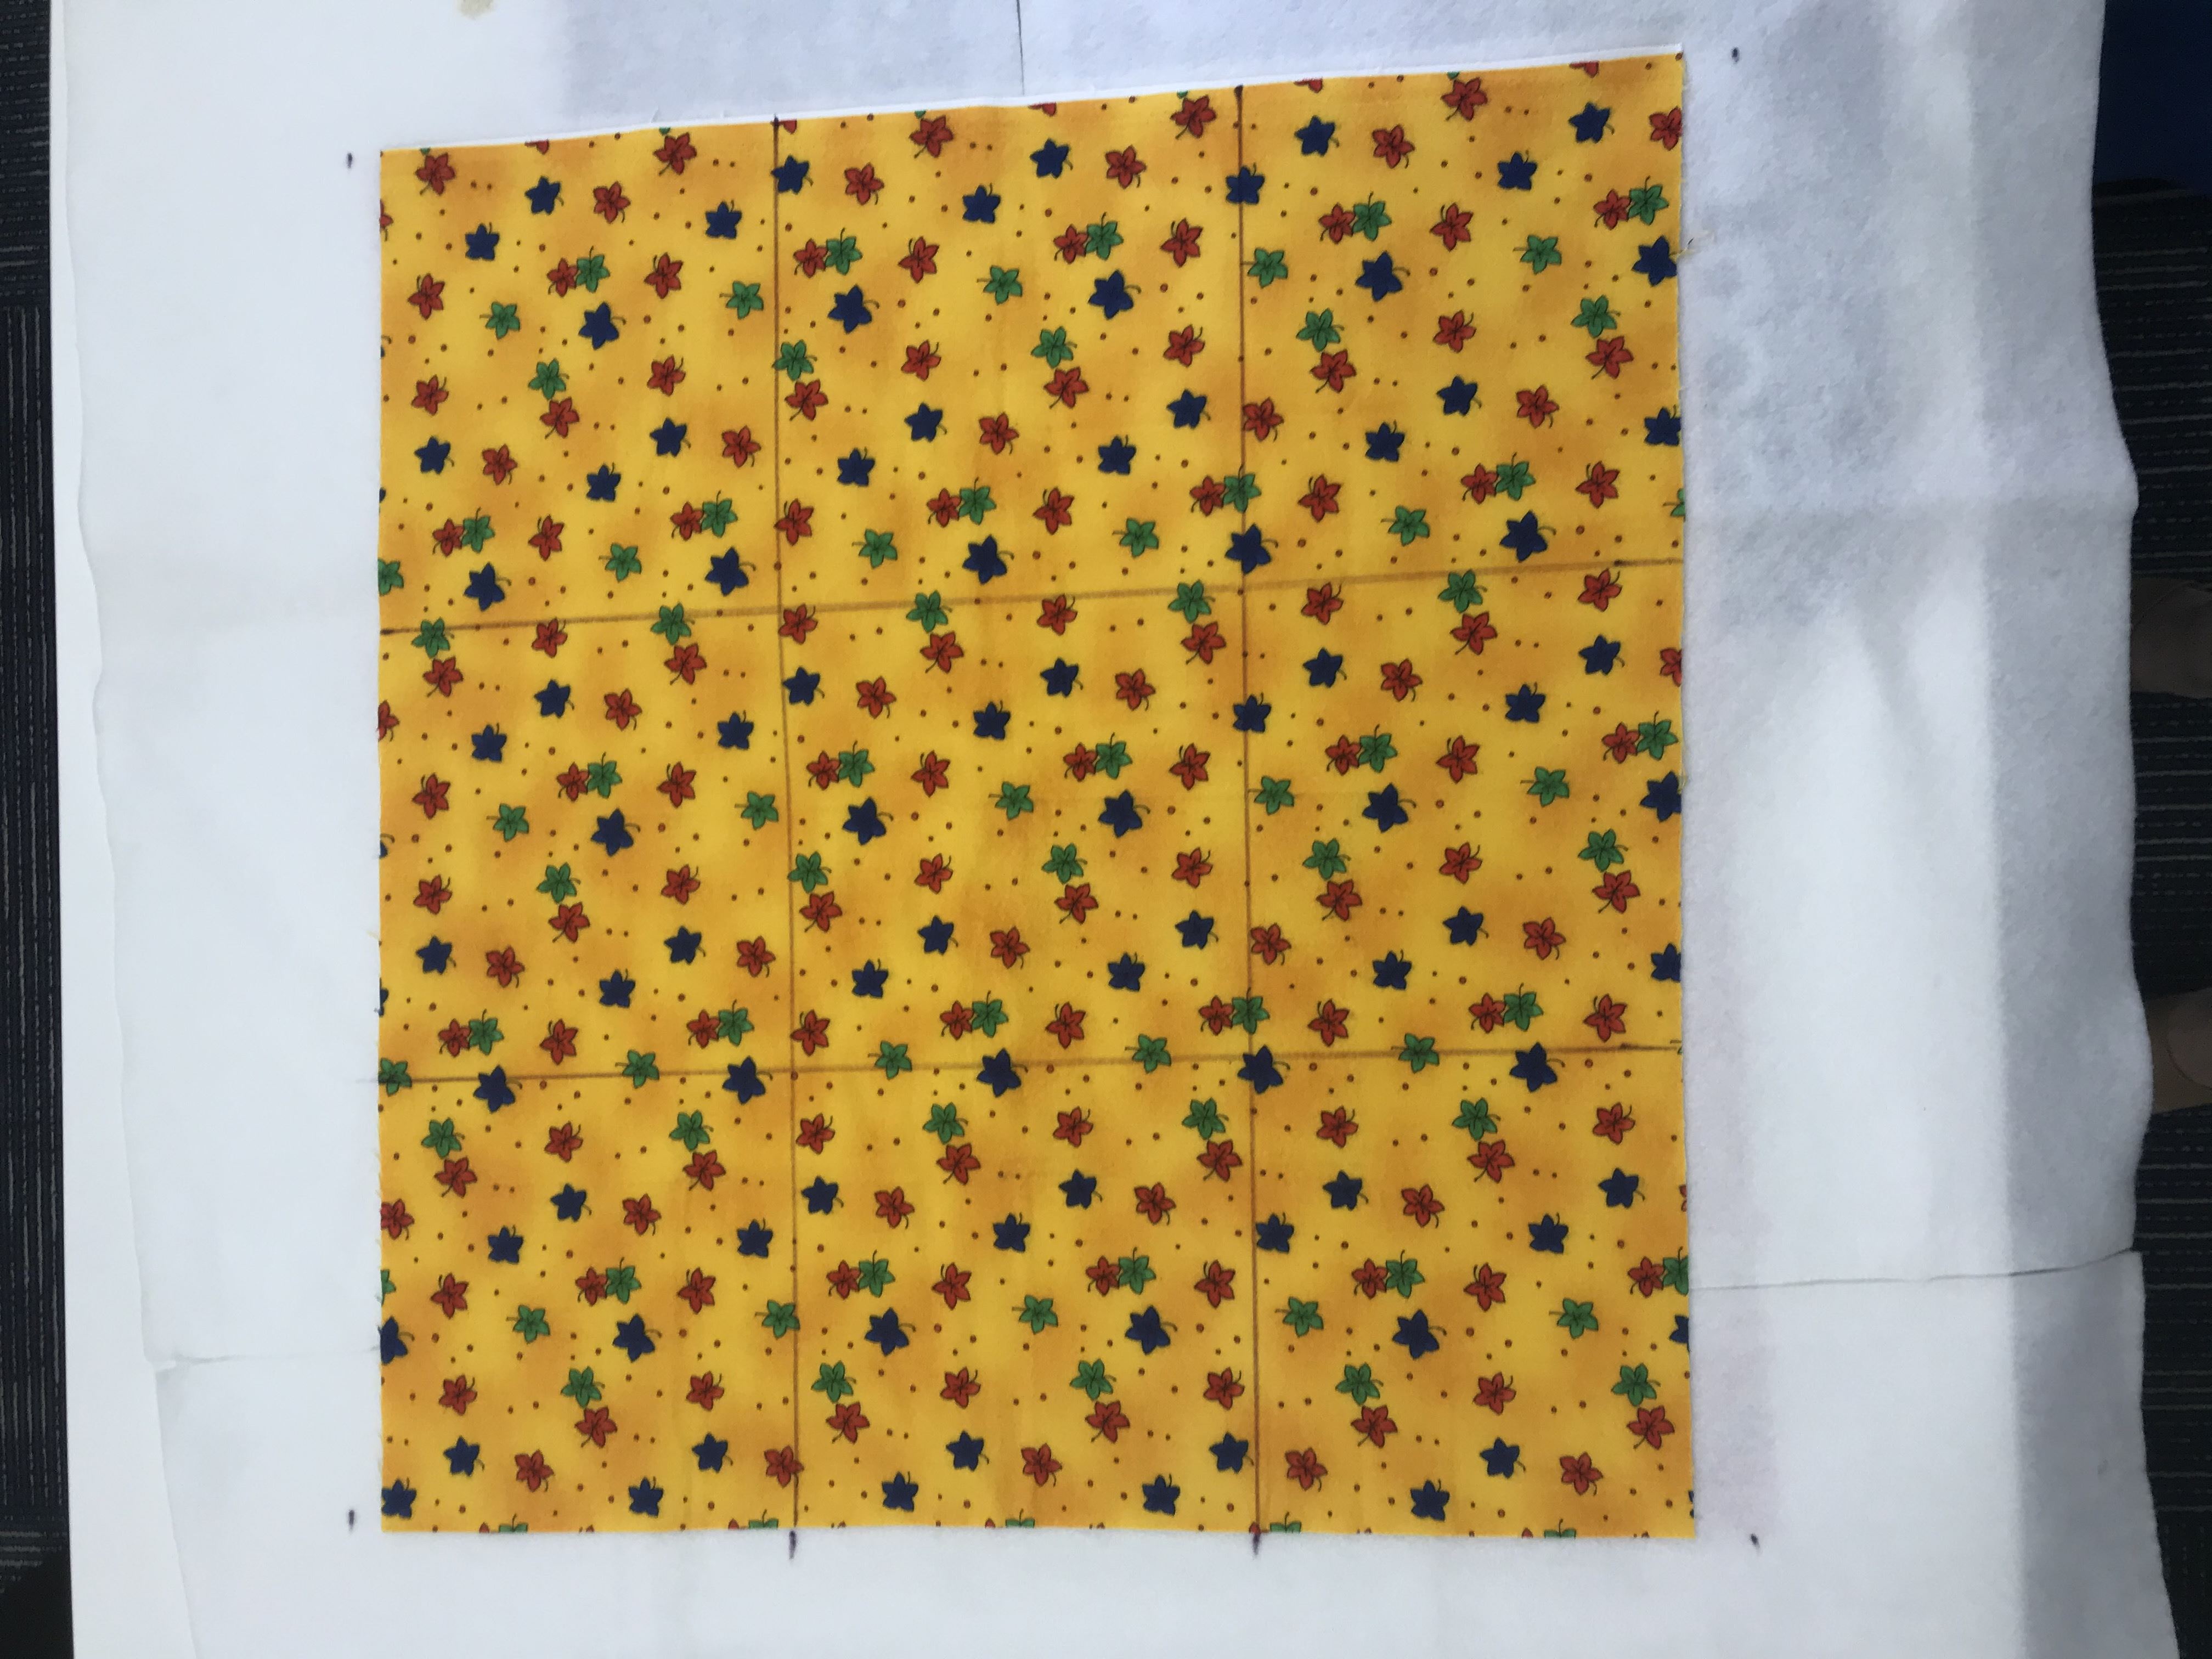
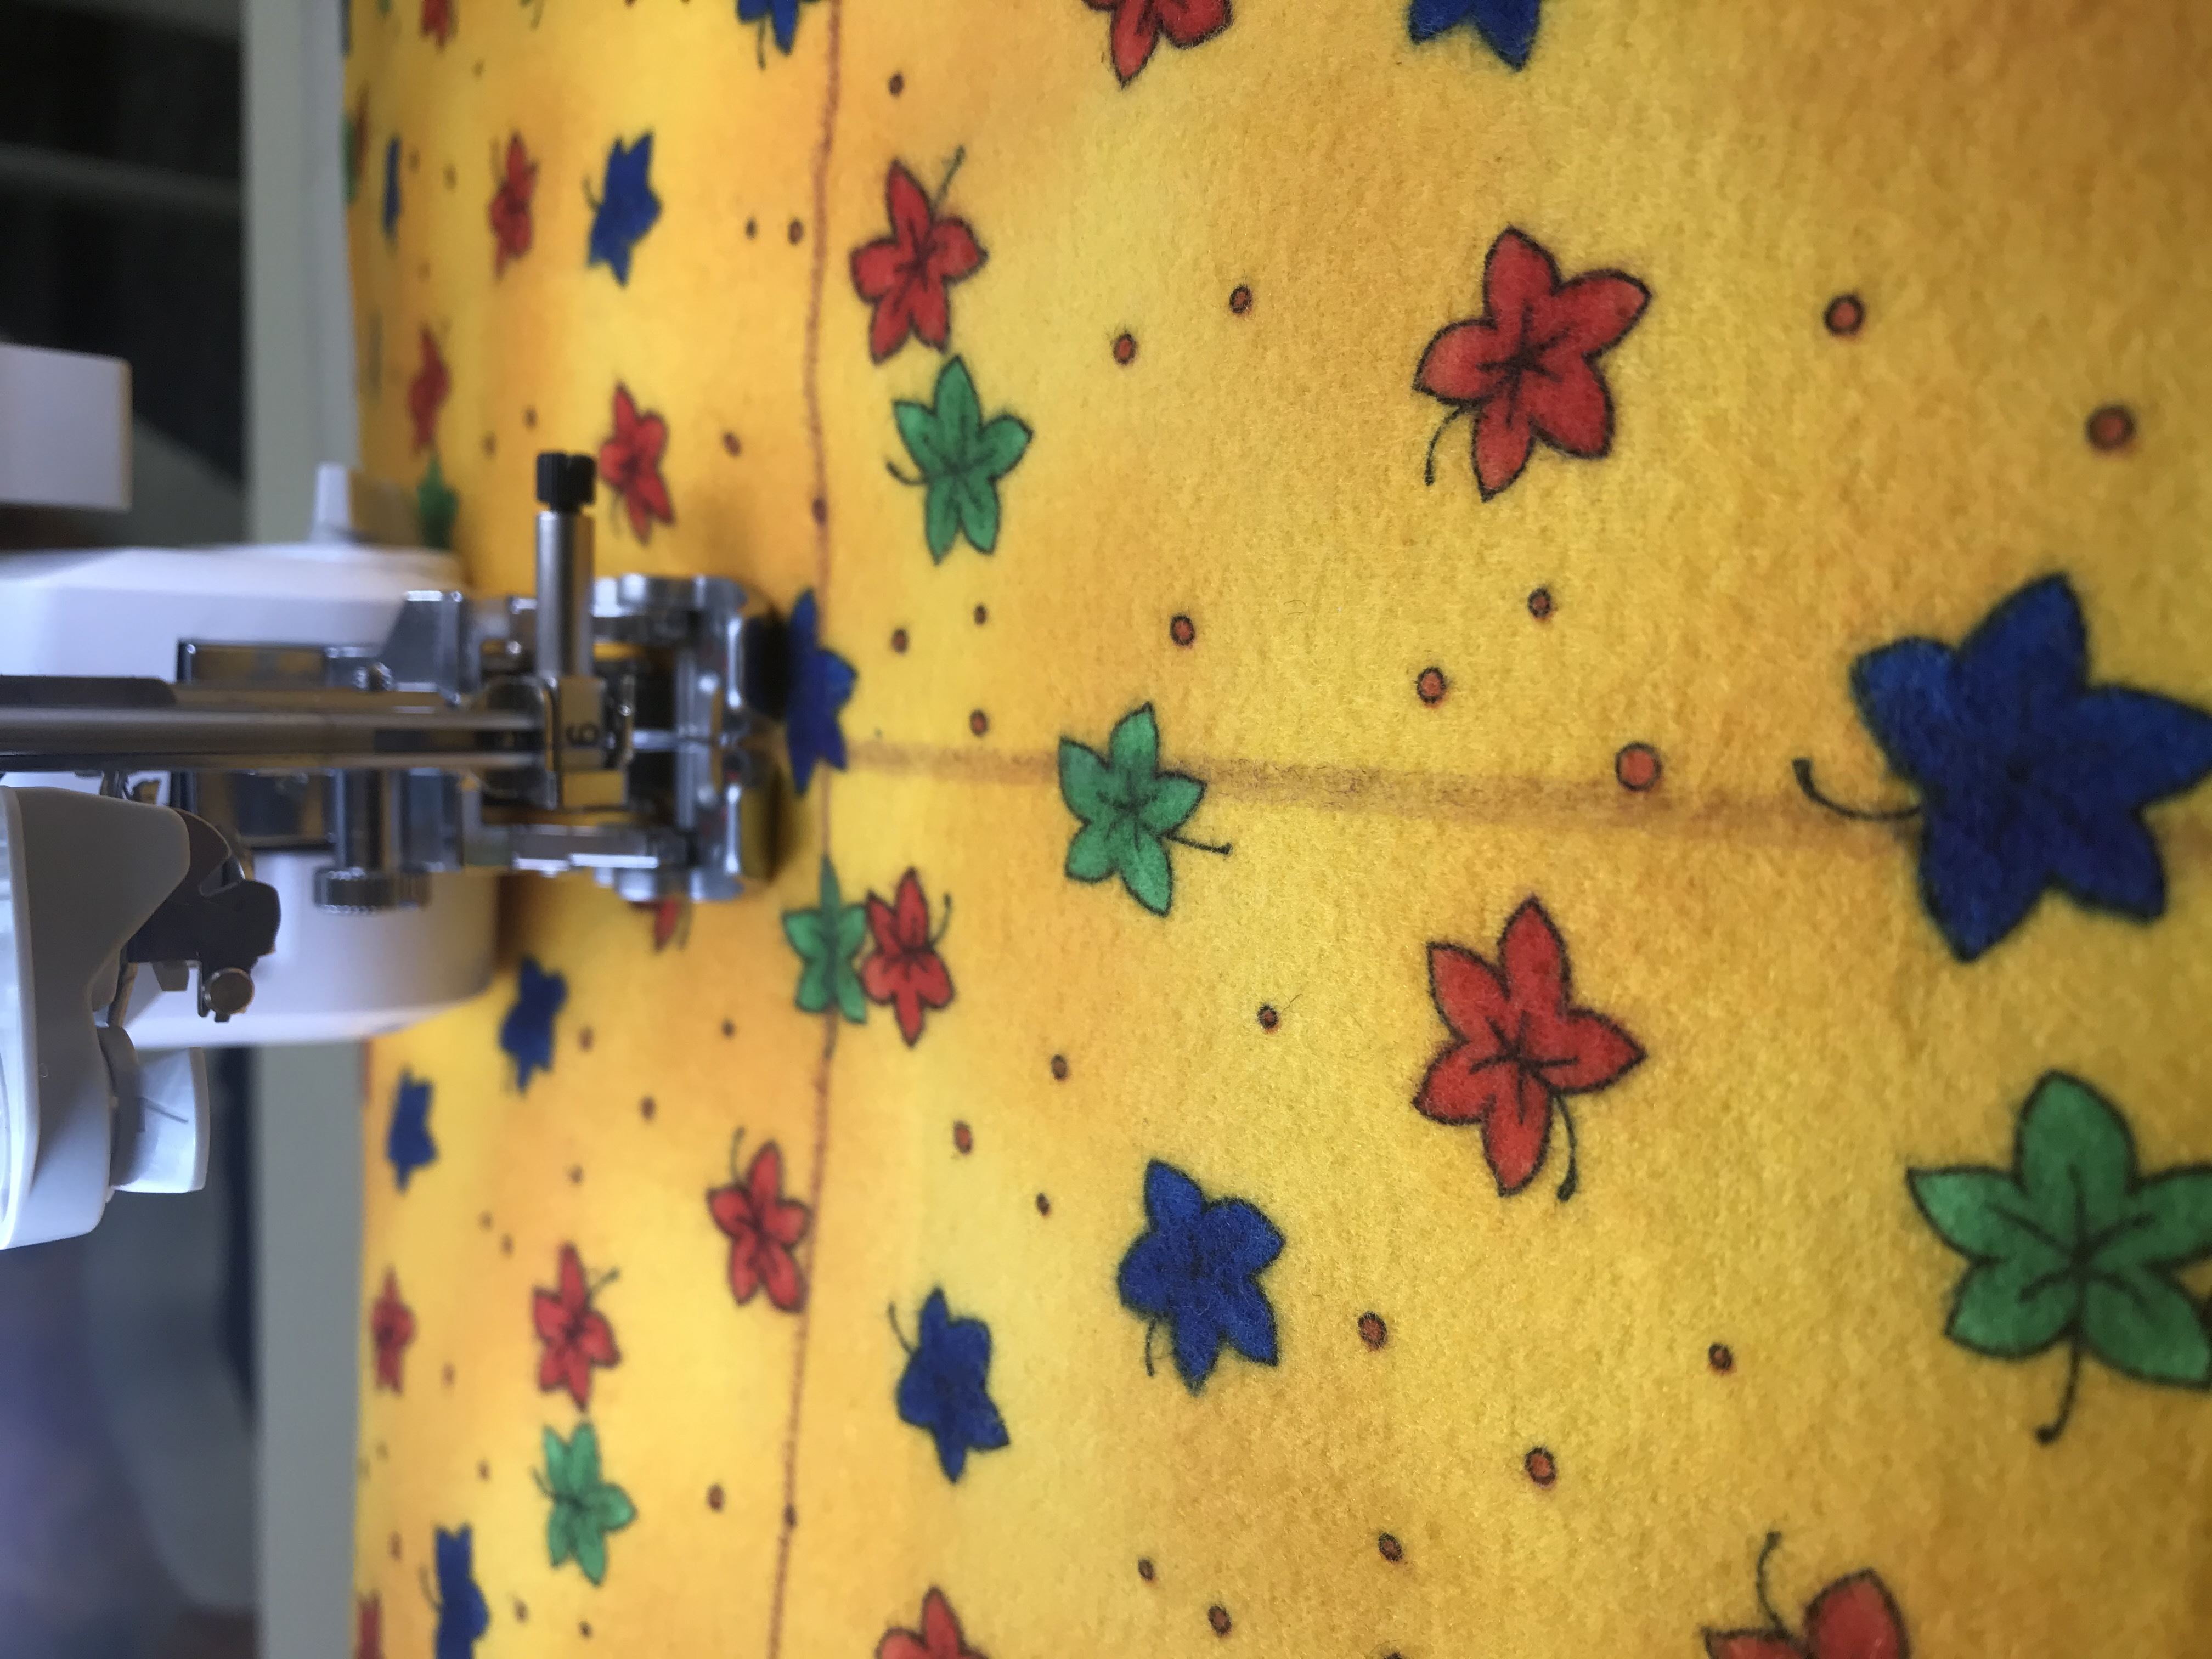
- Attach the dynamic walking foot and rasant thread and stitch (stitch length 3) on the lines to create a sewn grid formation.
- Change to machine embroidery and download the embroidery designs onto a USB. There are several embroidery design options, ensure the chosen design is the correct size for your hoop. As the cat sleeping mat is small, we have selected the single paw and single fish design to quilt the sleeping mat.
- Select the thread colour for the quilting design and wind the thread onto a bobbin so the thread matches top and bottom when quilting.
- Hoop your quilt sandwich, select your design and stitch. If using a small hoop, remove sleeping mat and reposition to stitch another design. Repeat until the cat sleeping mat is covered with quilting designs.
- Remove sleeping mat from the hoop and square it up. The finished result should measure 18" x 19½".
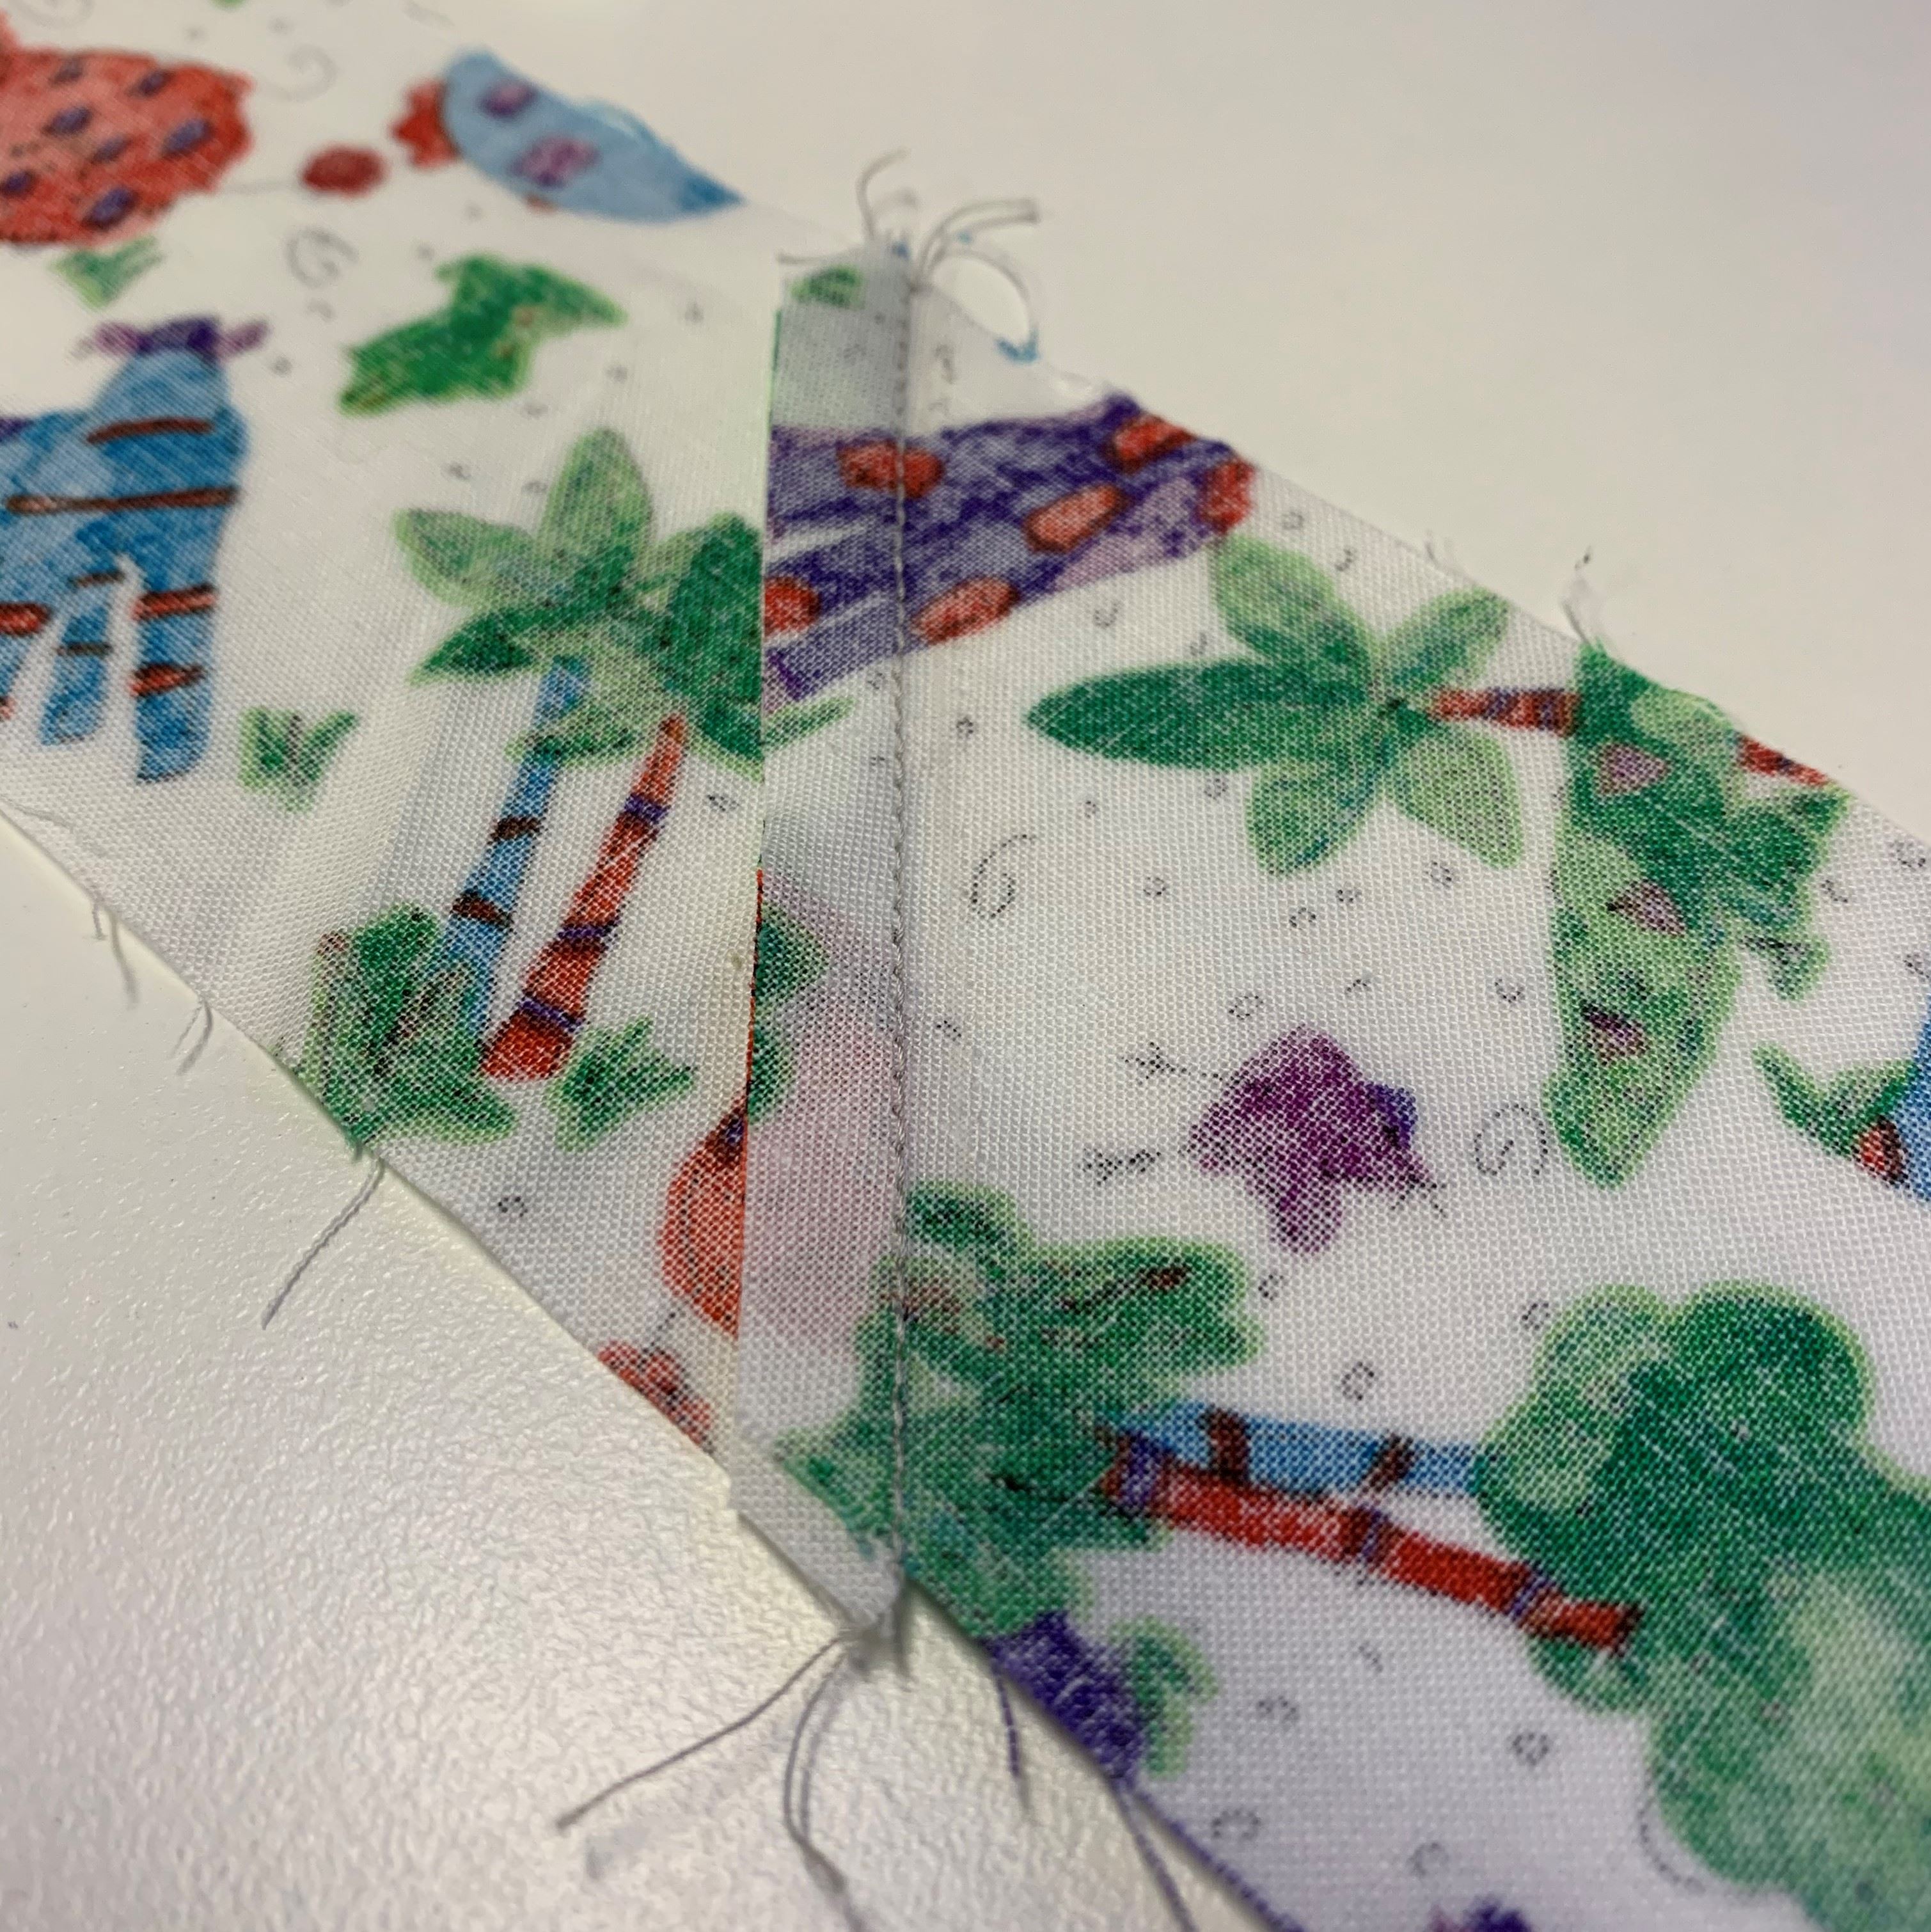
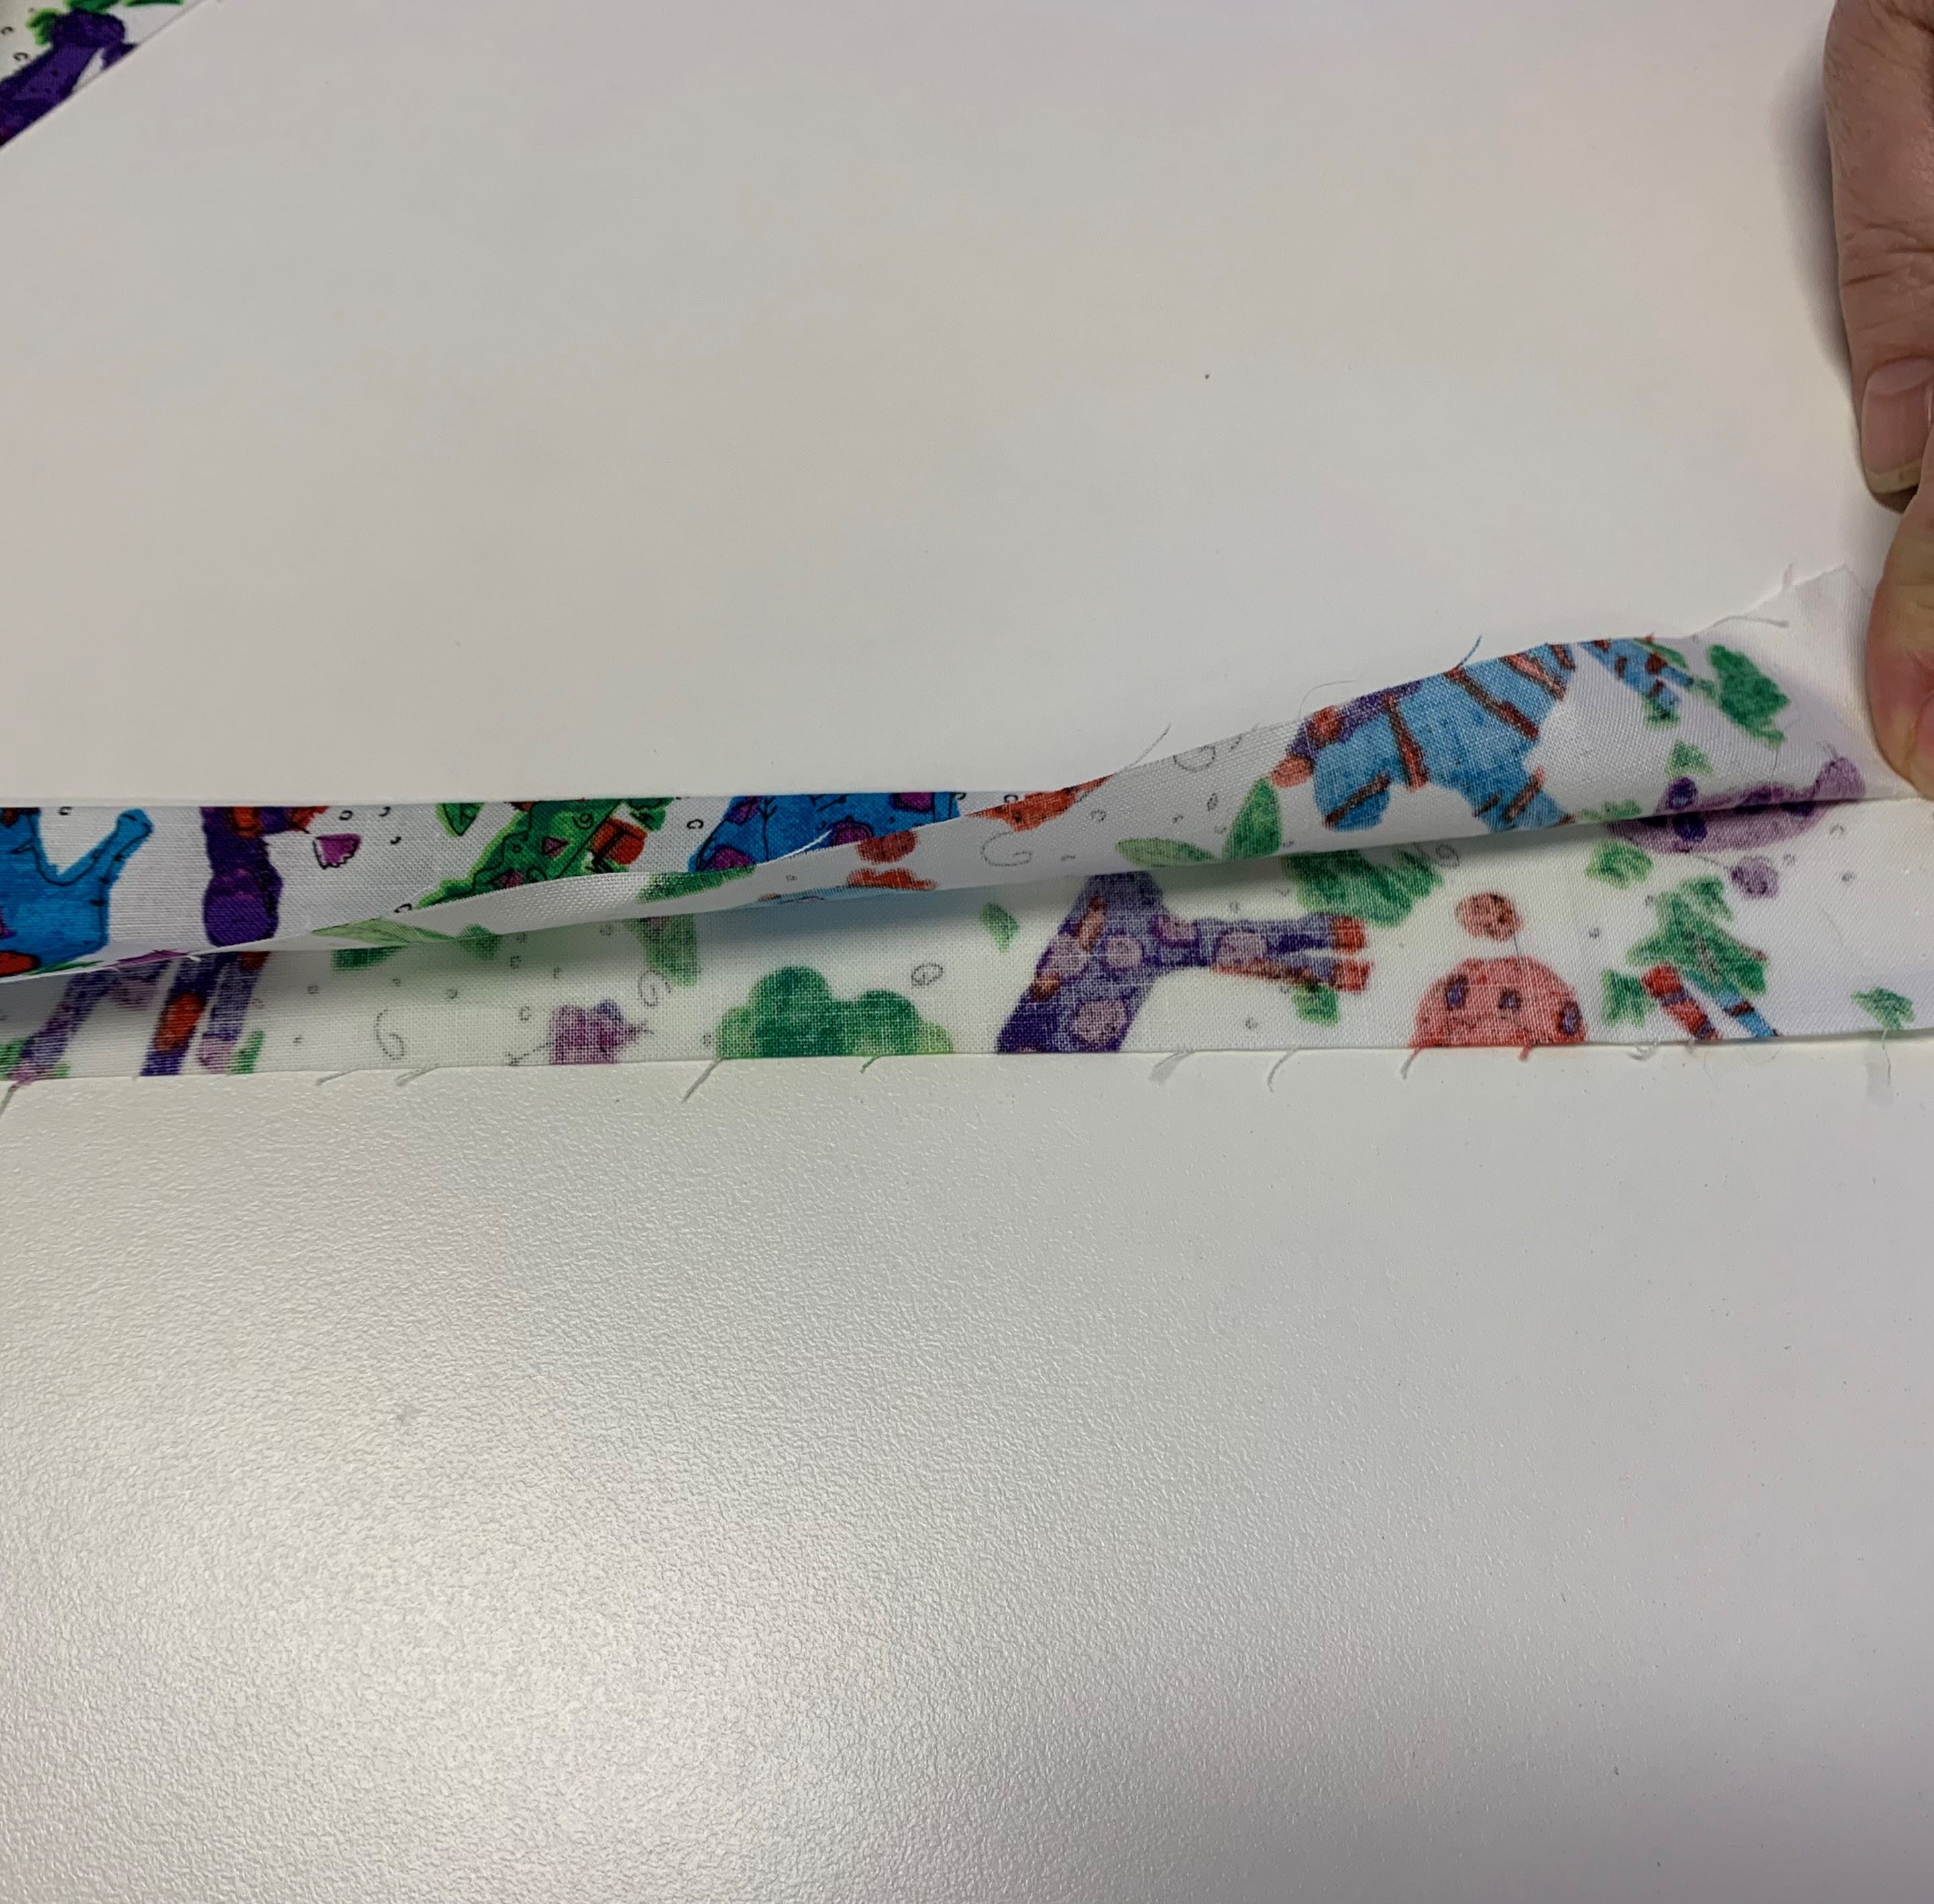
- Stitch the three binding strips together and bind your sleeping mat.
Dog Sleeping Mat - Finished size 38" x 40"
Materials required:
- 2 x pieces of fabric approximately 1.10 x 1.10m - flannel fabric
- 1 x piece of batting 2” bigger than the fabric
- 5 x strips of contrasting fabrics 2 ½” x width of fabric (for the binding)
- Thread for quilting (we used Hemingworth Dark Blue 1264)
- Bobbin wound with the same thread as the top thread
- Rasant thread
- Frixion pen
- Sewing & embroidery machine
- Dynamic walking foot, walking foot or even feed foot (if not using the embroidery method of quilting)
- Quilt guide
- Quilting designs (dog bone and paw)
Method:
- Iron your fabric to remove any wrinkles.
- Create a quilt sandwich by inserting the batting between the two pieces of fabric. You can pin or spray baste the three layers to secure together in preparation for quilting. This is a great project to use up batting leftovers. Simply iron the batting joiner on the smaller pieces and continue to join the pieces together until you have the desired size.
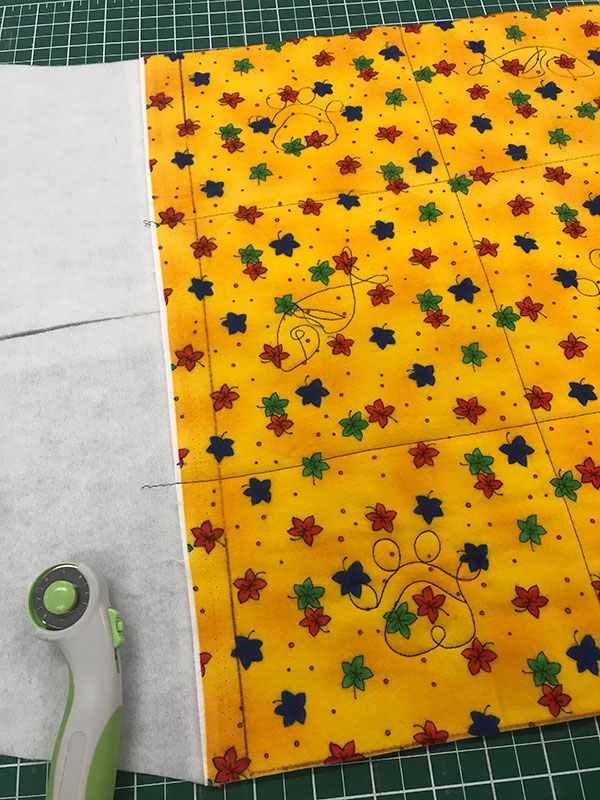
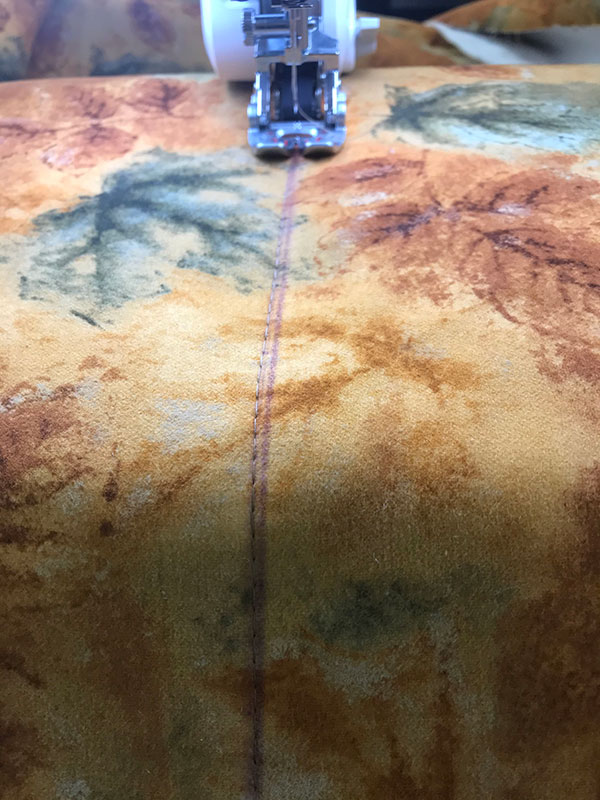
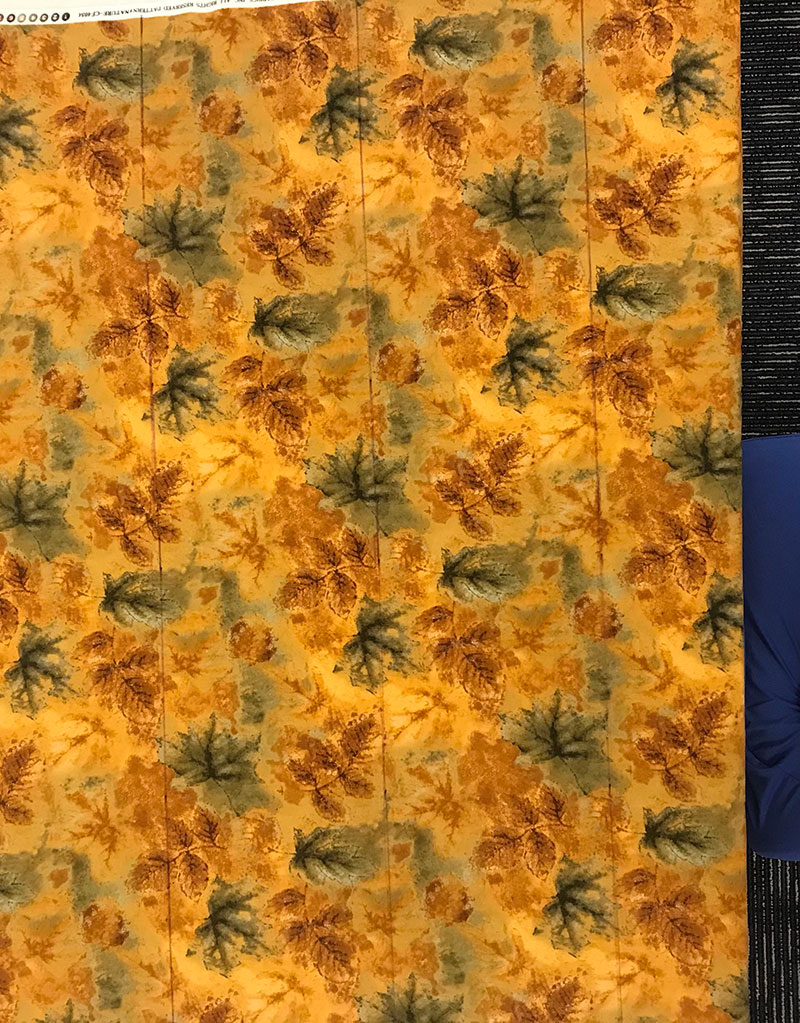
- Using a 6" x 24" ruler, draw horizontal lines down the quilt sandwich approximately 8" apart. This provides an area to work in when using the continuous embroidery design.
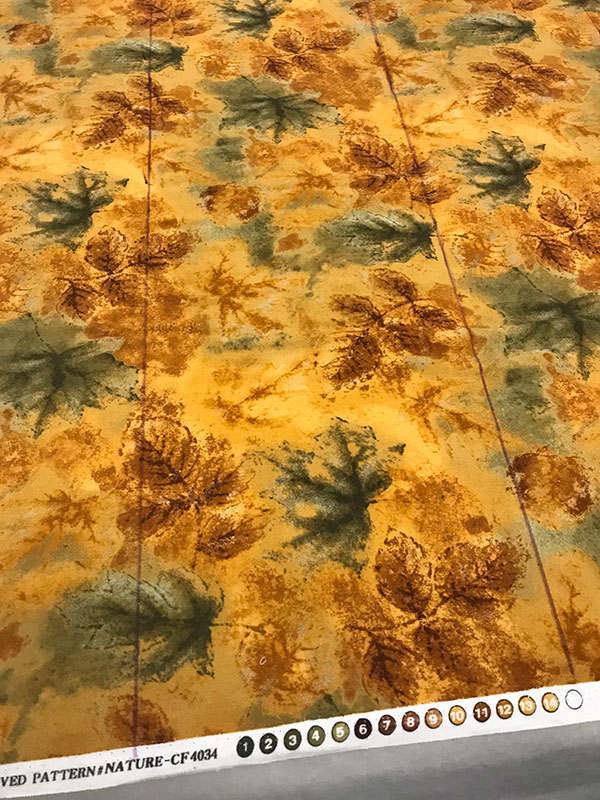
- Stitch down these horizontal lines using your rasant thread and your walking foot of choice.
- Select the thread colour for the quilting design, wind the thread onto a bobbin so the thread matches top and bottom when quilting.
- Download the embroidery designs on a USB and load into machine. We are working with continous embroidery designs. Choose the designs that will fit into your largest hoop - we used the continuous dog bone and paw. For the larger hoops, each design has been digitized with a beginning tail and an end tail. These tails are used to align the next design when you hoop. The tails should meet. There is also a single dog bone and single paw design with tails that can be utilised in a smaller hoop if you prefer.
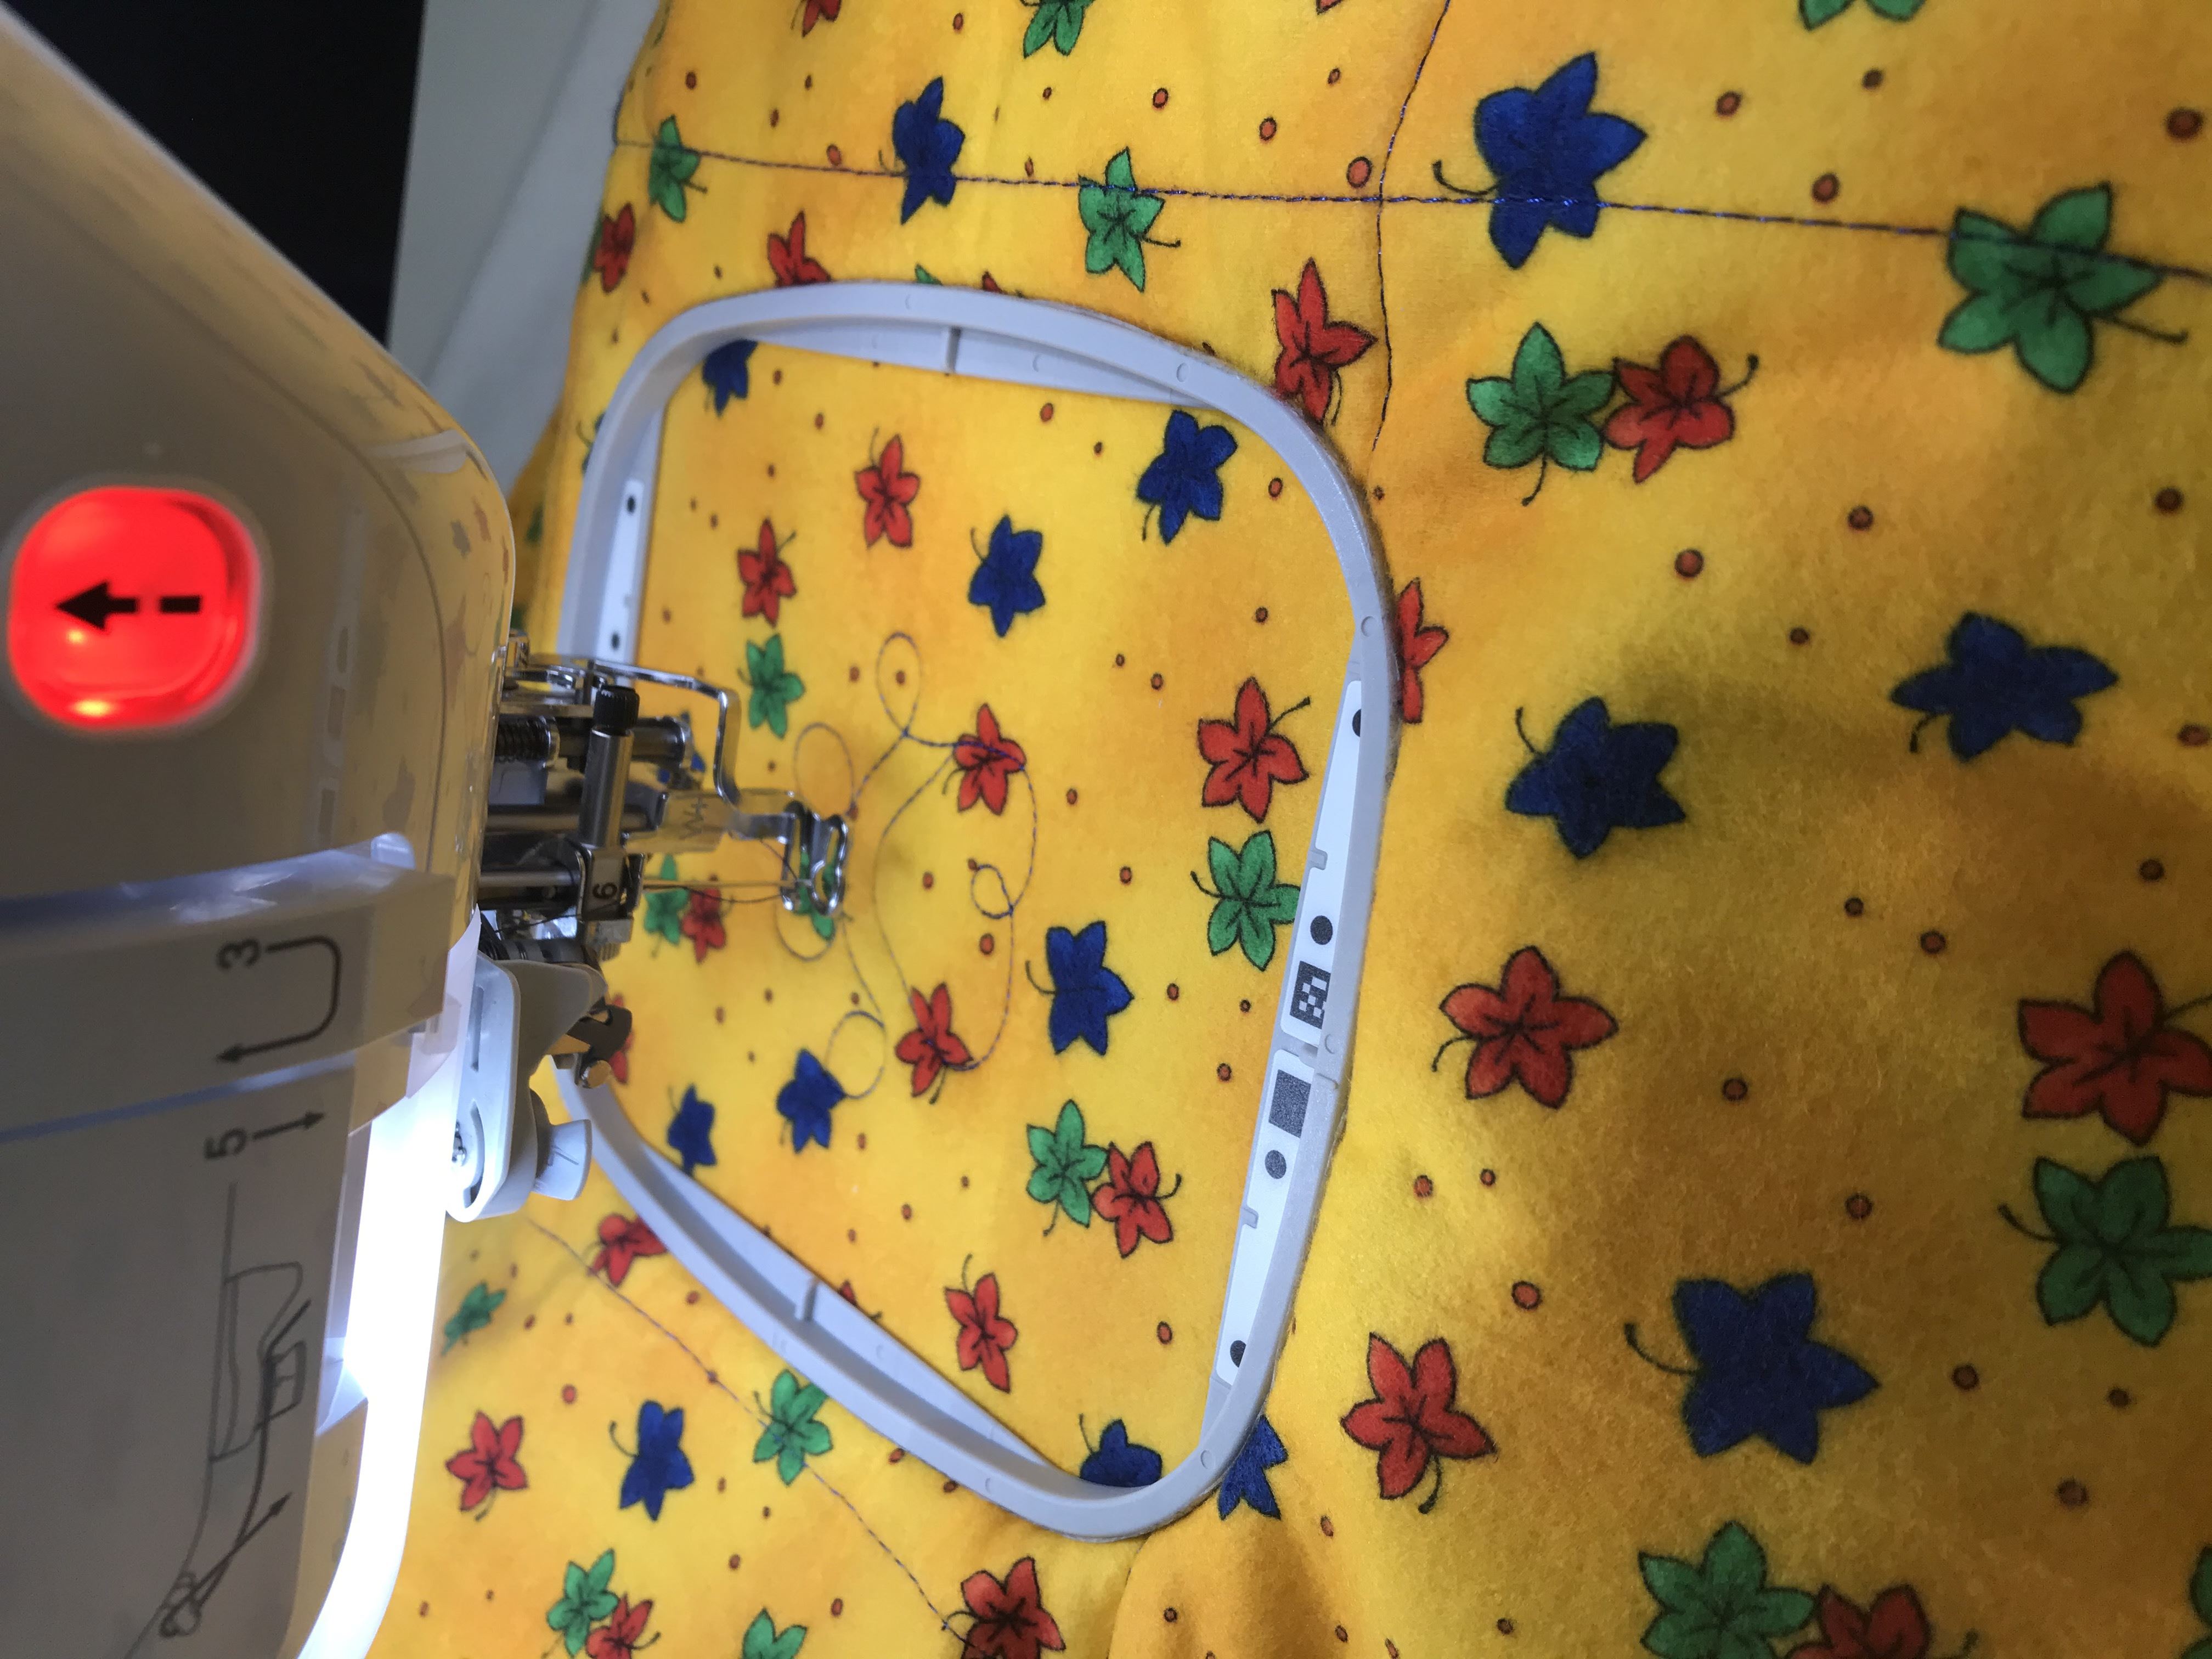
- Switch your machine to embroidery. Don't forget to wind a bobbin with matching thread for the underside of the sleeping mat.
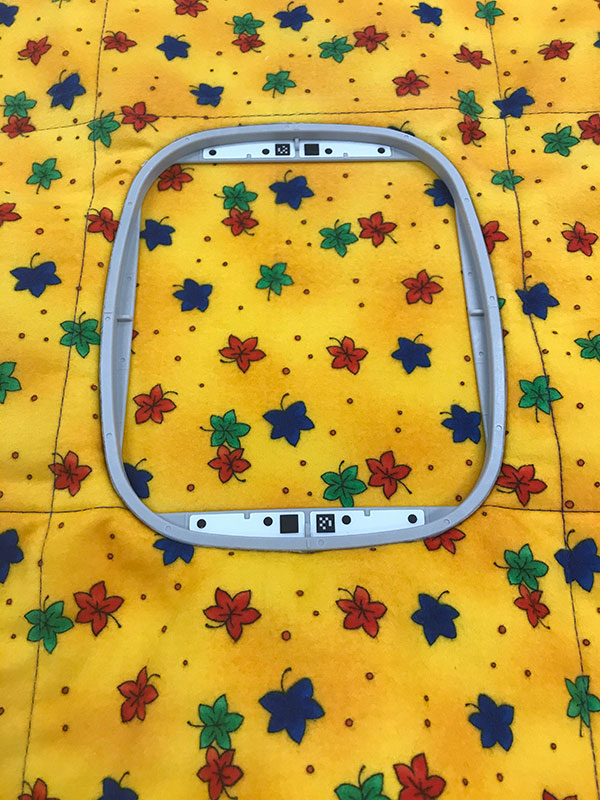
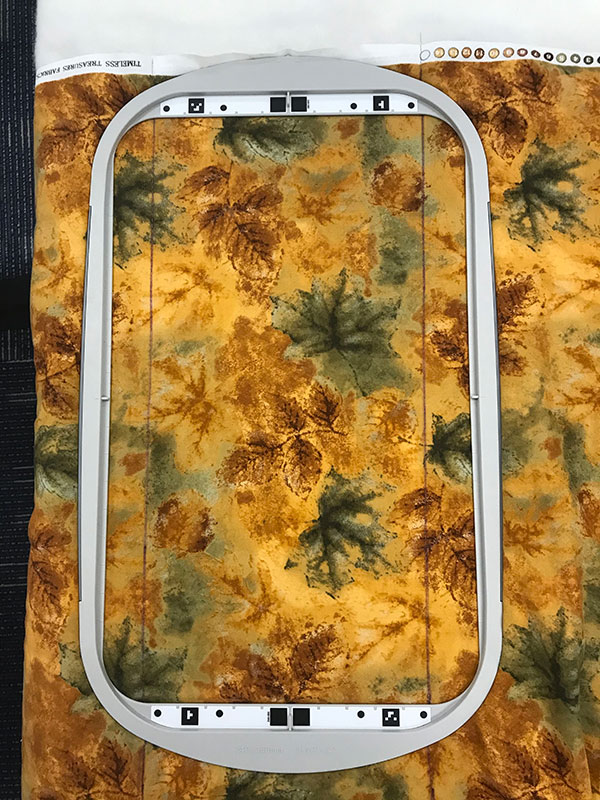
- Select the hoop for your machine, and hoop the quilt sandwich with the already stitched guidelines in the middle of the hoop (as shown below). These are guidelines only.
- Stitch the first continous design.
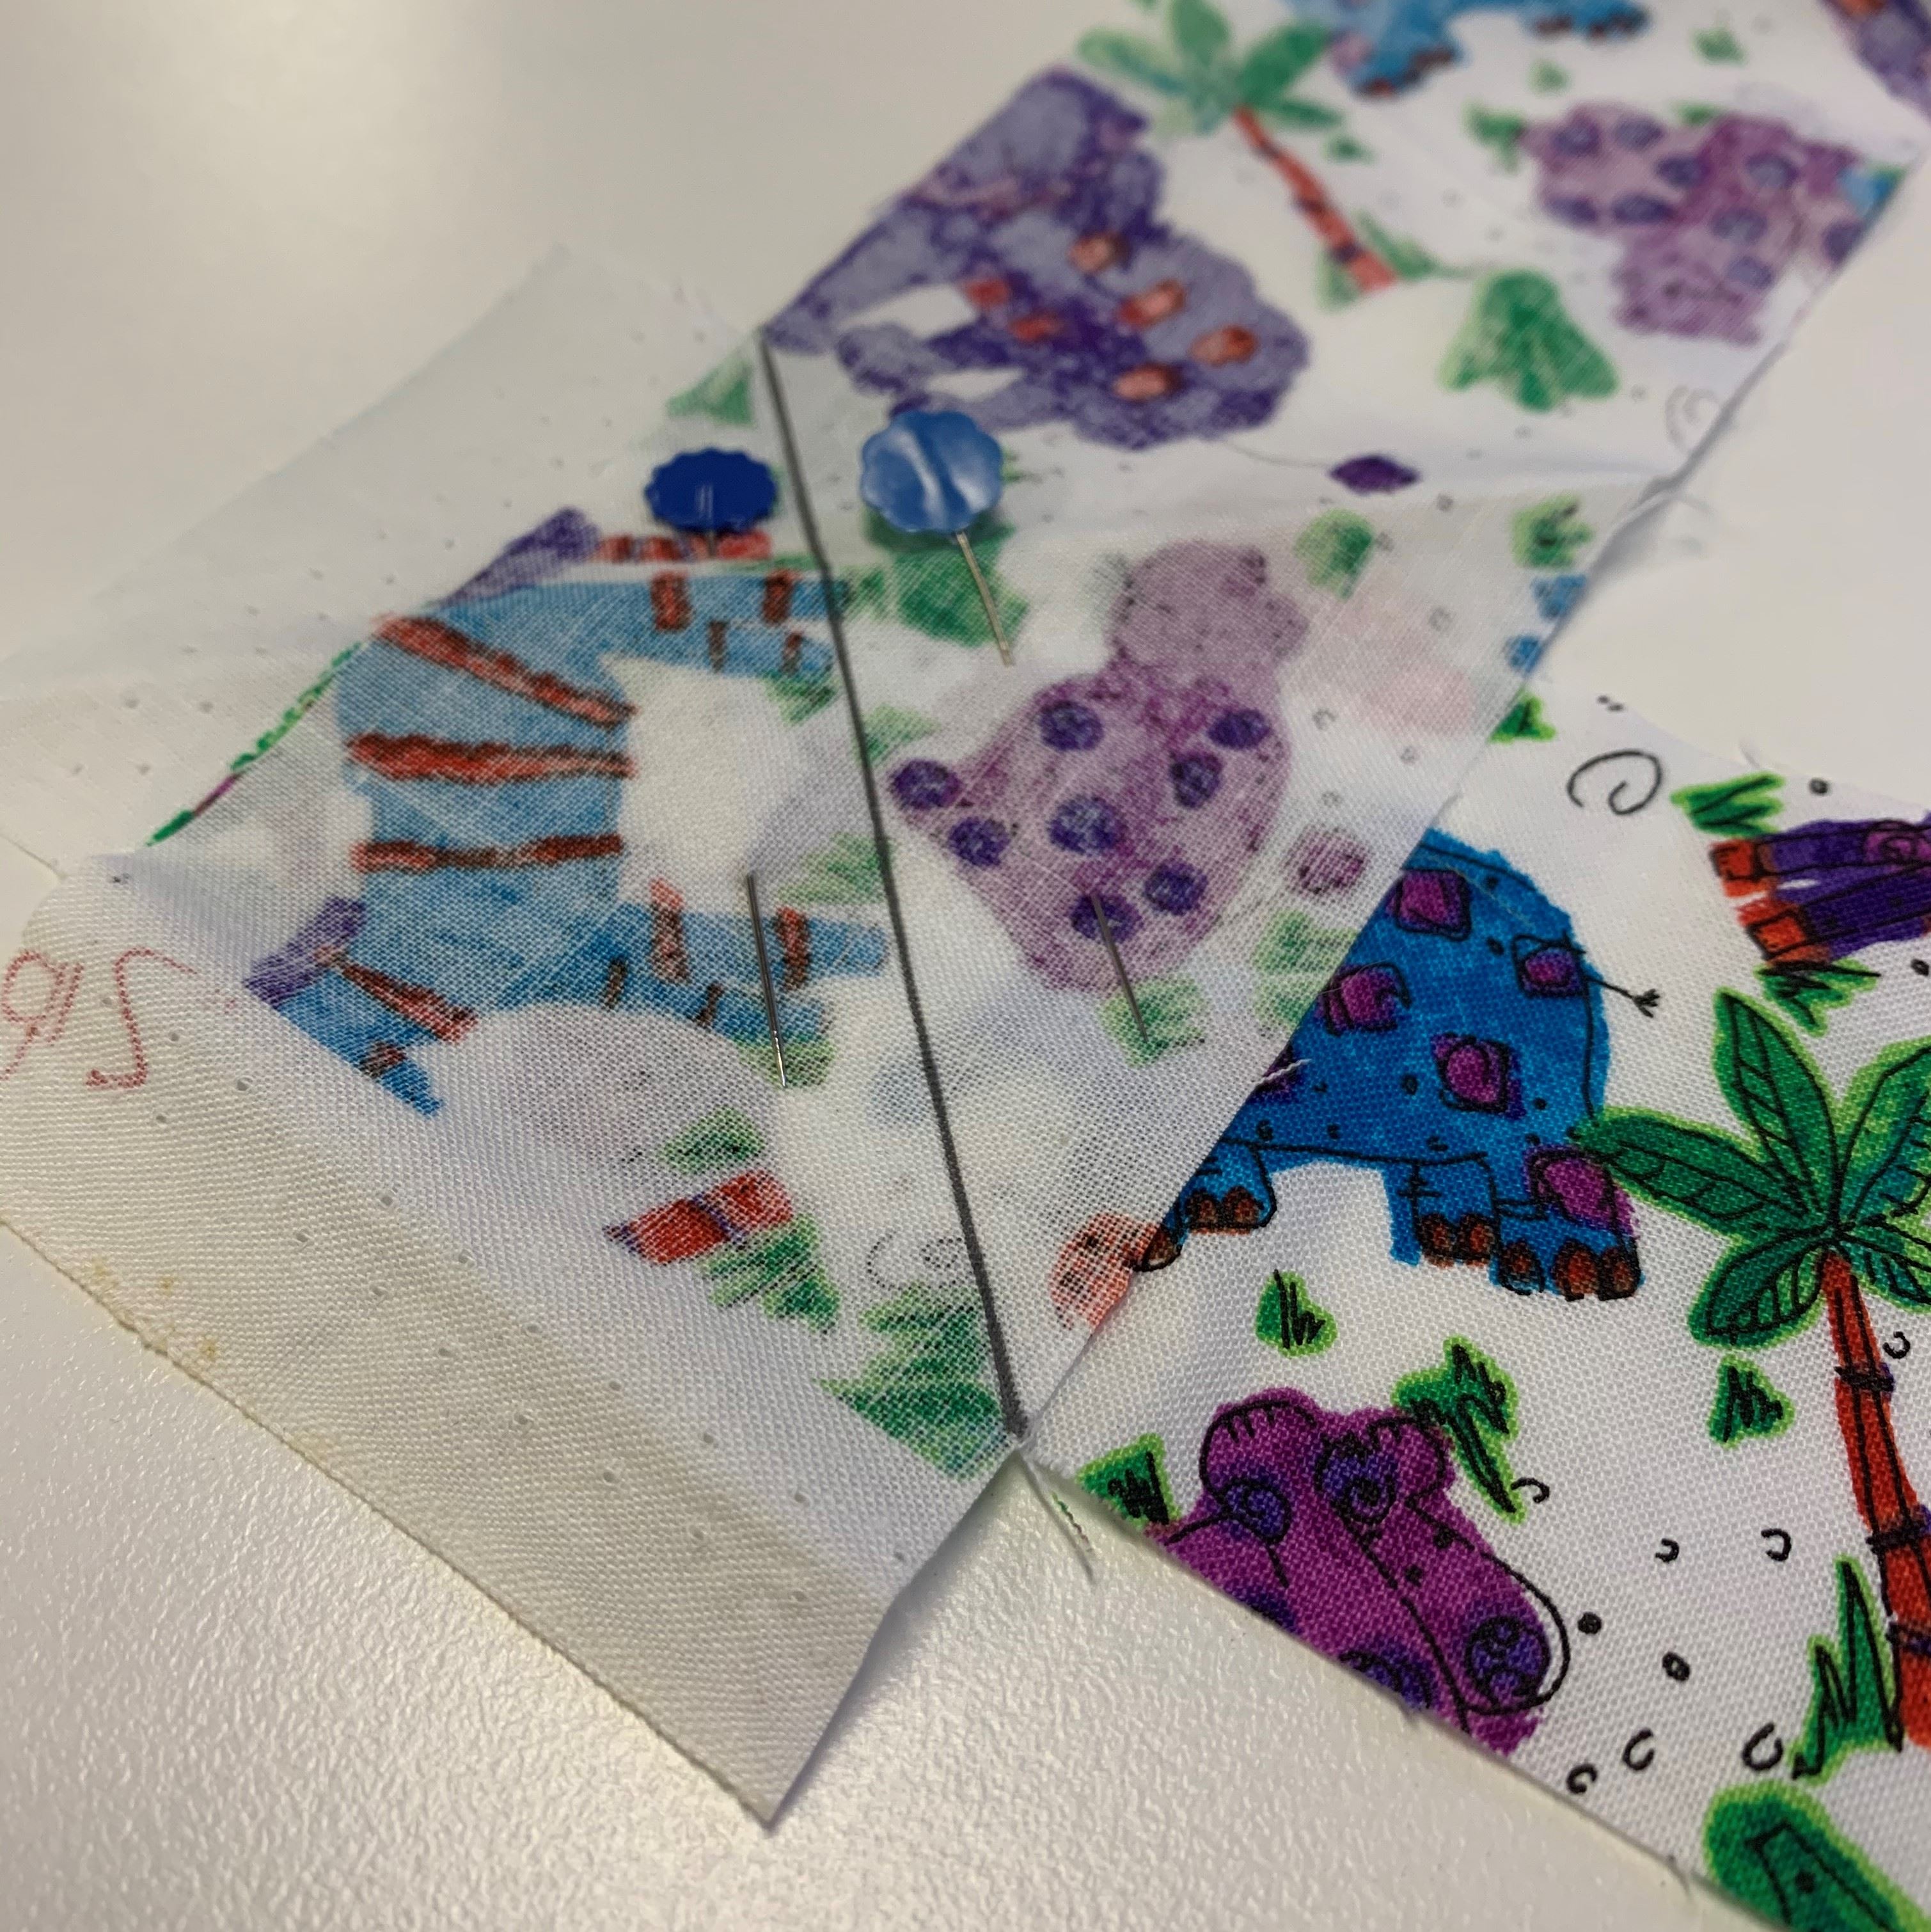
- Remove the quilt sandwich from the machine and rehoop keeping the stitched guidelines in the middle of the hoop, like previously done. If you have a machine that uses camera or projector technology, use these features to align the next design in the hoop. Otherwise, use the plastic grid or paper template to align the tails (this is included in the .zip designs download file).
- Repeat this process until the entire dog sleeping mat is quilted.
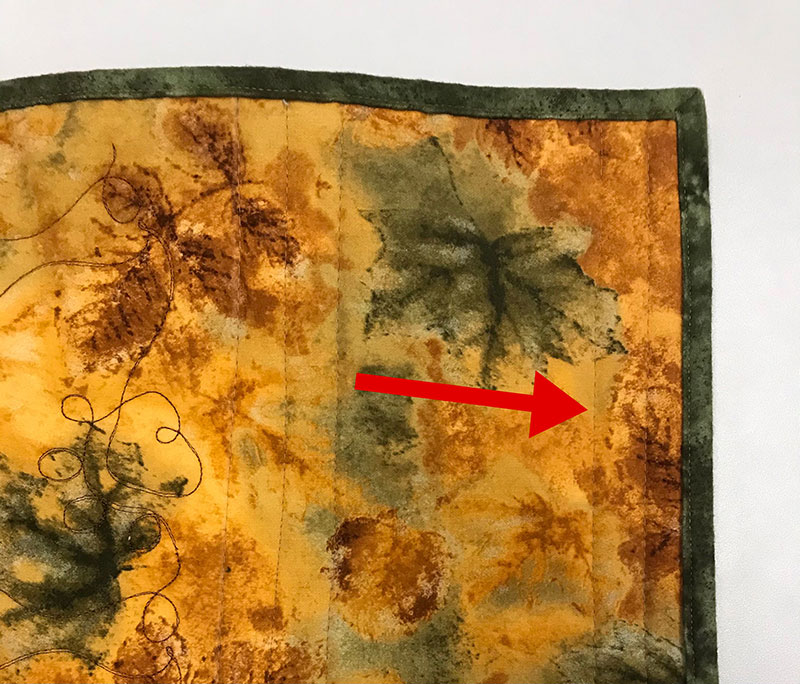
- Should there be large spaces that aren't quilted, feel free to use your walking foot and fill in the gaps (like in the photo shown below).
- Square up the dog blanket.
- Stitch the five binding strips together, iron in half and attach the binding onto the sleeping mat.
Cross Hatch Quilt with Walking Foot
You can follow this video for an explanation on this method. It demonstrates essentially the same technique. Steps below are a summary. Refer to the 'Materials Required' lists above for your chosen sleeping mat.
- Iron fabric to remove wrinkles.
- Create a quilt sandwich by inserting the batting between both pieces of fabric. You can pin, or spray baste the three layers to secure together in preparation for quilting. This is a great project to use up batting leftovers! Simply iron the batting joiner on the smaller pieces and continue to join the pieces together until you have the desired size.
- Draw a diagonal line with a water erasable pen through the centre of the fabric.
- Attach the dynamic walking foot, adjust the stitch length to 3 and sew on the drawn diagonal lines.
- Next, attach the quilt guide to the walking foot and align the guide on the previously stitched line. We have chosen a 2" gap for the cross hatch. Stitch the next line. The quilt guide will keep your lines parallel and even. If you don't have a guide for your walking foot, you can rule each line on the quilt top.
- Continue stitching until the cross hatching is completed in one direction.
- Draw another line the opposite way on the diagonal centre of the fabric. Repeat steps 3-5 as above.
- When the cross hatch is complete, square up the cat blanket.
- Stitch the three binding strips together, iron and bind the blanket.
DONATE SOME TO A CHARITY
These mats can also be donated to charity. If you want to contribute to a great cause, the charities listed below accept handmade sleeping mats. Just send your creations in to the mailing address provided.
Are you a charity that would accept this item? Contact us to have your details added here.
Queensland
Little Legs Dog & Cat Rescue Qld Inc
61 Winchester Road
Alexandra Hills QLD 4161
Australia
Free Embroidery Designs
We're excited to offer our free Echidna designs available for download. These free designs are perfect for those at a beginner or an advanced level. Add these designs to your stash and create incredible embroidery!
View all free designs >
Sewing, Quilting and Embroidery Machines
Interested in learning how to sew, quilt or embroider? Take a look at the innovative Brother machines available for purchase at Echidna Sewing. Wherever possible we will beat any deal and you will always receive ongoing service and support!
Find out more >
Learn to Sew or Embroider with Echidna Sewing
Come along to our fun-filled classes to learn more about sewing, embroidery and crafting. Classes cater for all skill levels, whether you're just starting out or already have advanced knowledge.
Find out more >
Echidna project material/ fabric requirements are an indication only and can seem to be generous. This has been intentional. Should you make a cutting or embroidery mistake you will have sufficient fabric to rectify your error.